Electronics
LED’s
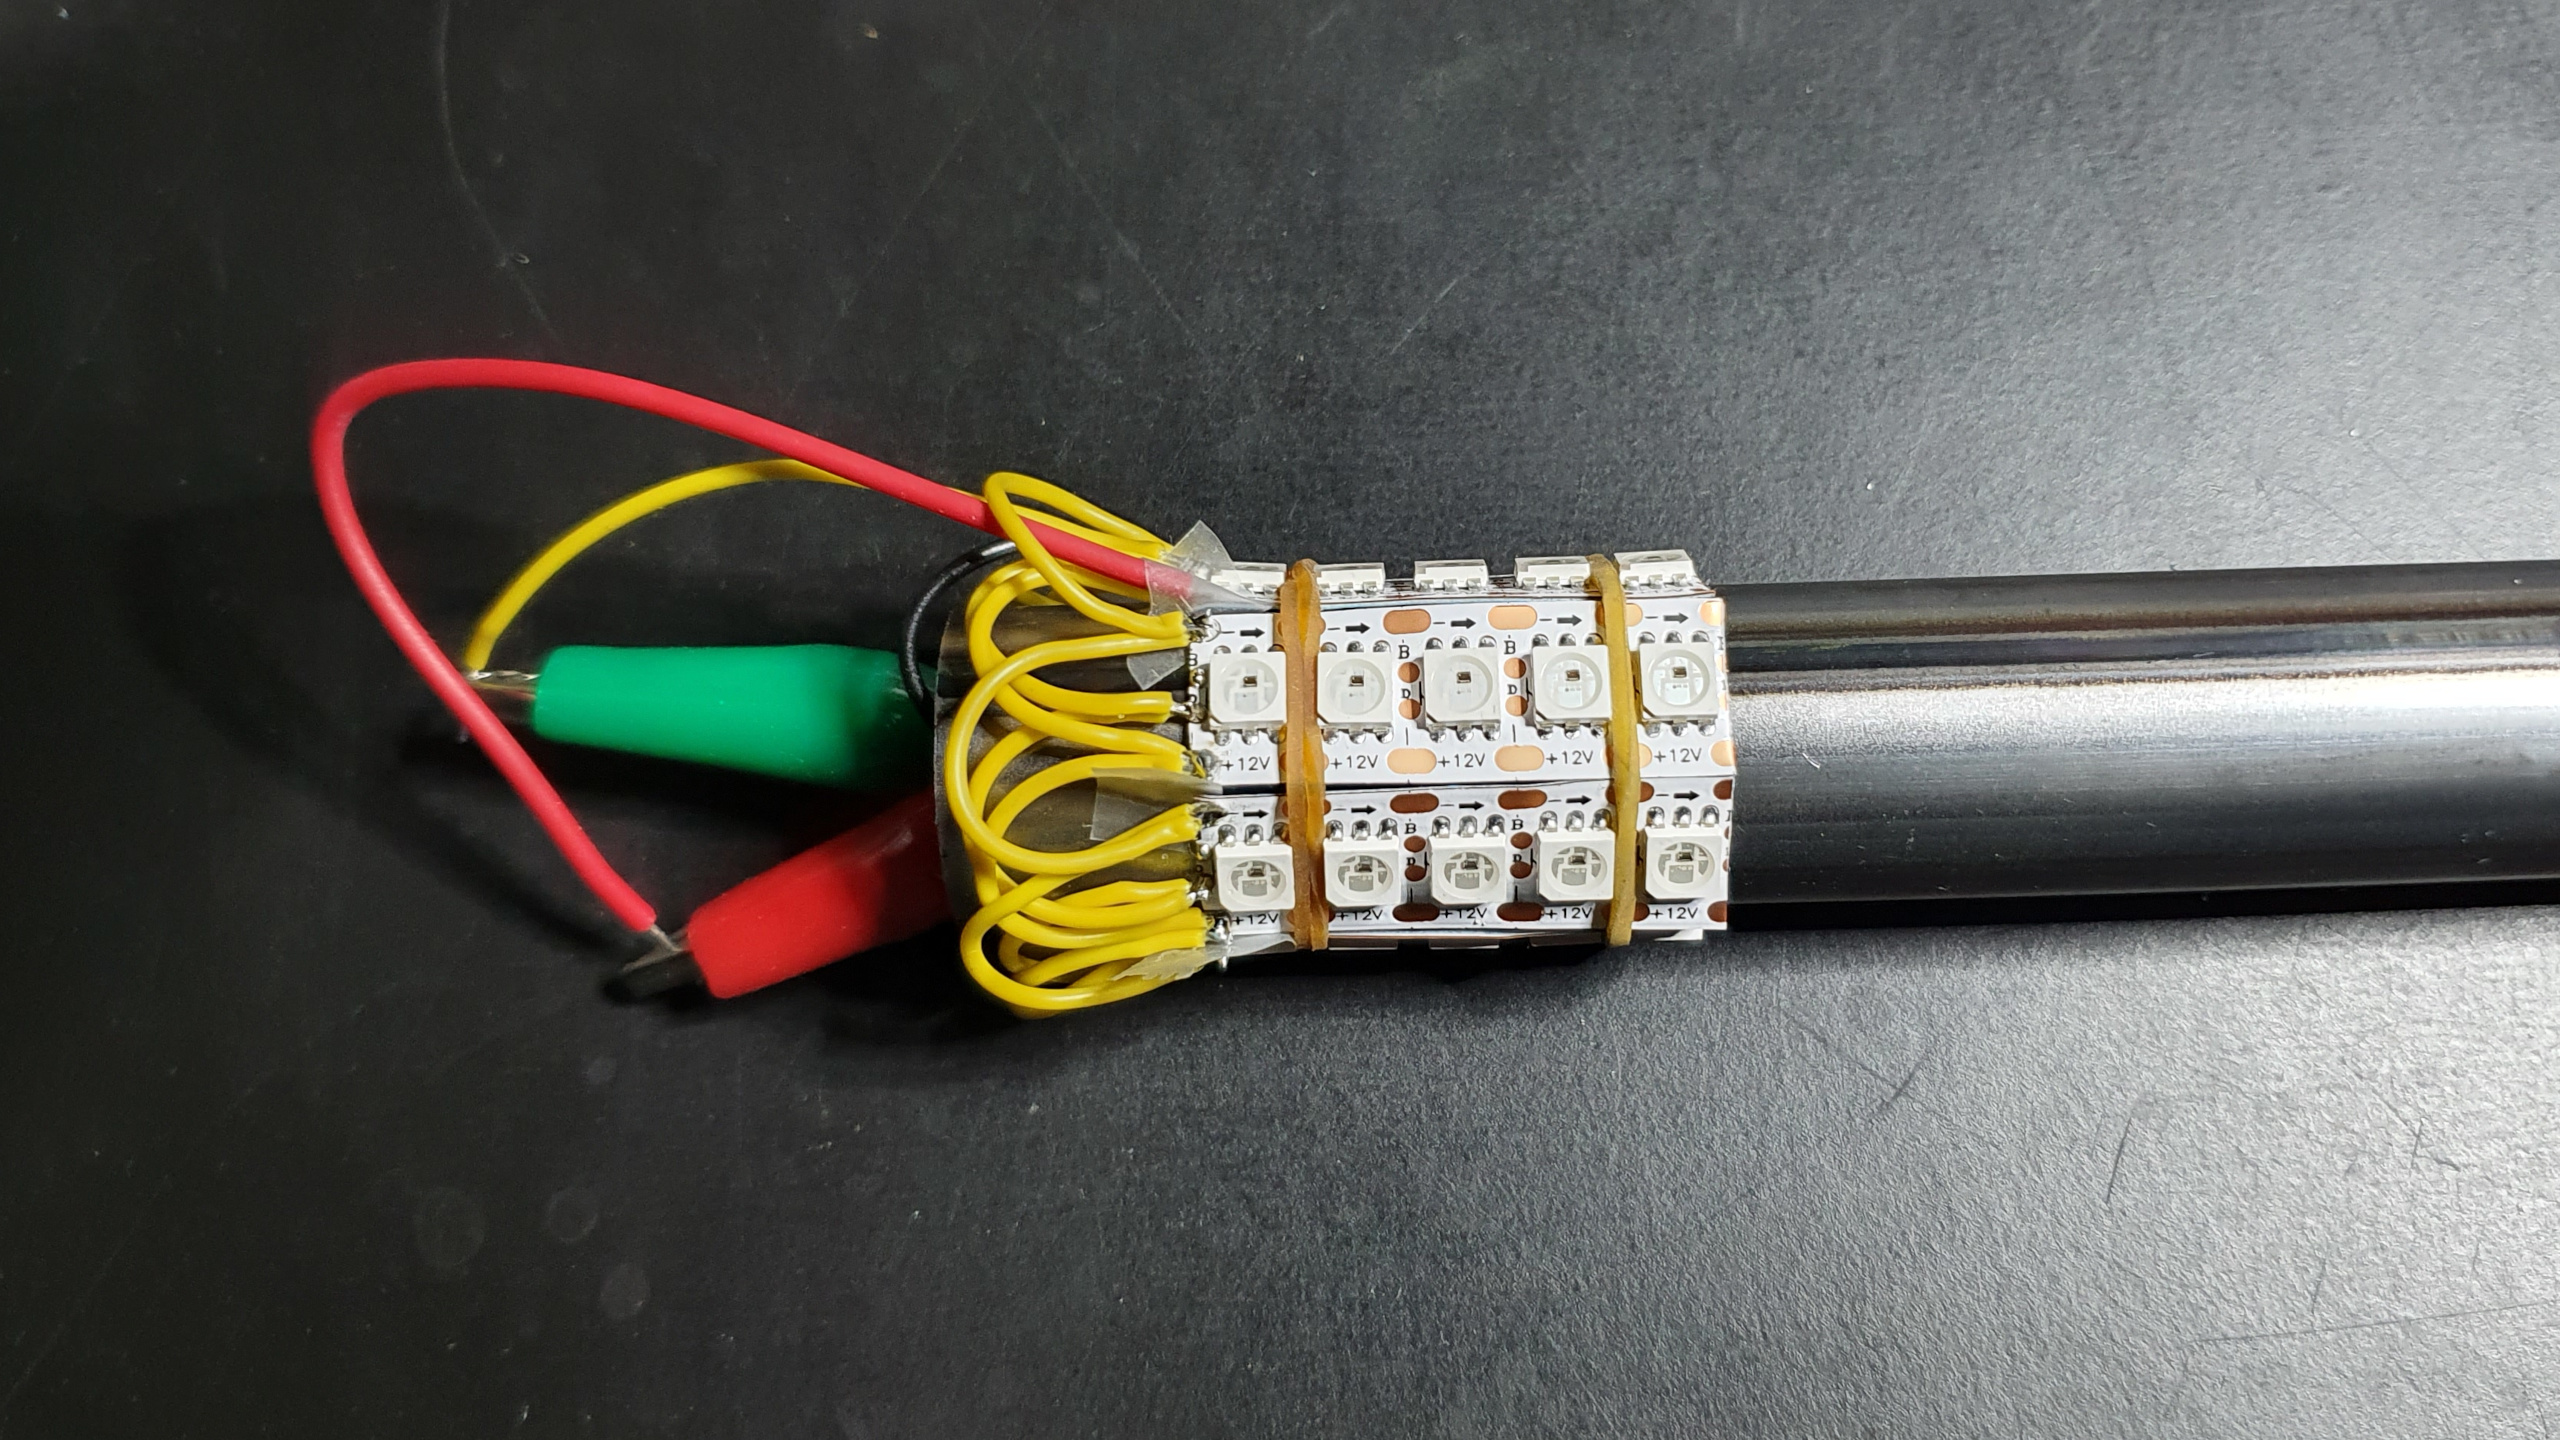
For the light I chose 12V WS2815 with 144 LED’s/m. 12V because I want to reduce the current which the battery’s have to provide and also the heat generated in the cables. “The Hook Up” has a great overview with lot’s of different LED types.
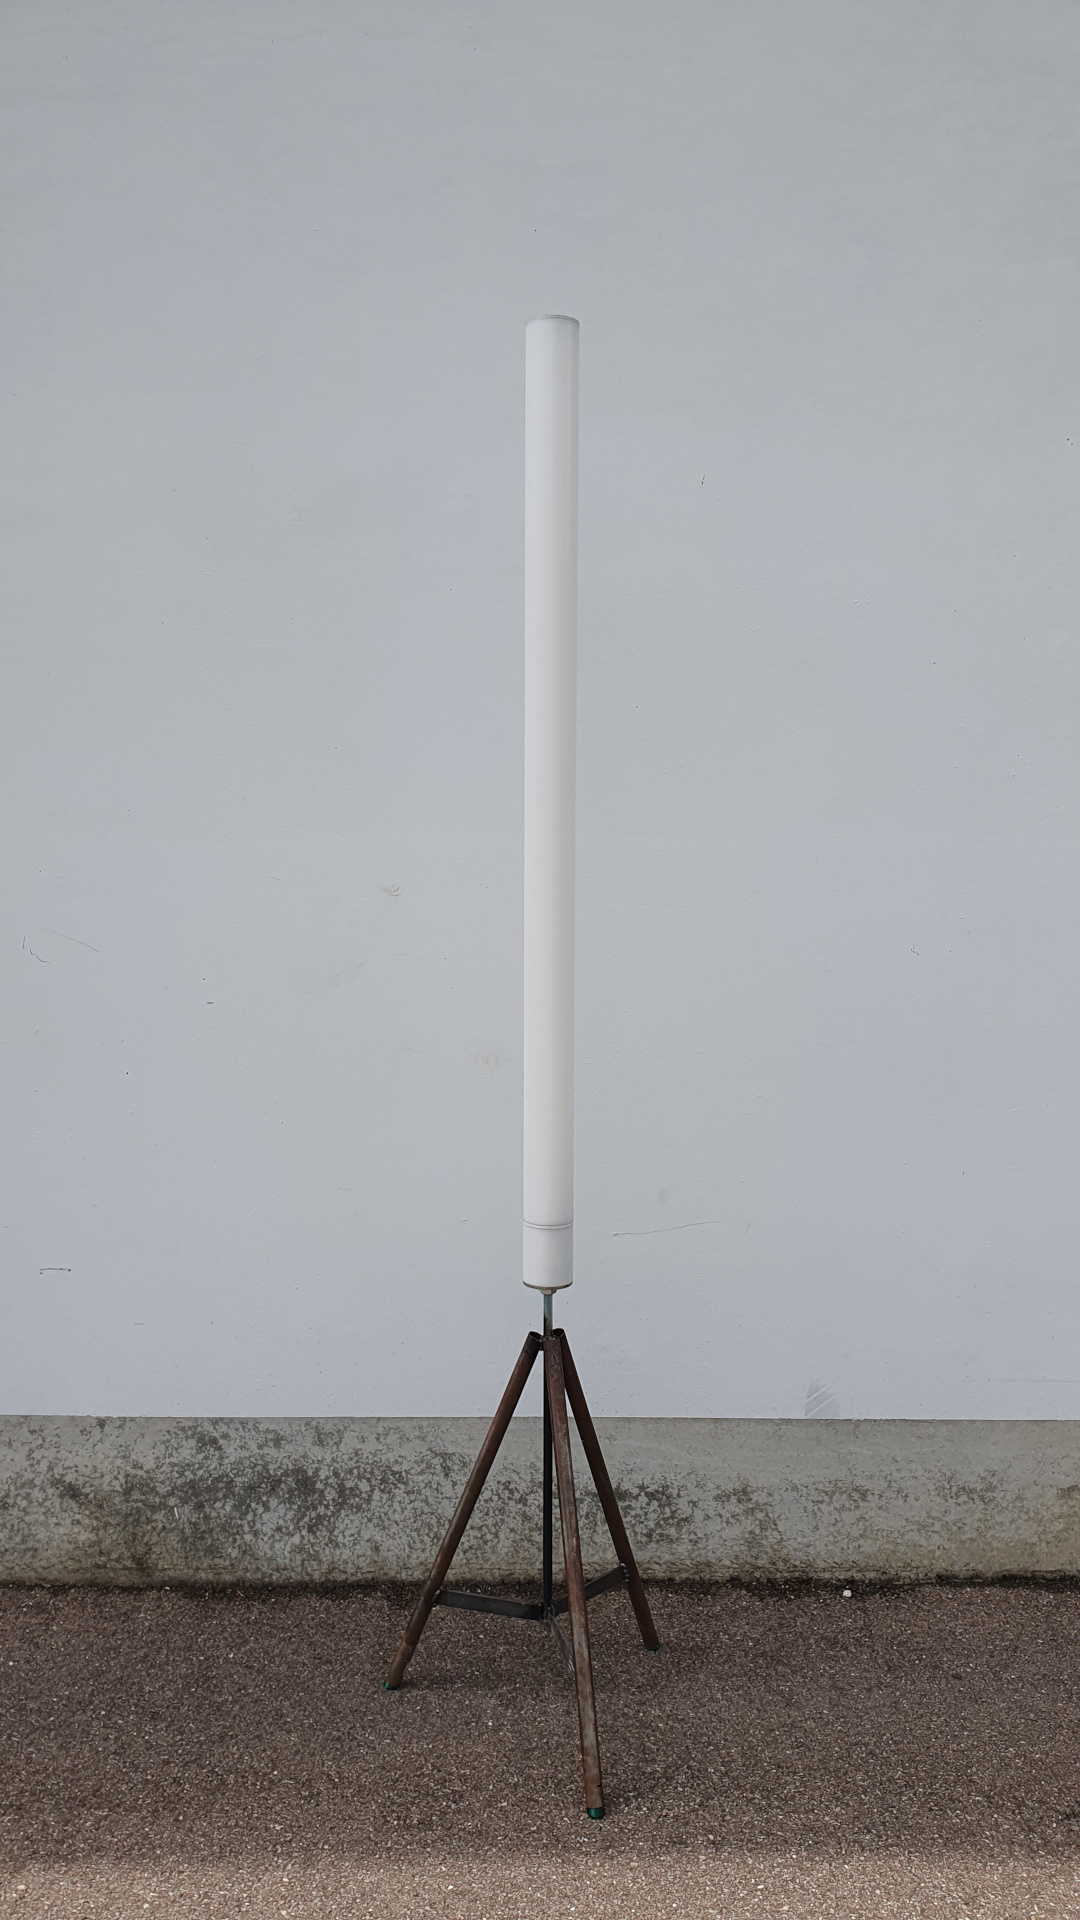
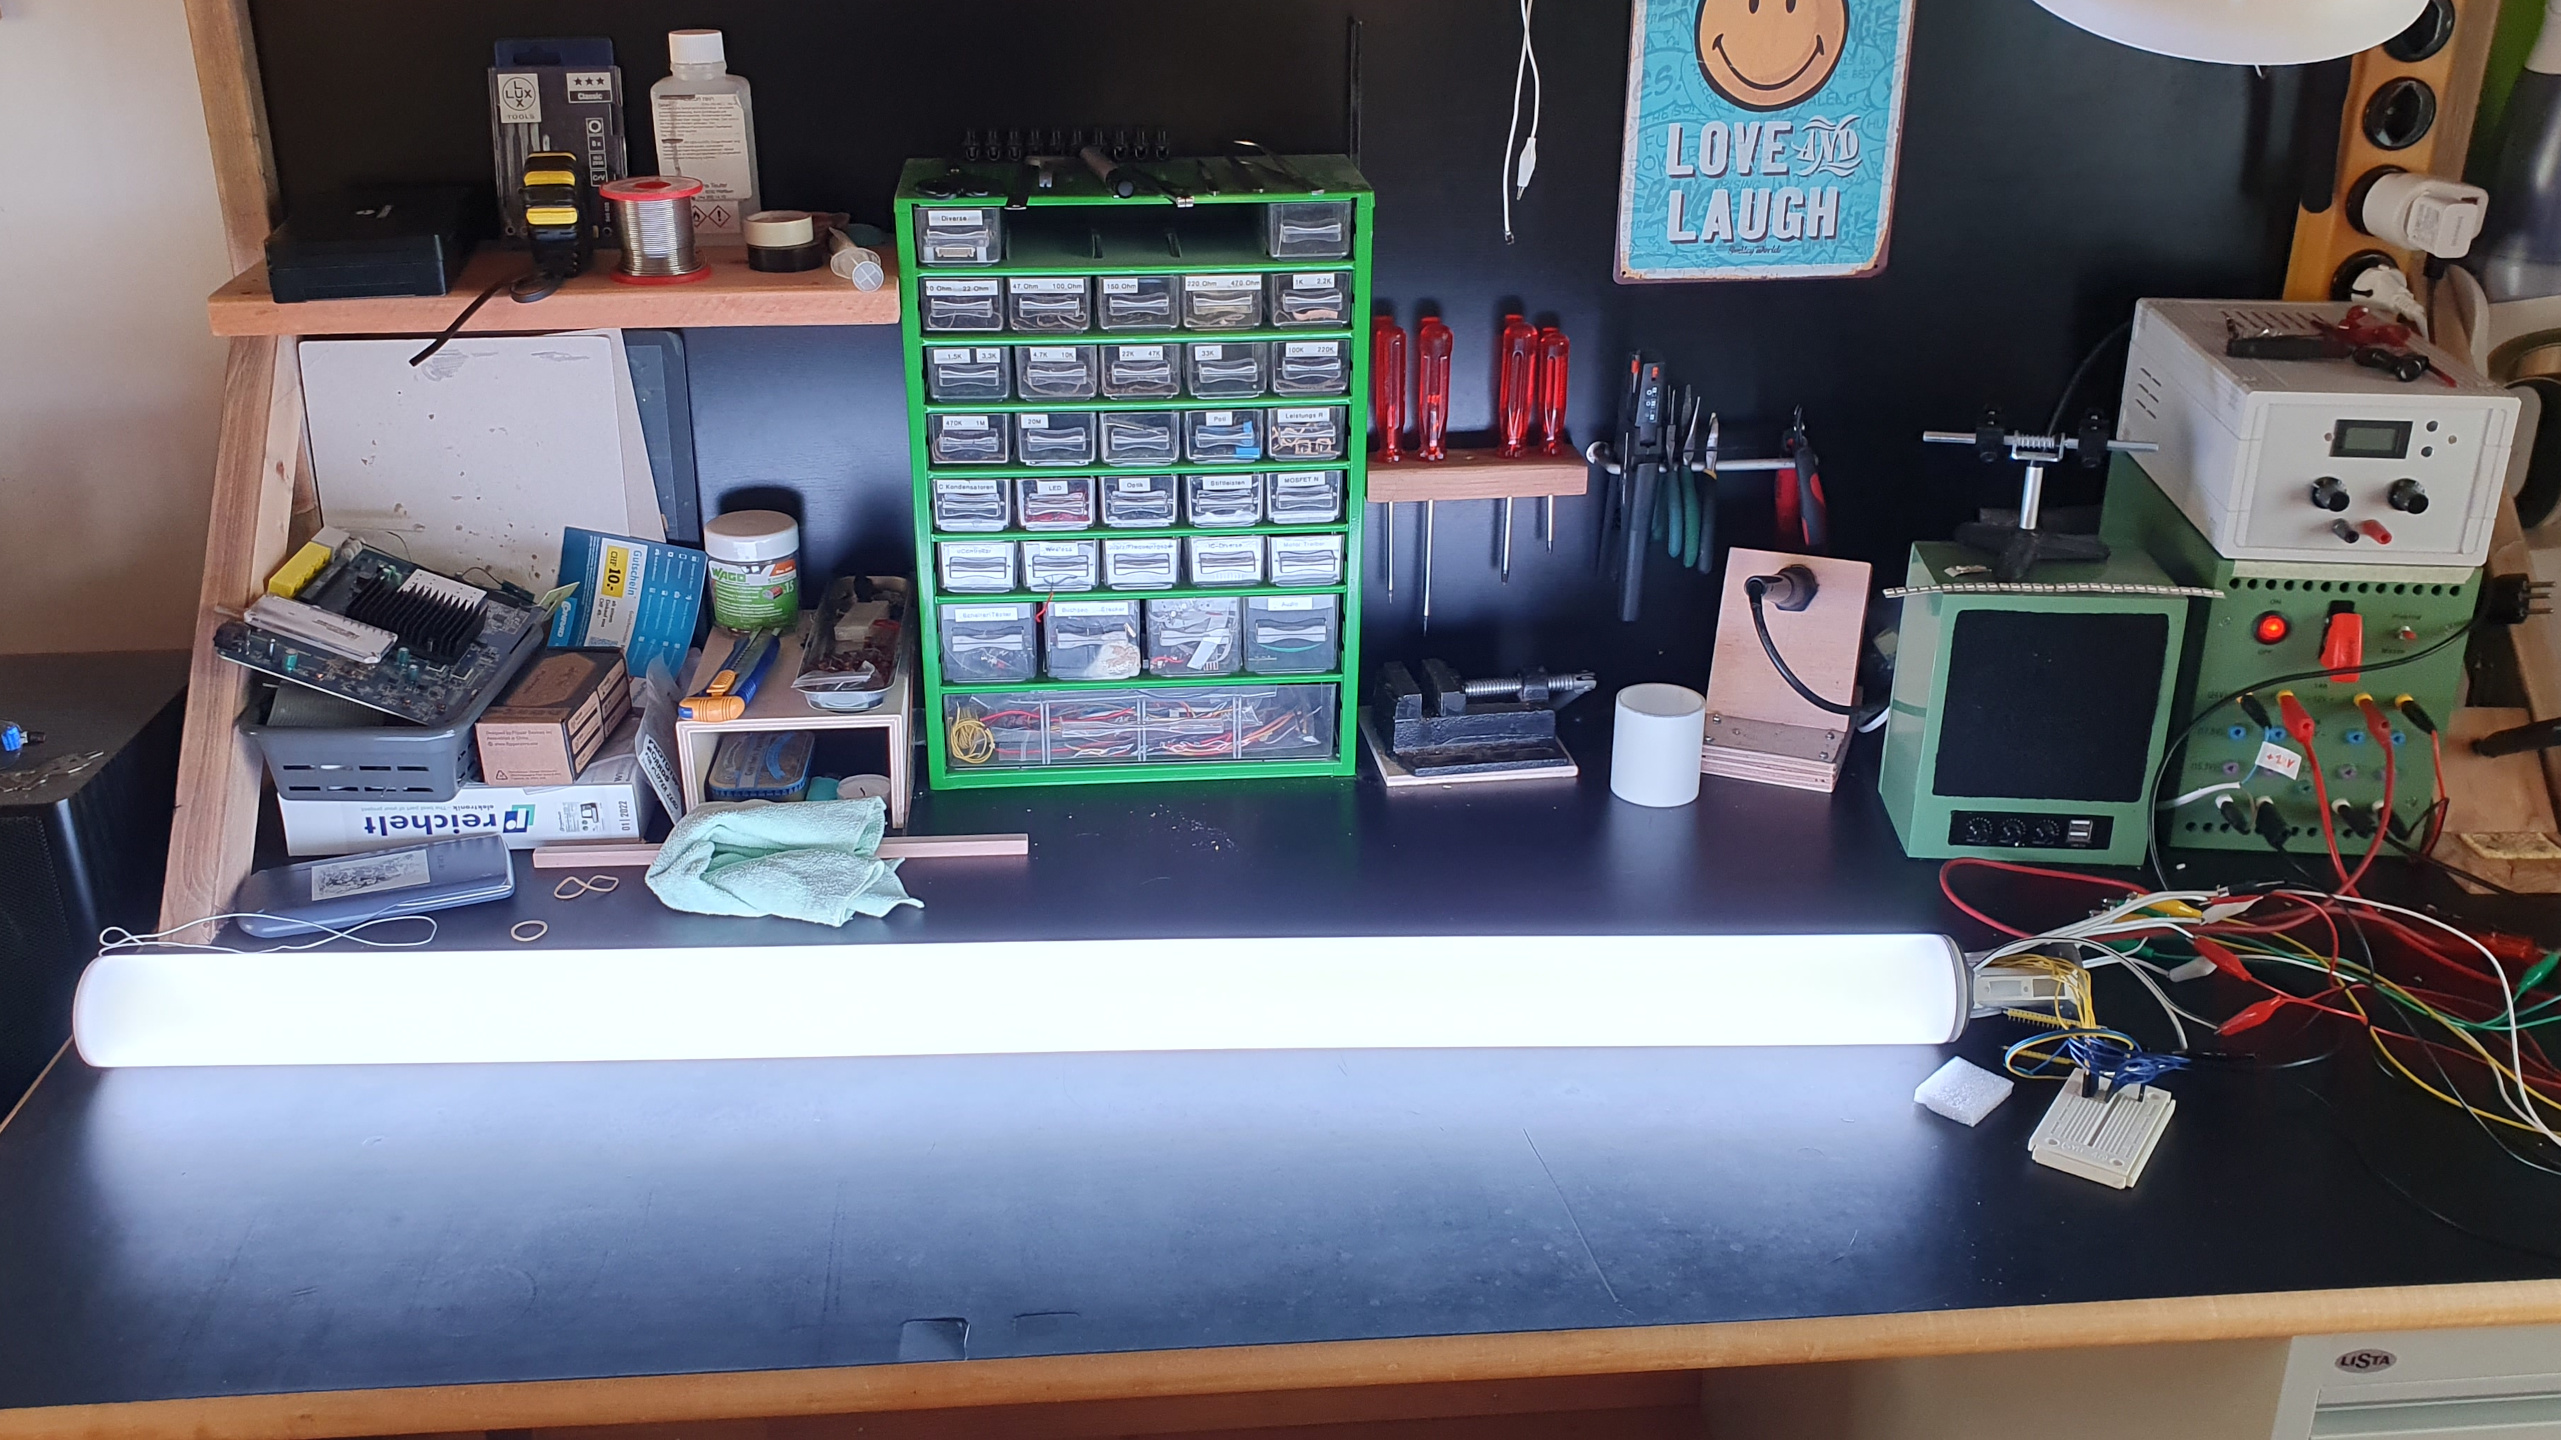
First quick test with the diffuser on. Looking good so far! 😀
Battery
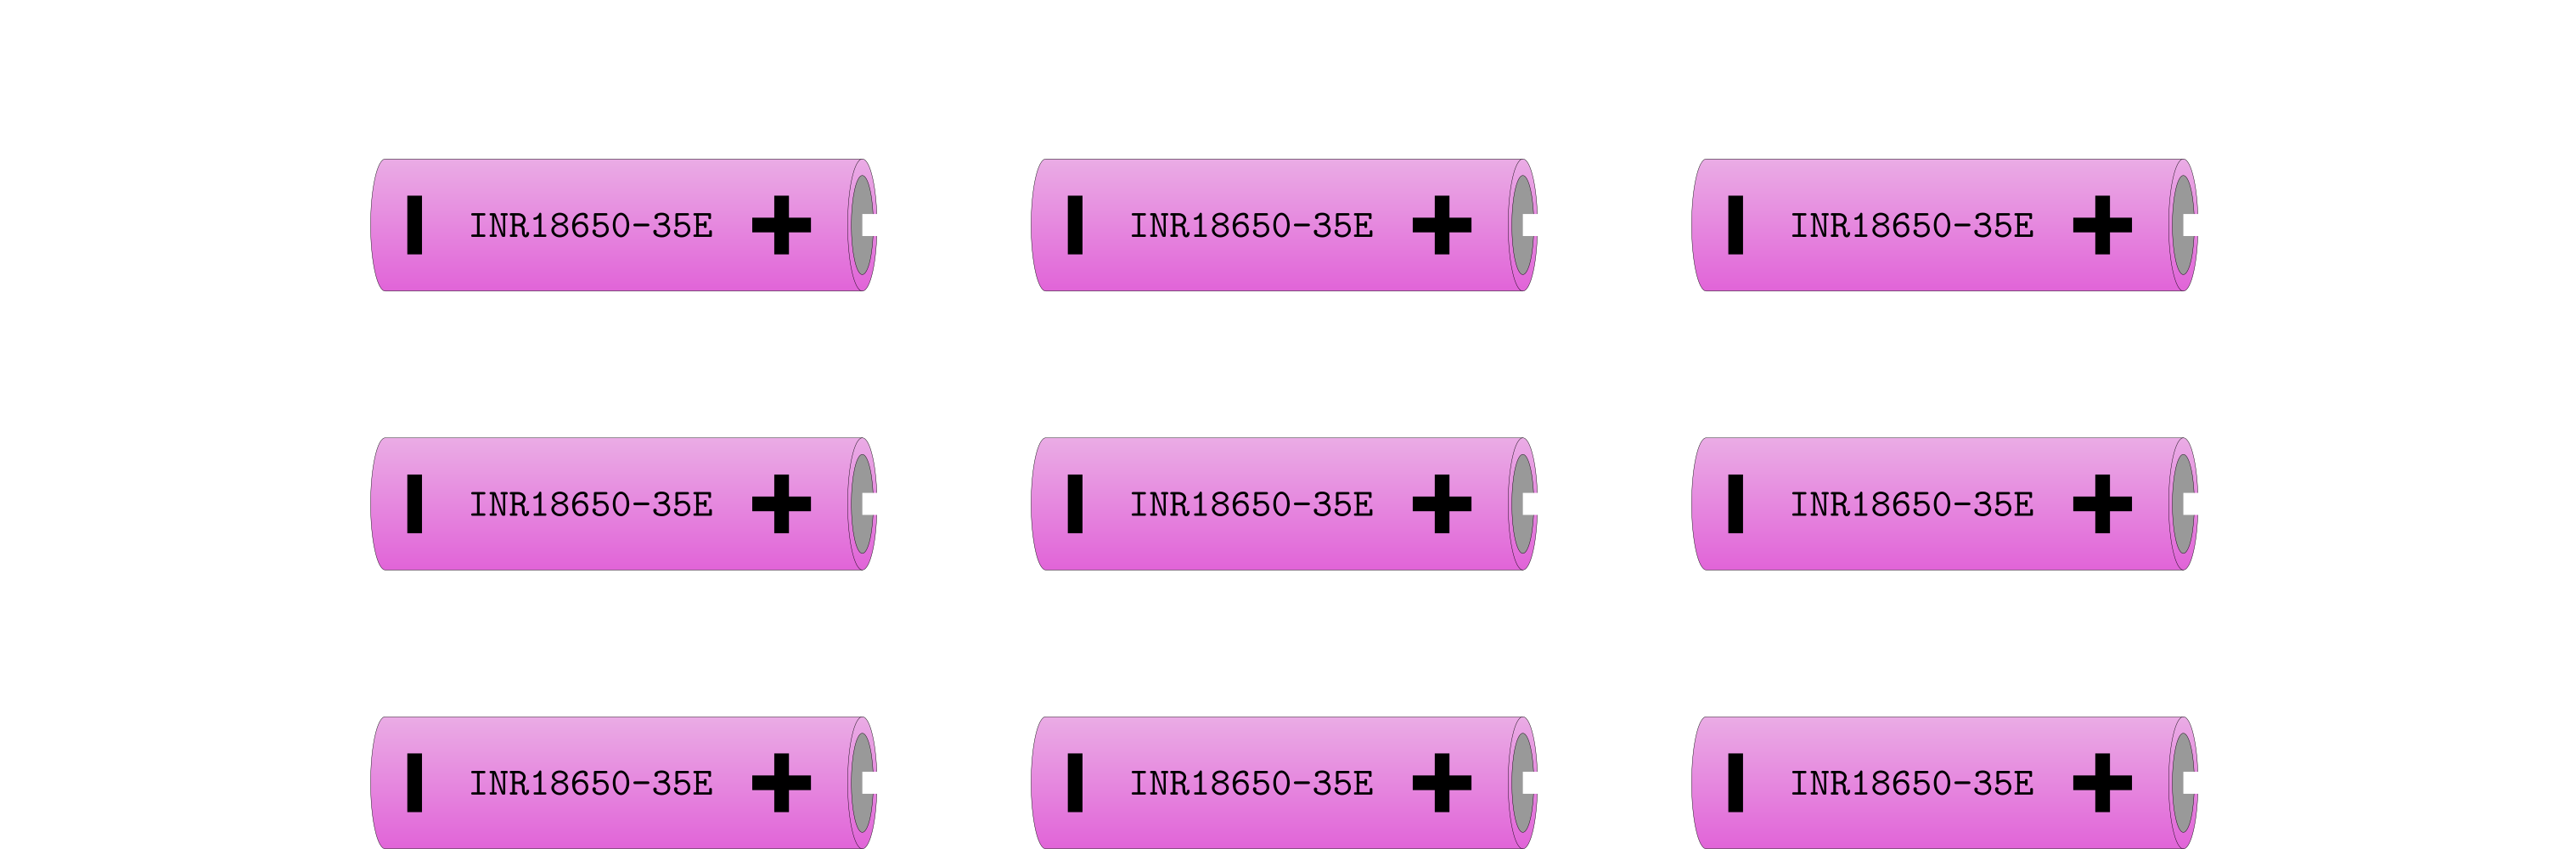
With an inner diameter of 19.6mm, there was not a lot of room for the battery inside the steel tube, but luckily, the pretty common 18560 cells fit snugly in there. To connect the cells together, I used pieces of bent copper and self-sticking copper foil. I cut a straight channel into a piece of wood which kept the cells perfectly in line during assembly. I also added a bolt and a nut on one end to press the cells gently together.
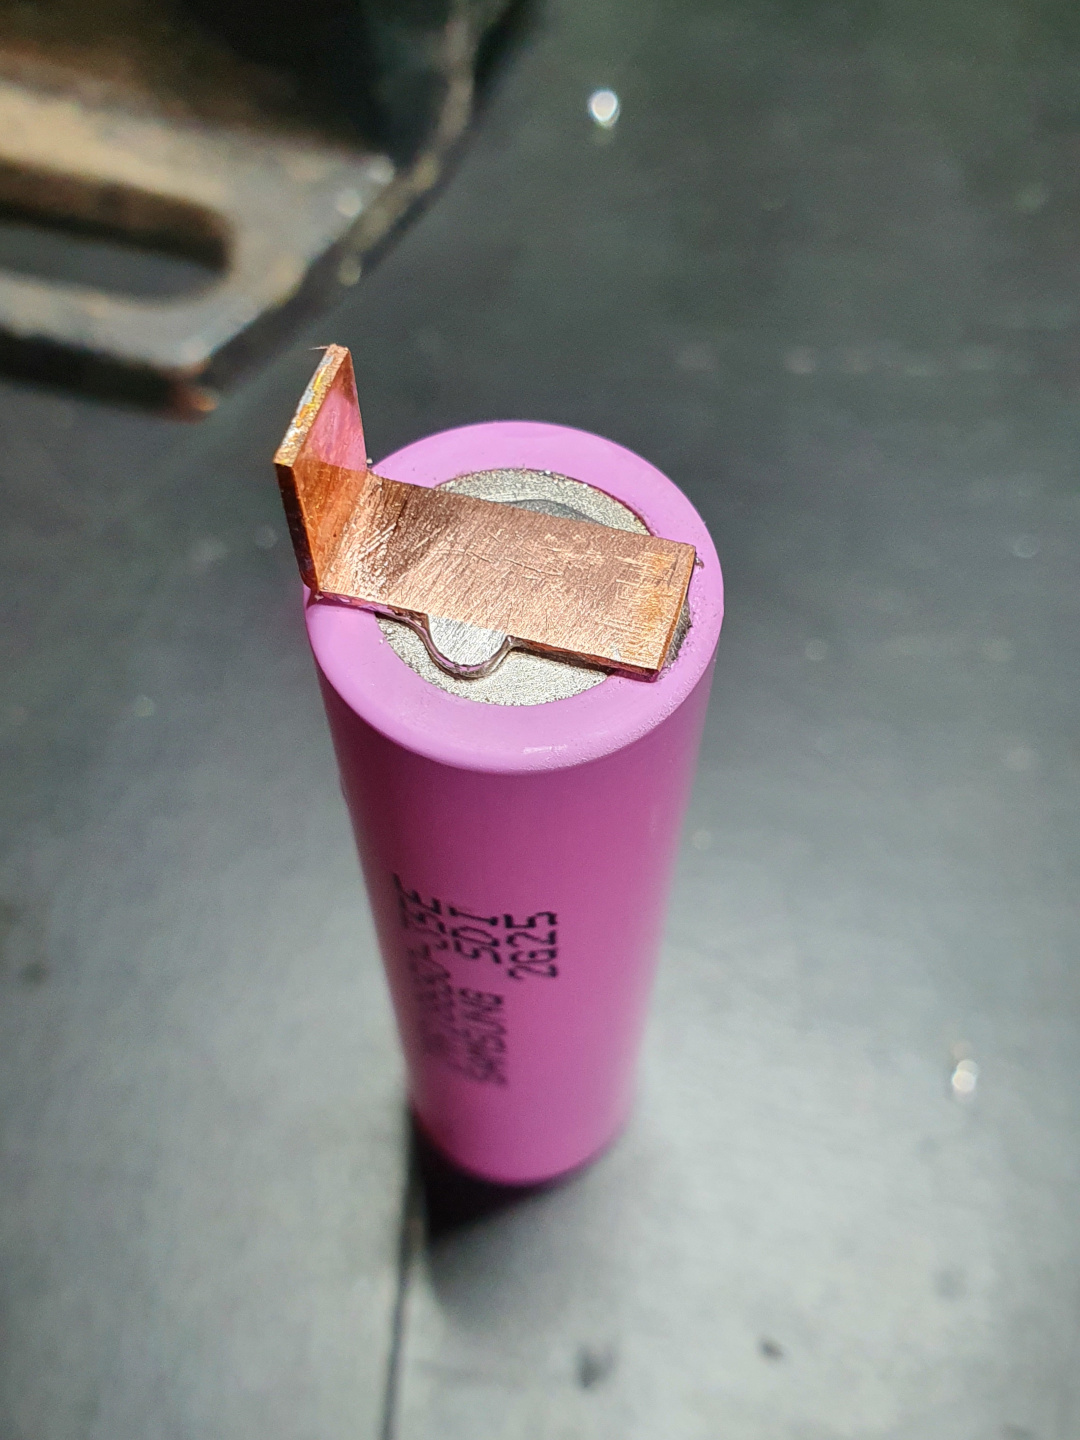
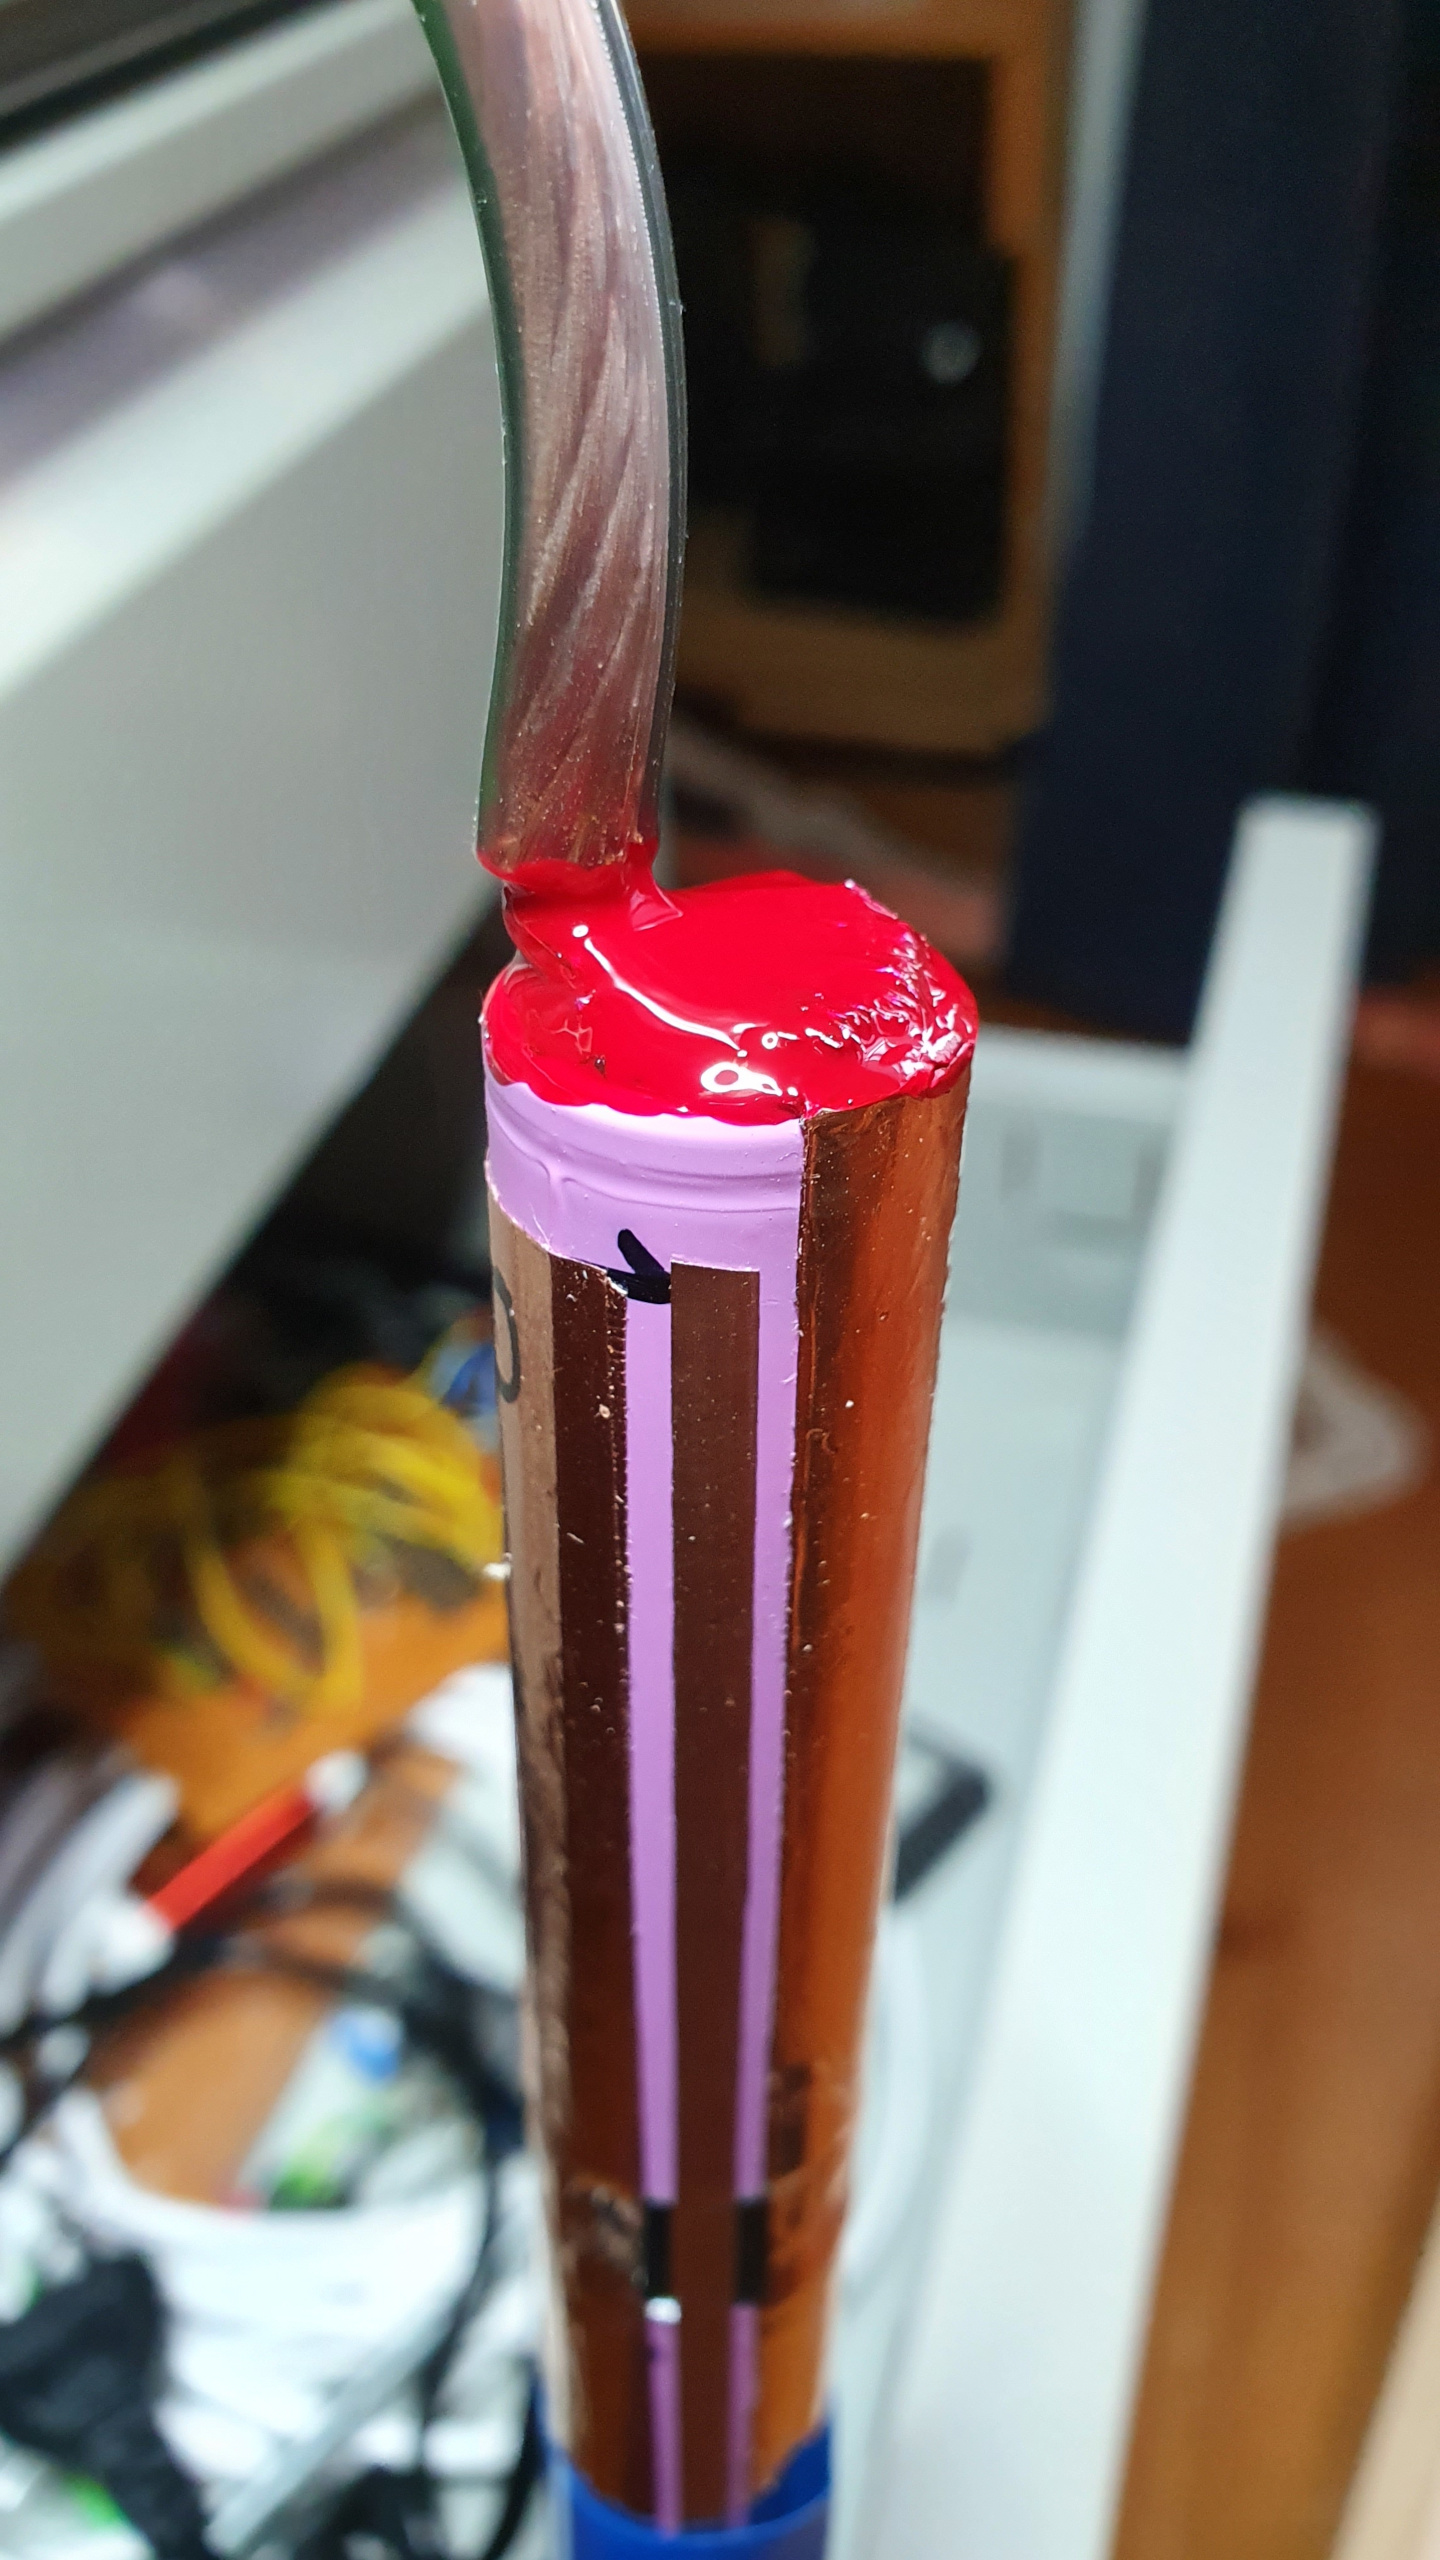
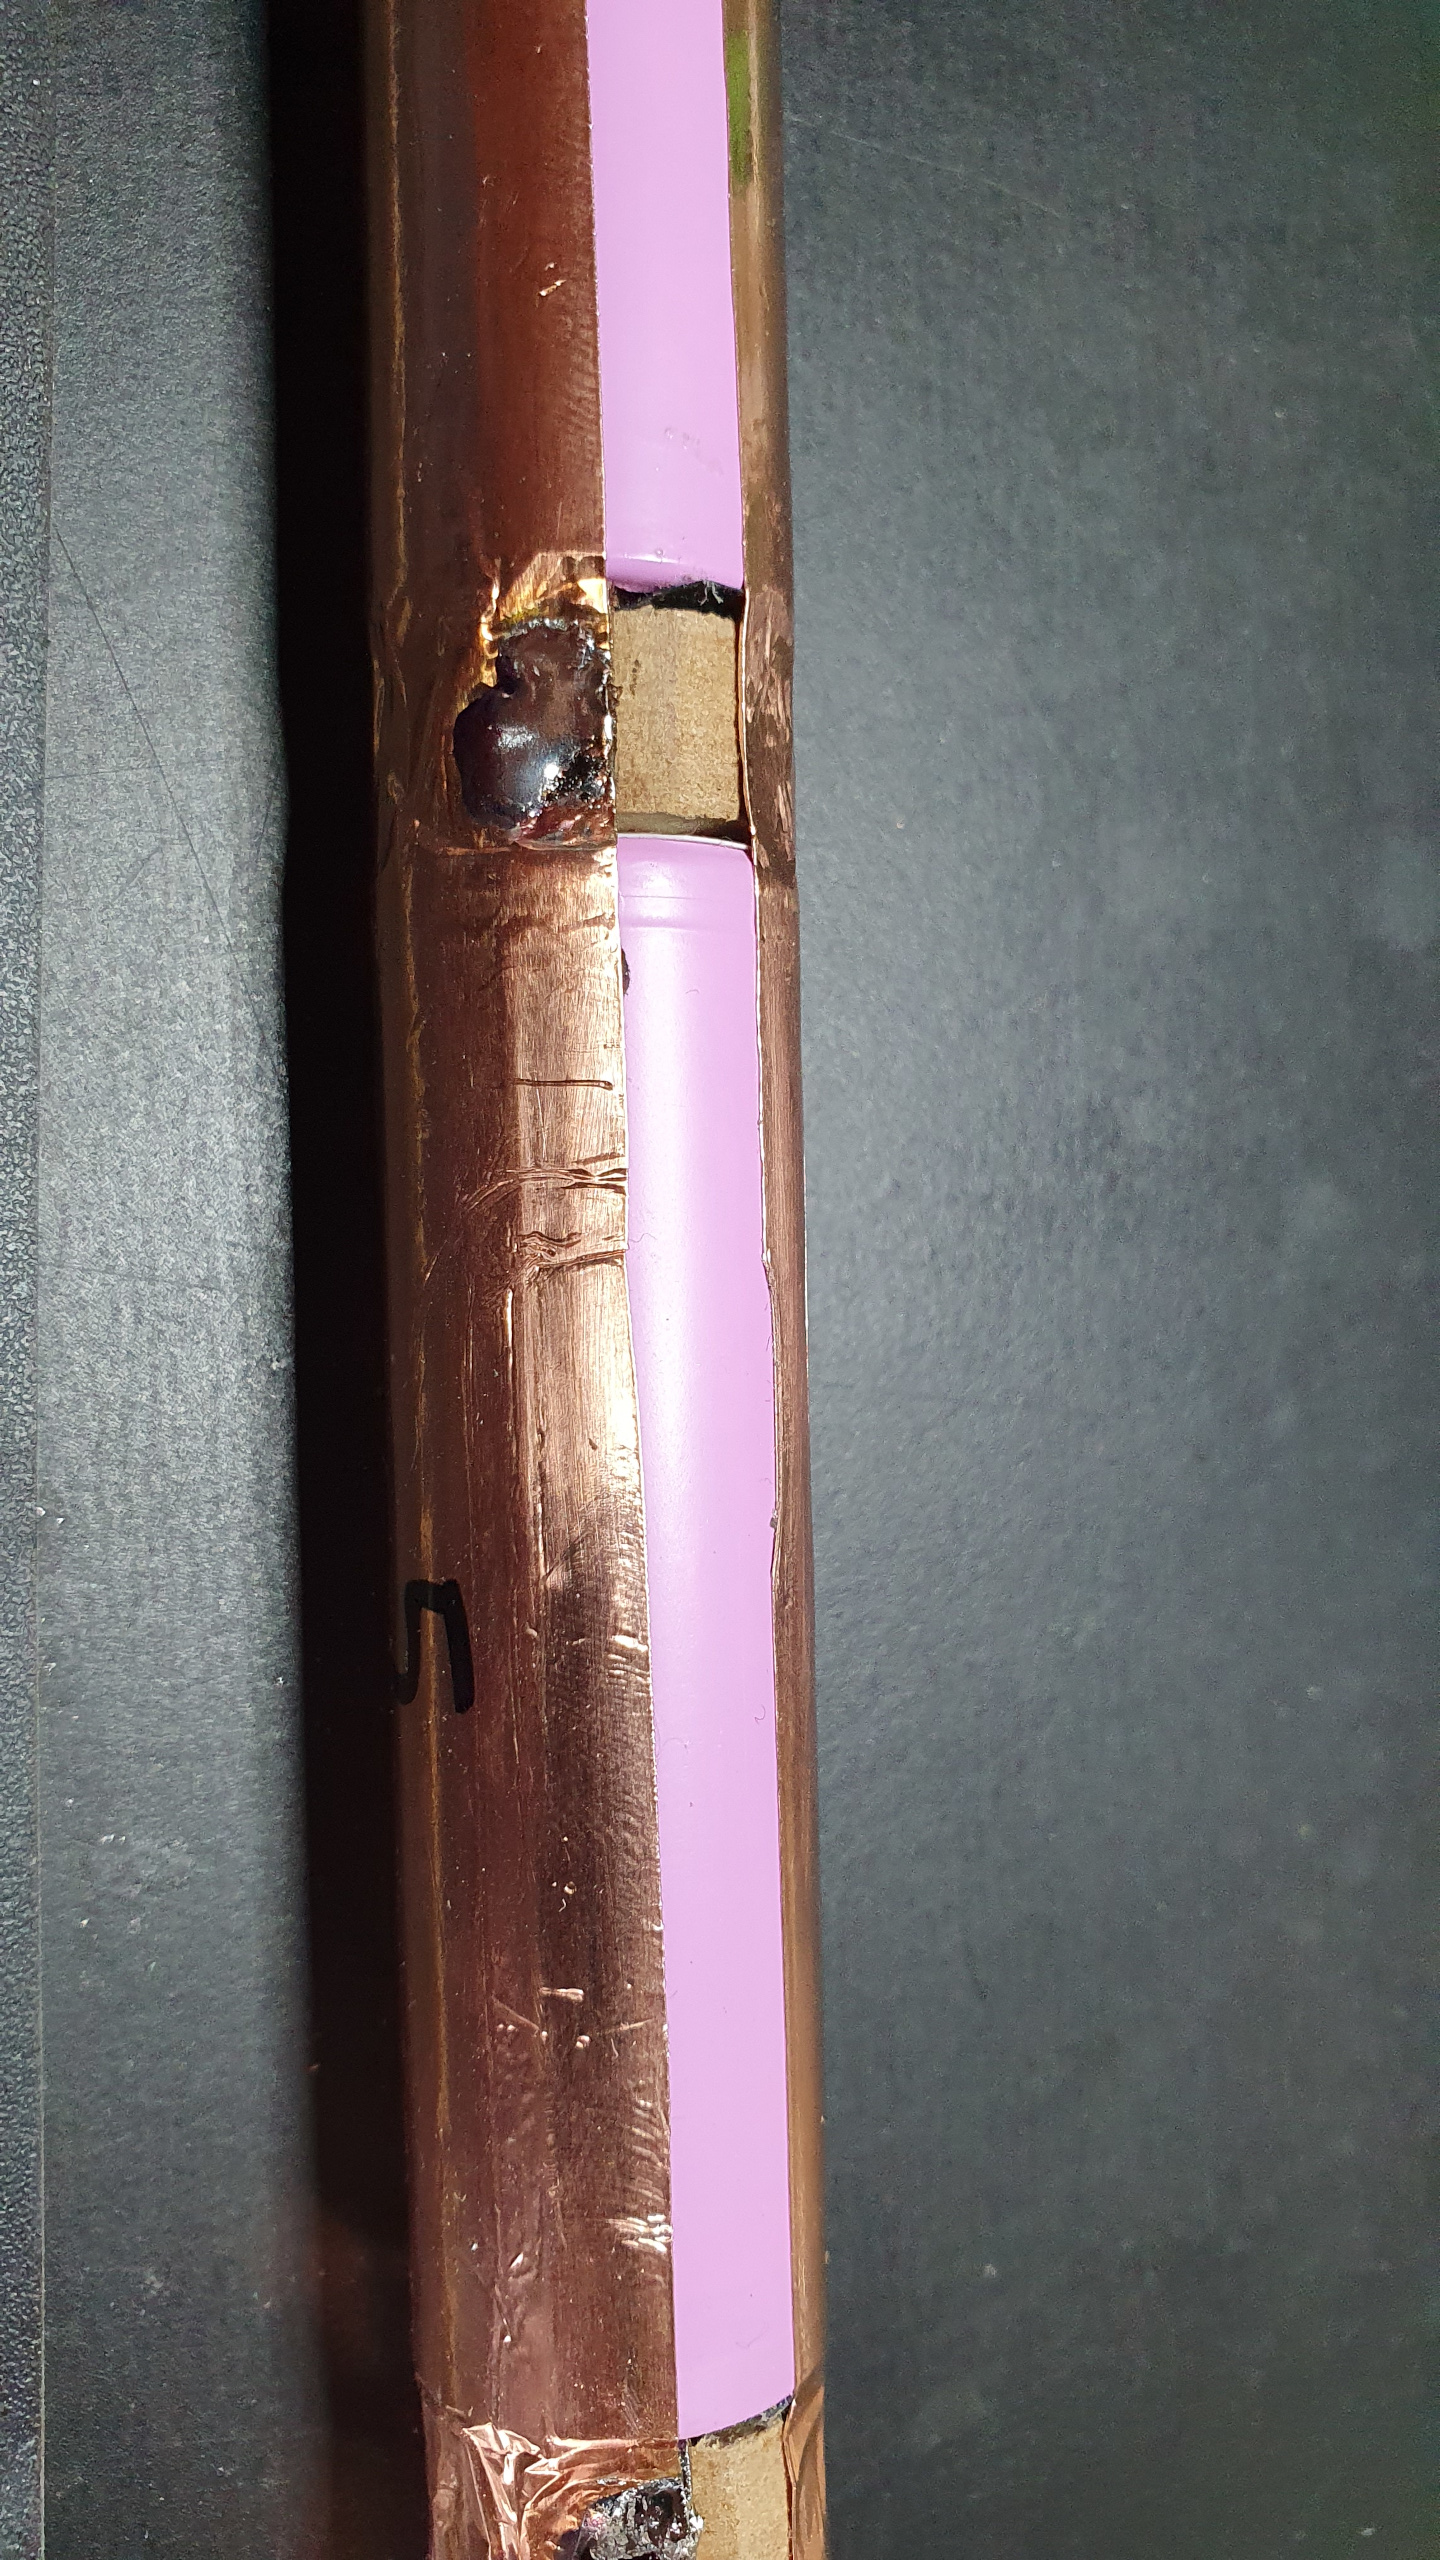
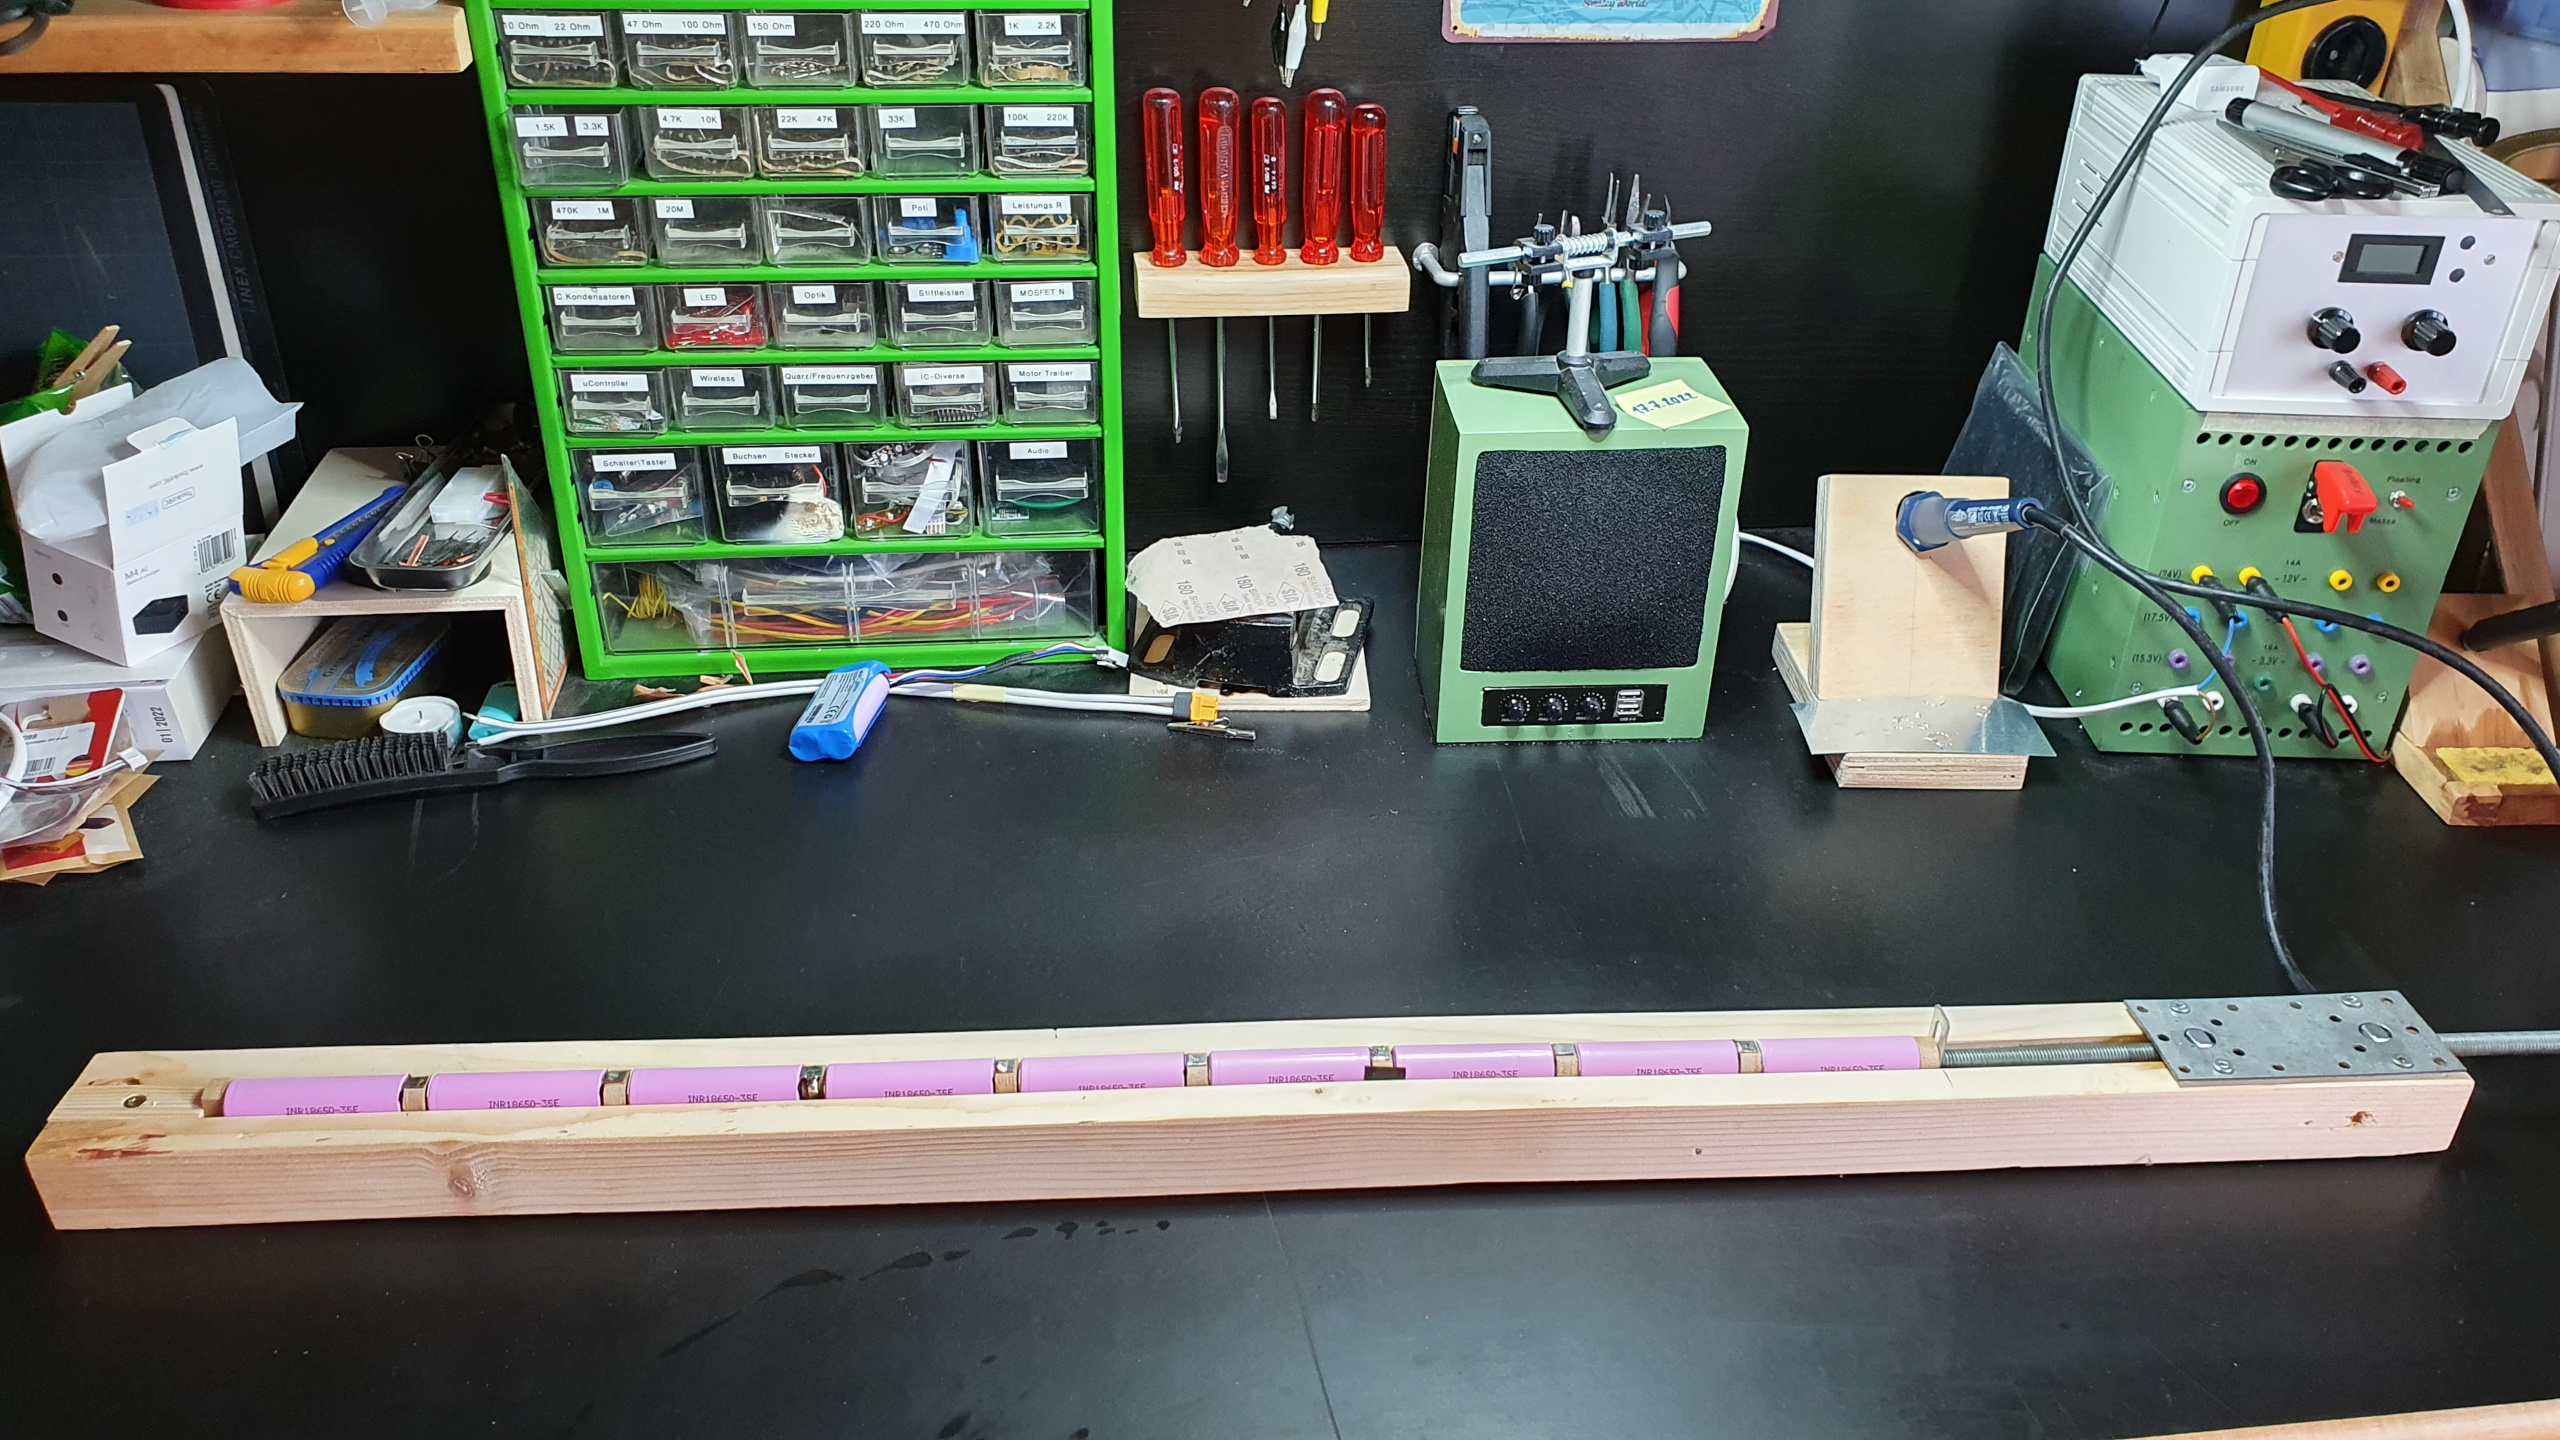
One must be very careful so that the cells do not overheat. A spot welder would be the right tool to connect the cells together, but unfortunately I don’t have one. So I just took a large soldering iron and was careful. The top cell got connected to a 4mm² copper wire an covered with a ton of nail polish for insulation. Then I added a very thin NTC resistor on one of the cells to measure the cell temperature. Finally, the cells were wrapped with two layers of heat shrink tubing.
Make sure that all the cells have the same voltage before connecting them together! Otherwise, huge currents will flow which can lead to the destruction of the cells!
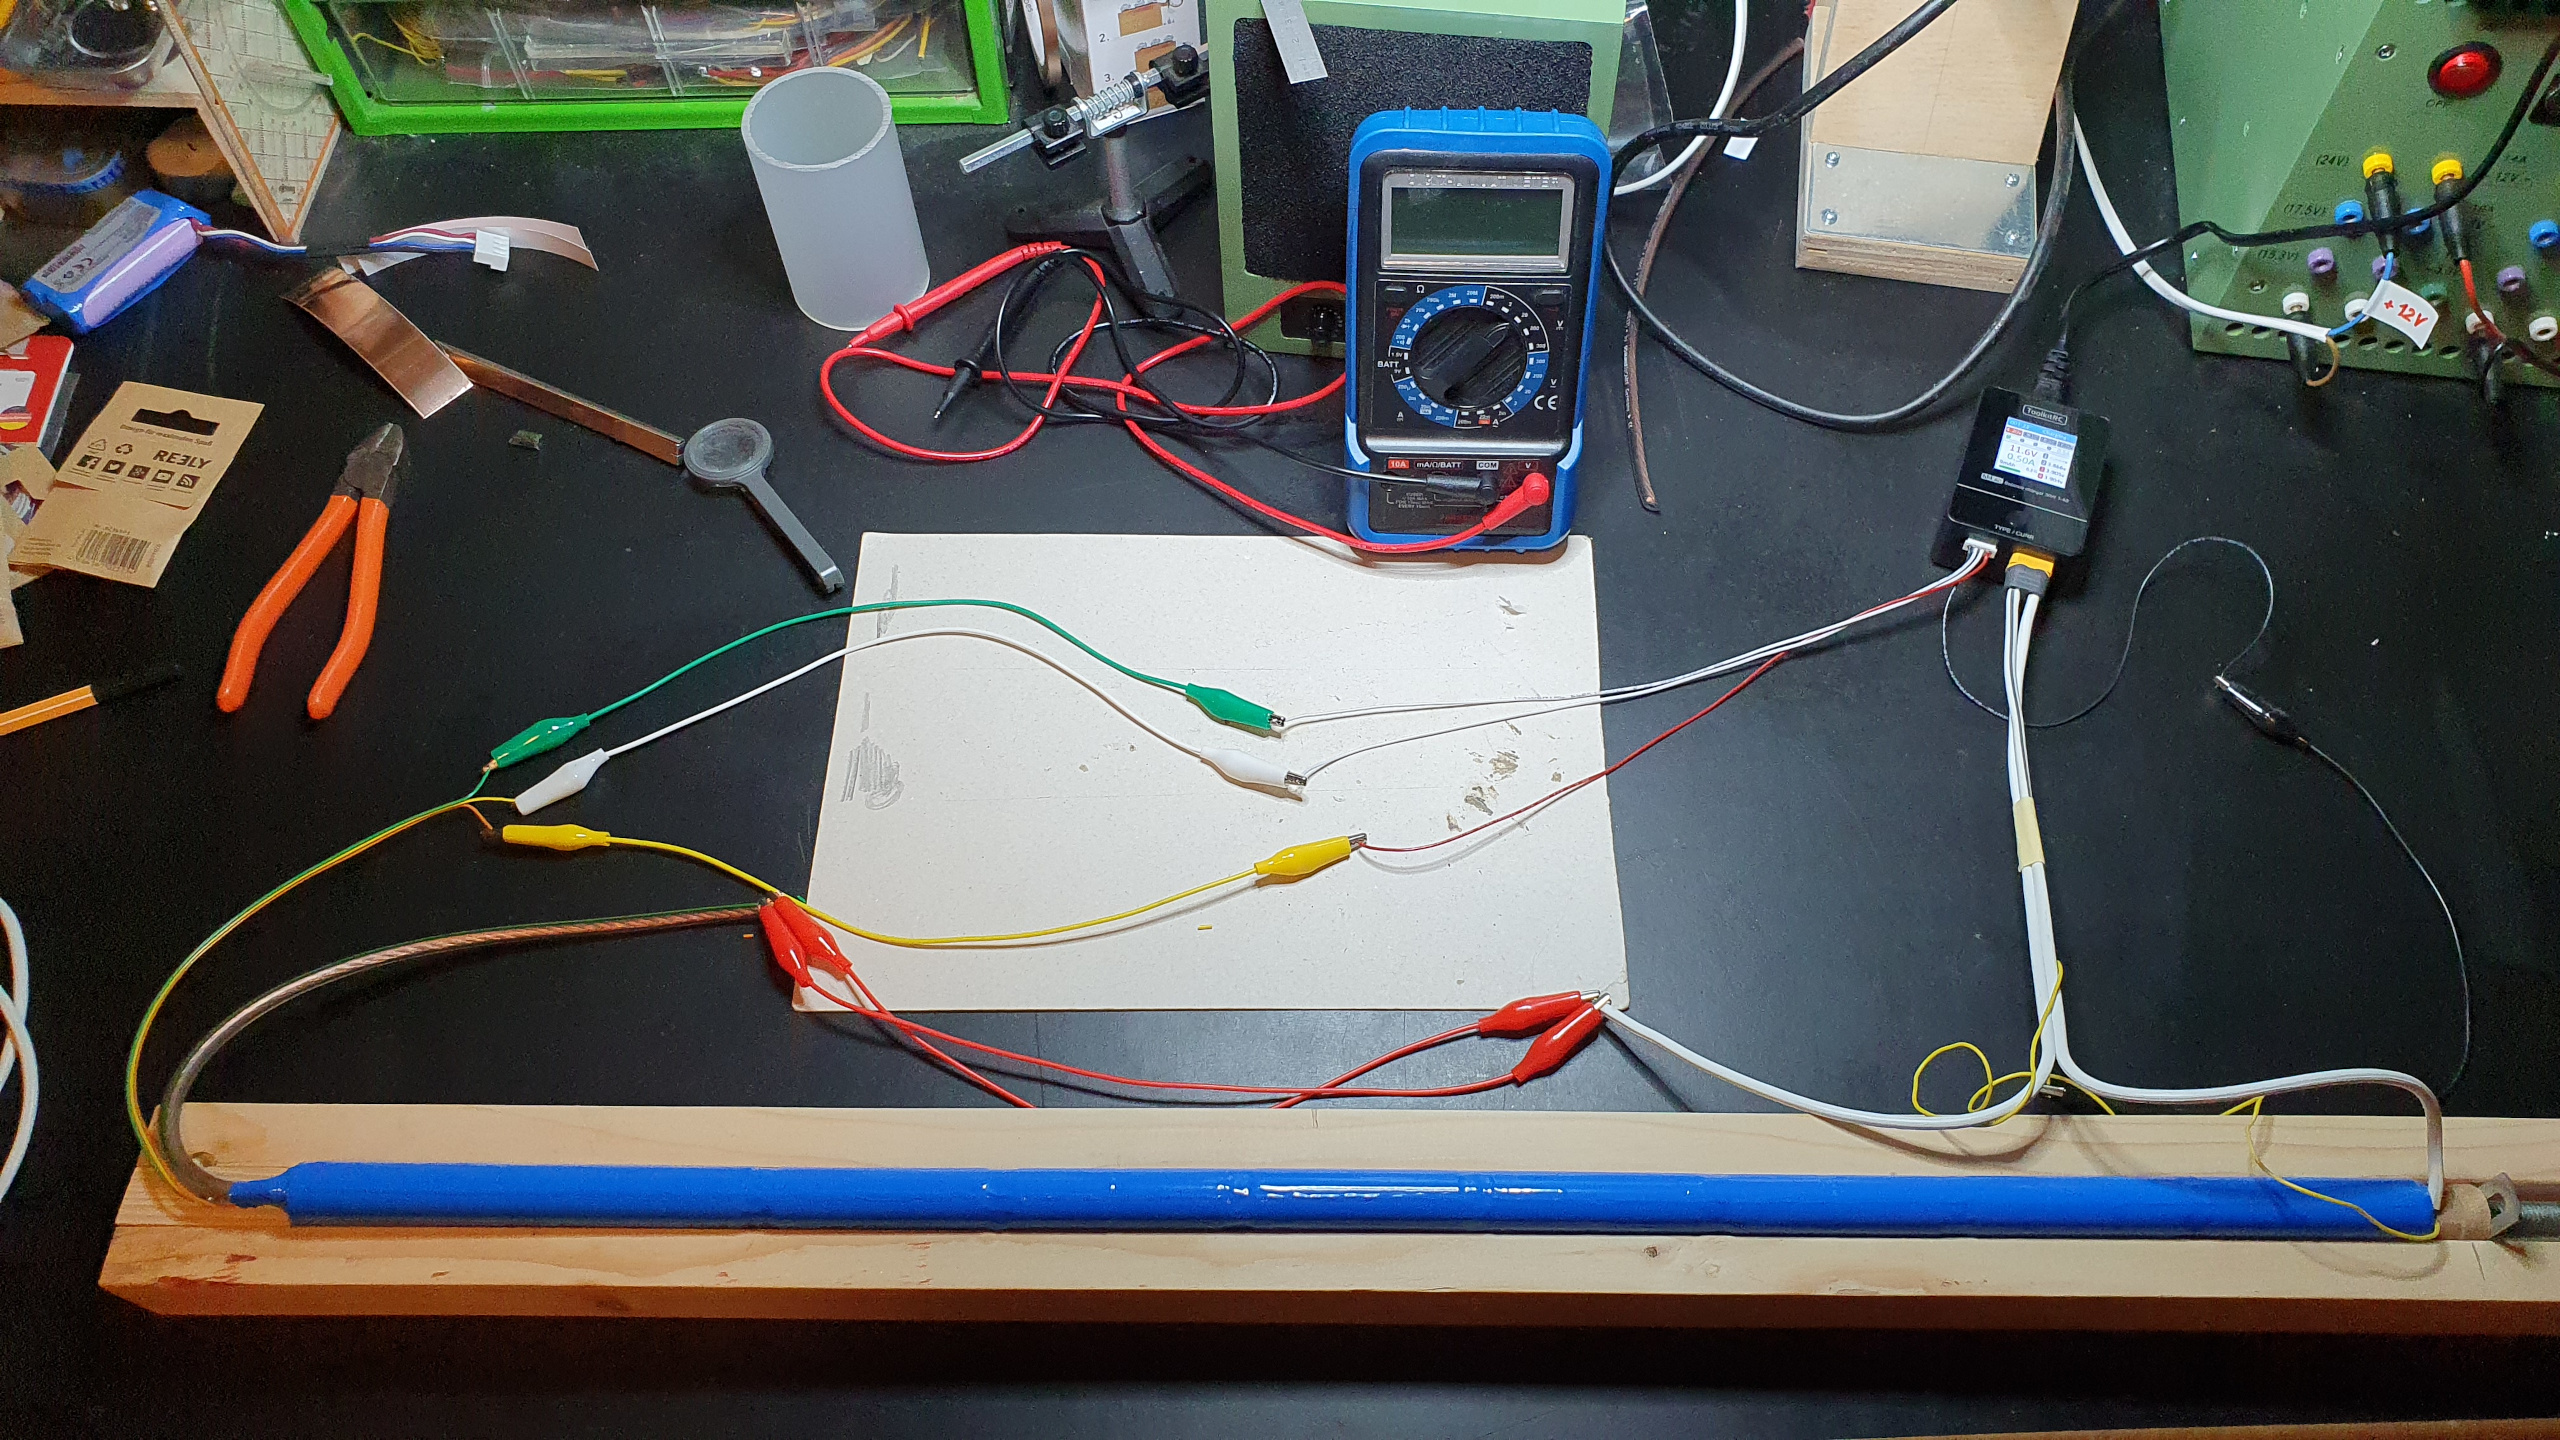
The pack was then charged. I have a 3S3P configuration, so three cells in series and three parallel.