Reaction Light - Lumi
2026-09-19
The other day i was watching Drive to survive, the Netflix show about Formula 1. There i saw the drivers training their reaction using a device called BlazePod, which seemed very fun. So i made my own.
This project started way back in 2023, where i made four prototypes. I never got the software done to a degree that was actually usable. This summer, I got some free time and a claude code subscription, which really made it easy creating a working prototype.
Hardware
| Qty | Hardware | Description |
|---|---|---|
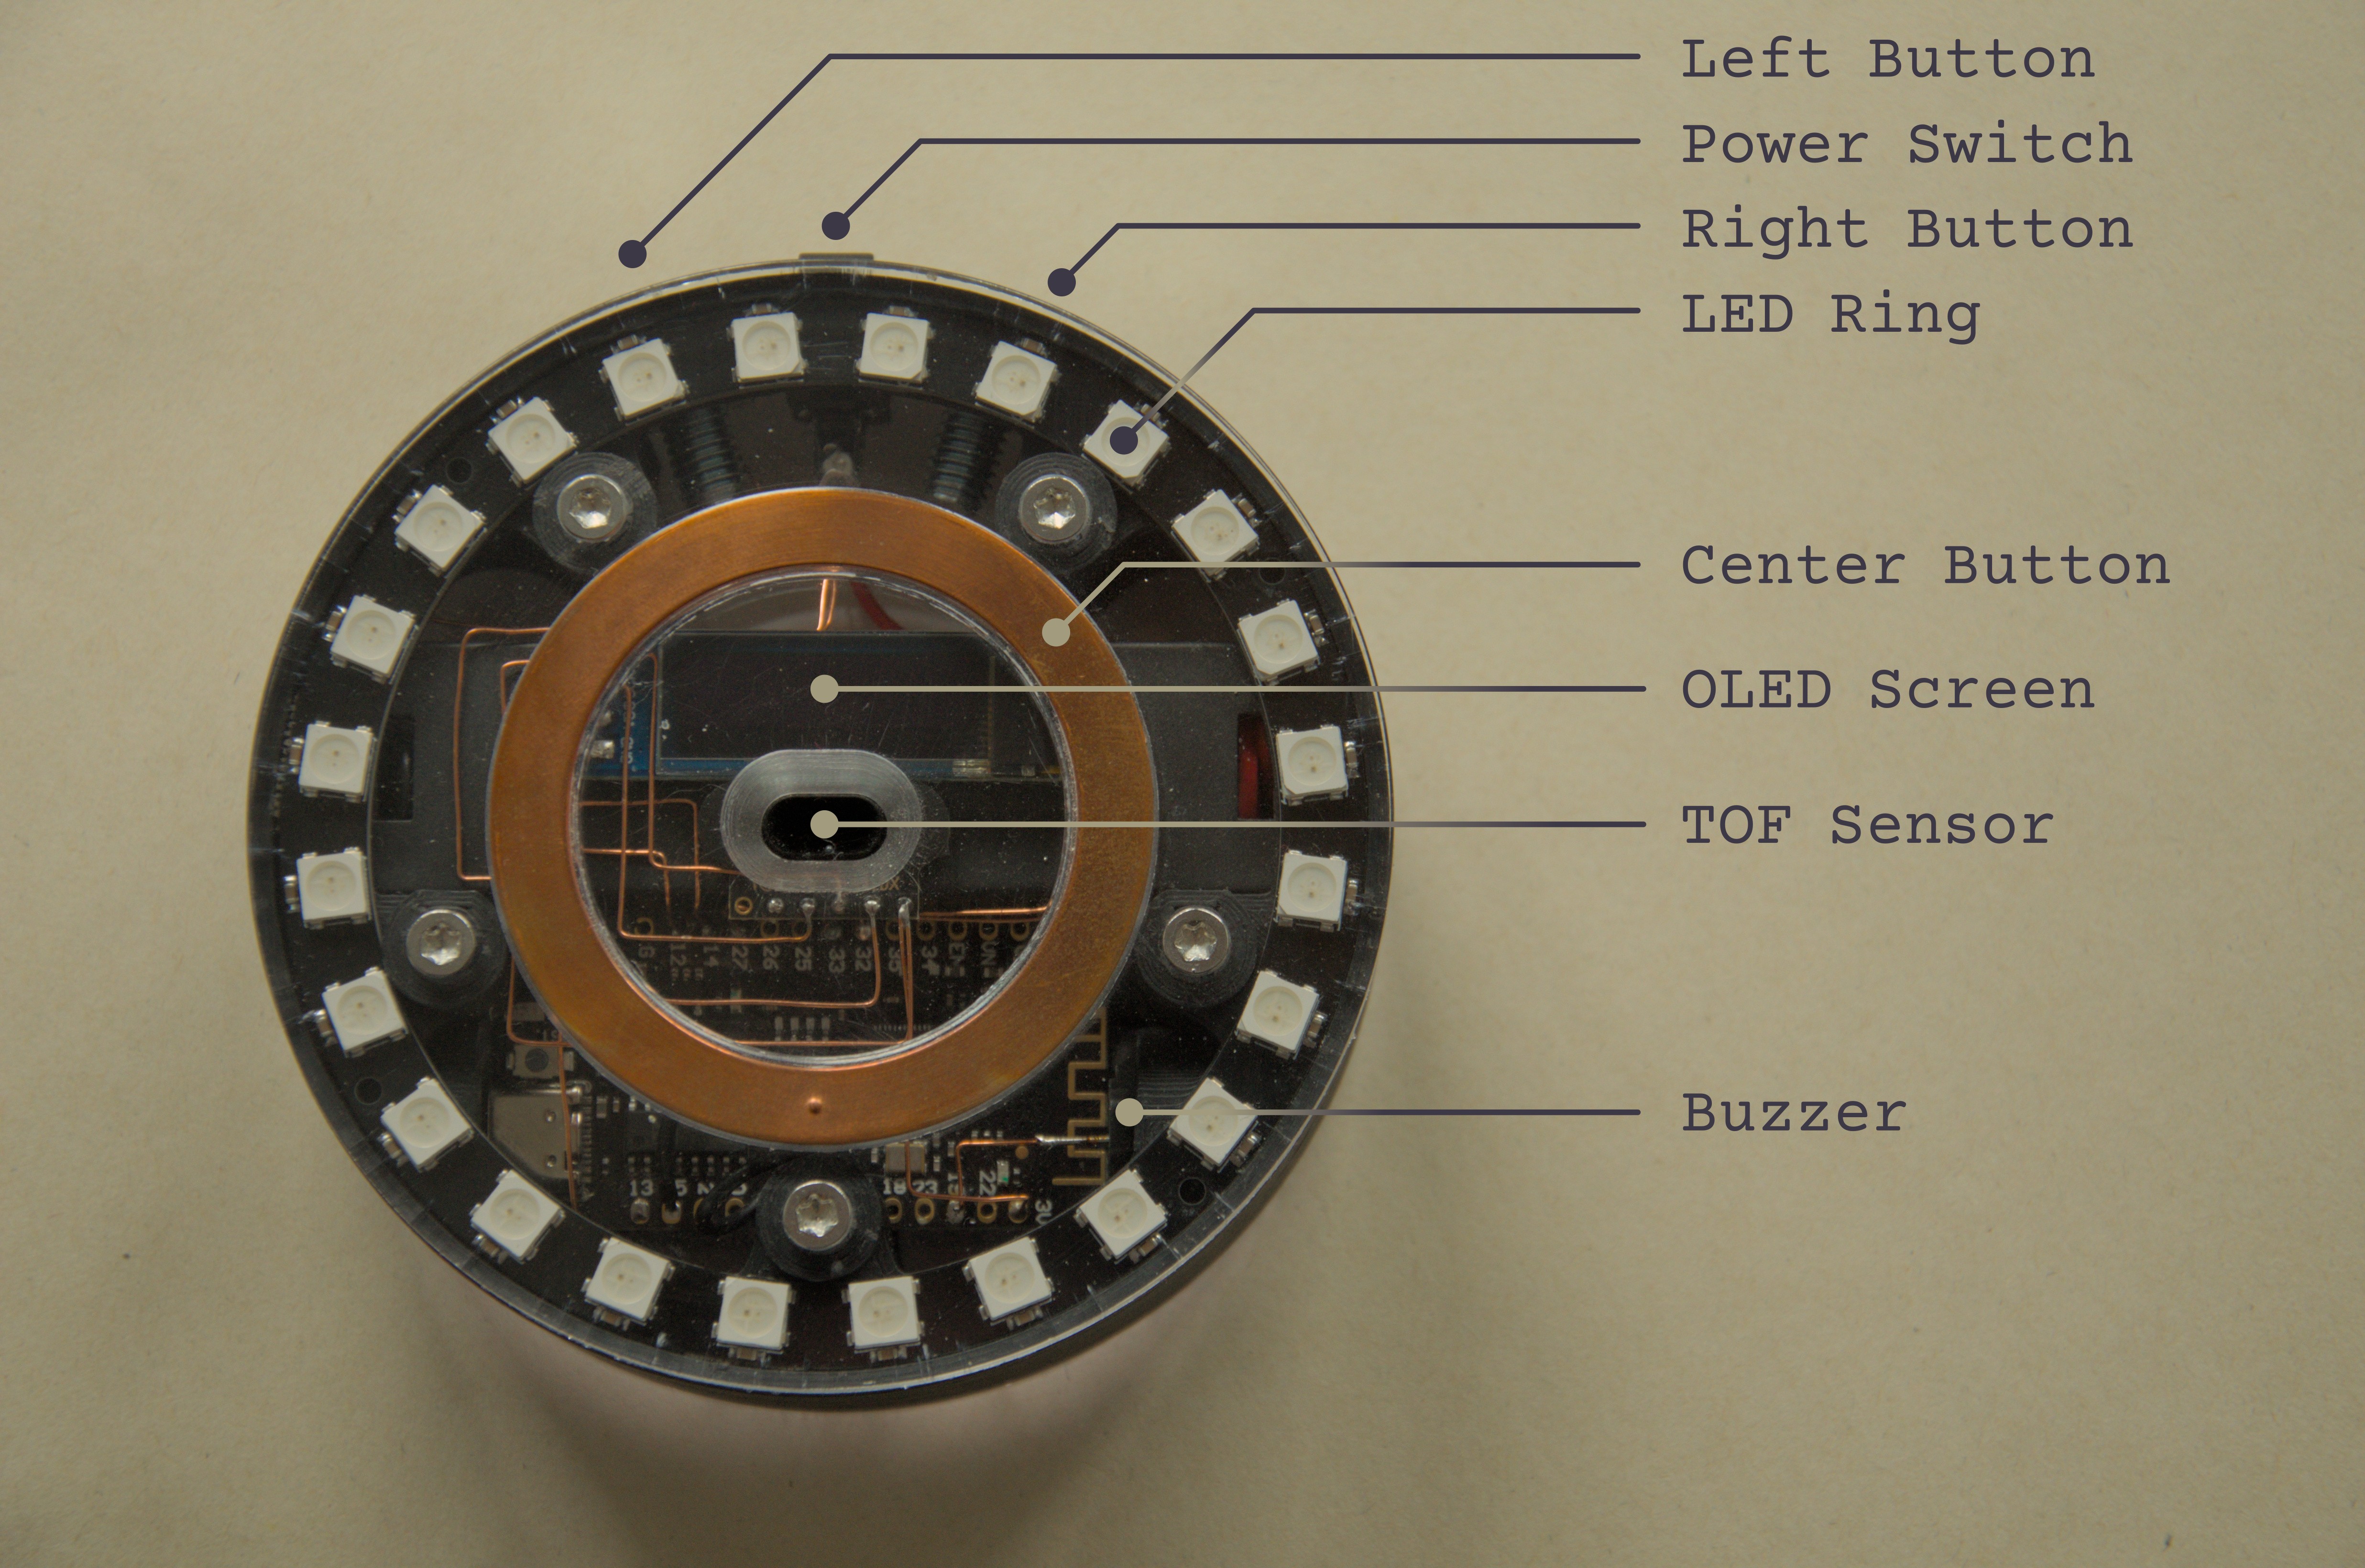
| 1x | Wemos Lolin32 Lite | Microcontroller that runs the firmware. |
| 2x | Large Screws | For the left and right capacitive touch buttons. |
| 1x | Copper Ring | For the center capacitive touch button. |
| 1x | Neopixel LED ring | Visual element for the games. |
| 1x | OLED SSD1306 | Main user interface. |
| 1x | TOF sensor VL53L0X | Used in games. |
| 1x | Piezo buzzer | Acoustic feedback. |
| 1x | 18650 battery cell | Power source. |
| 1x | Power switch | Connect / disconnect the battery. |
| 2x | Acrylic sheet | Front / back cover. |
| 1x | 3D printed case | Main body holding all parts together. |
| 10x | M3 inserts | To mount the front / back cover to the case. |
| 10x | M3 screws | To mount the front / back cover to the case. |
The design i came up with for the main body is quite complex, but i wanted to see how a 3D printer can handle it.
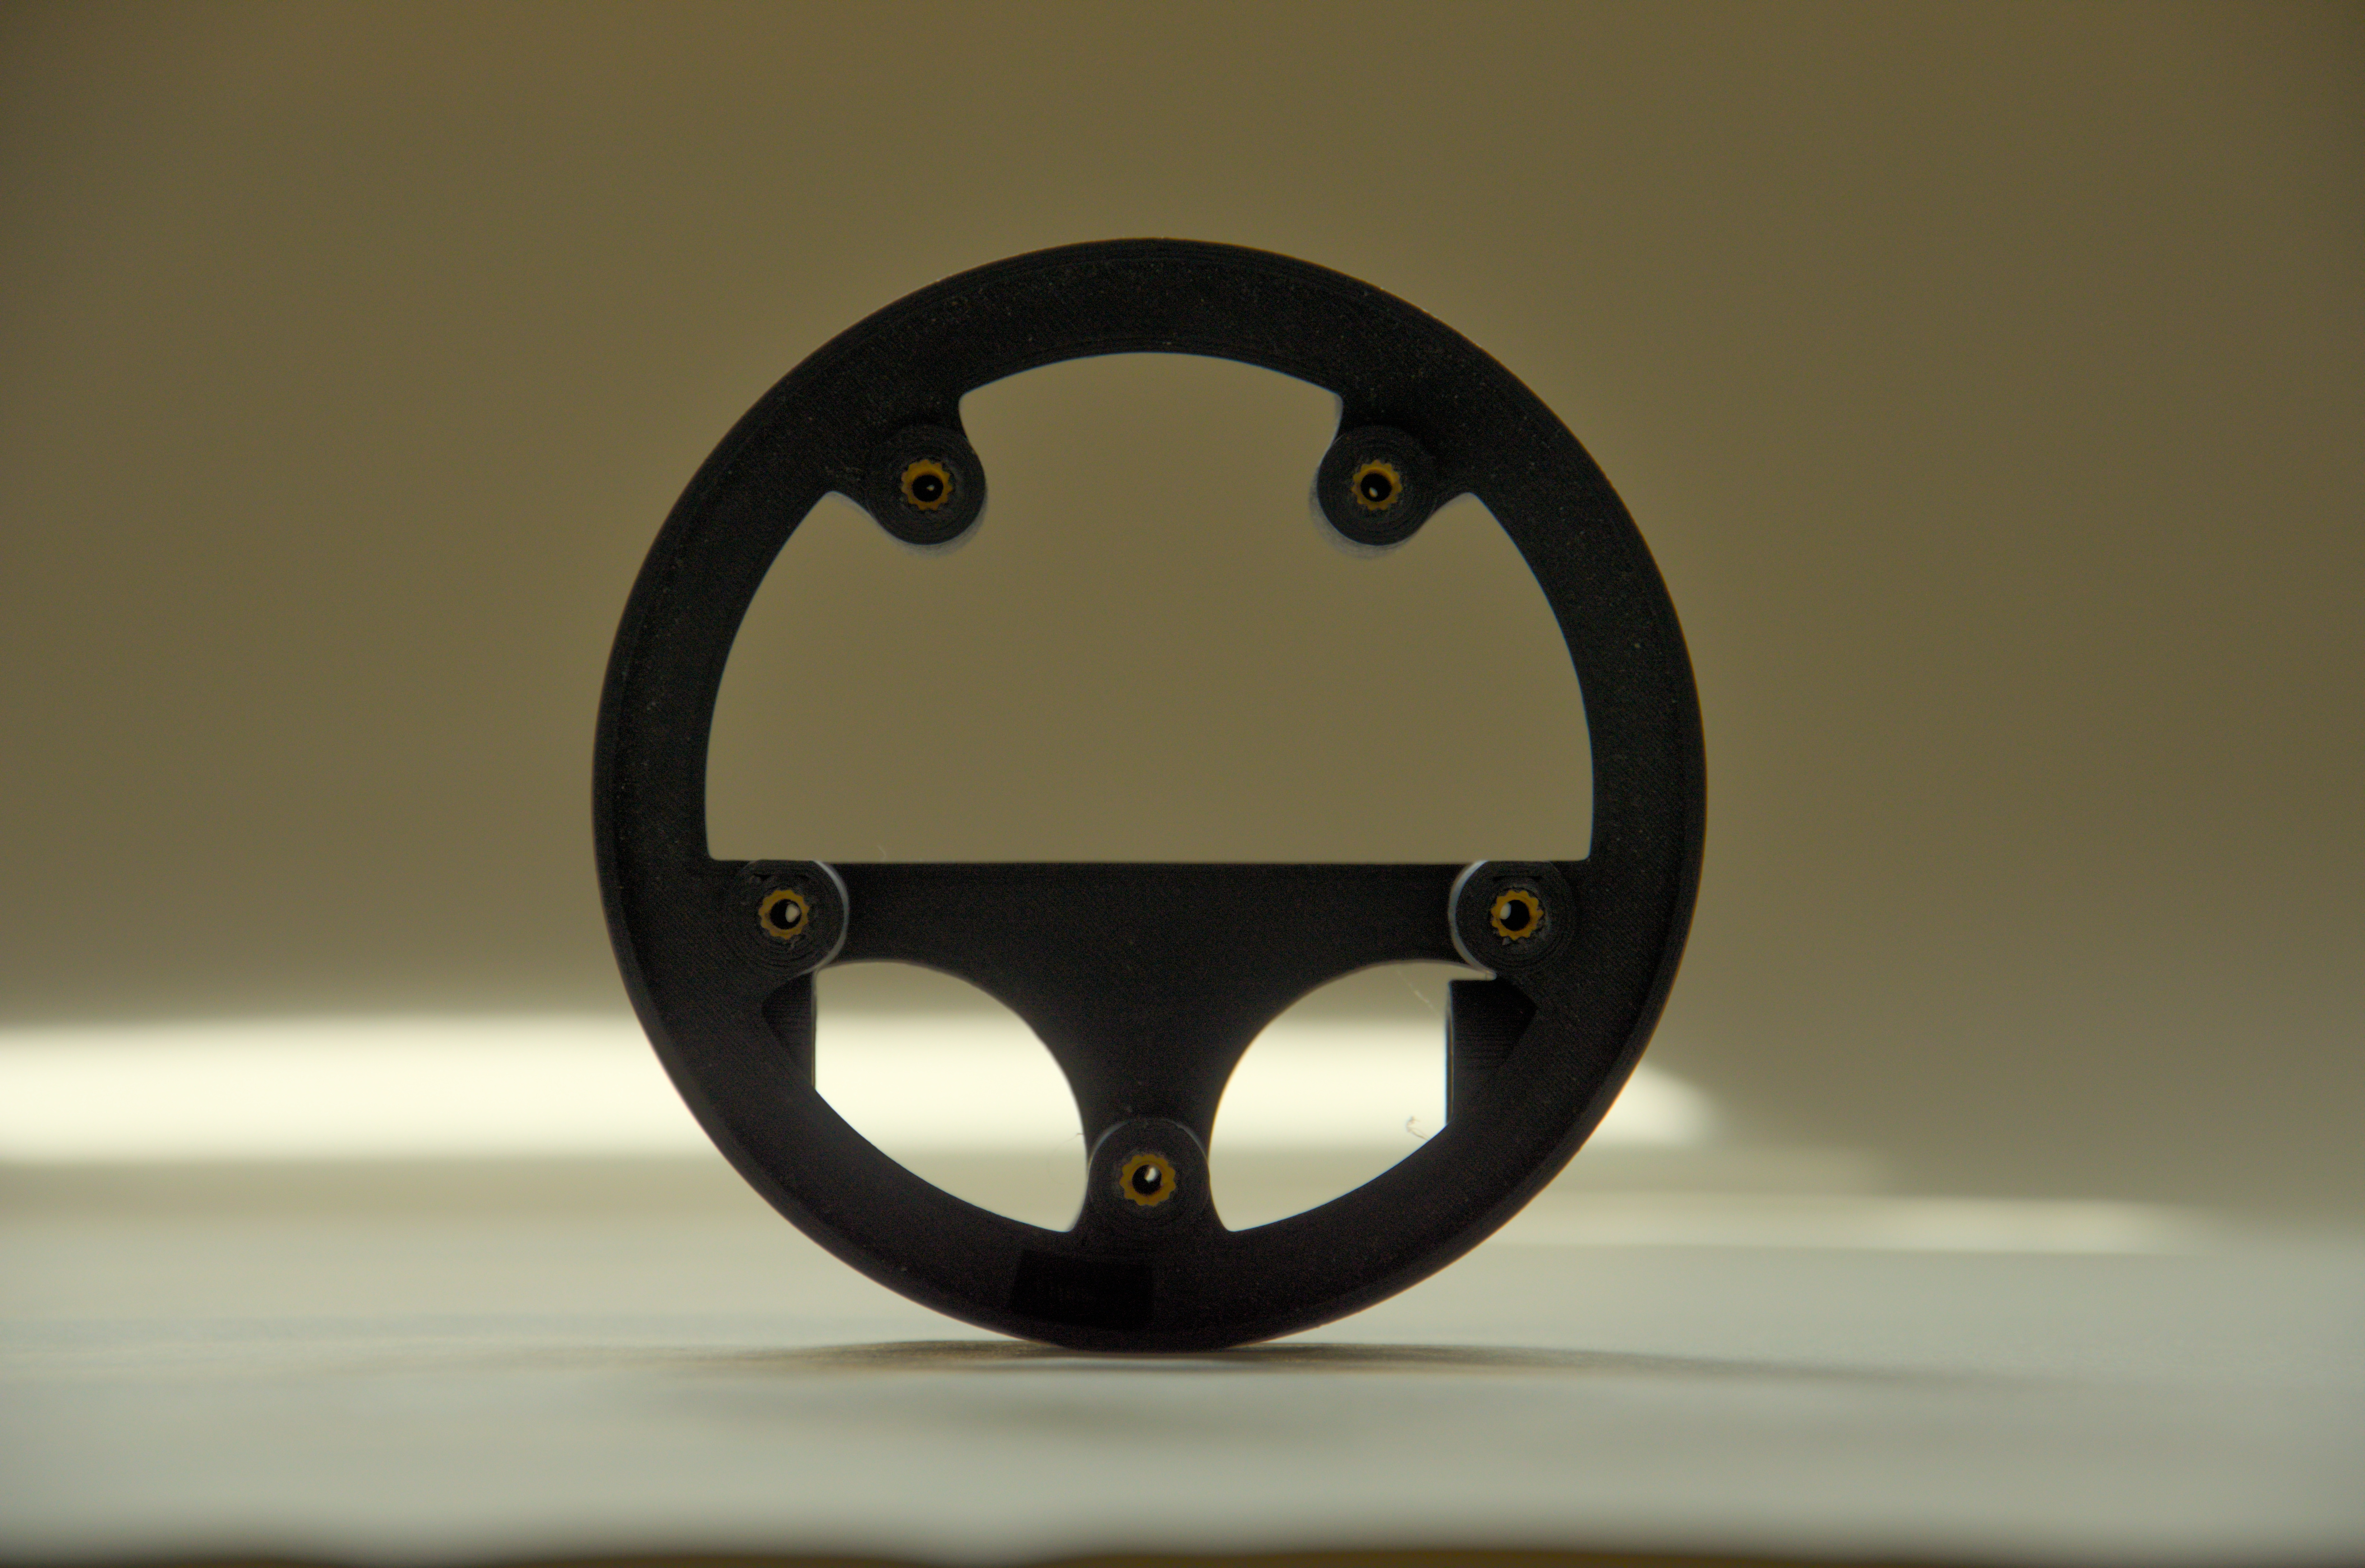
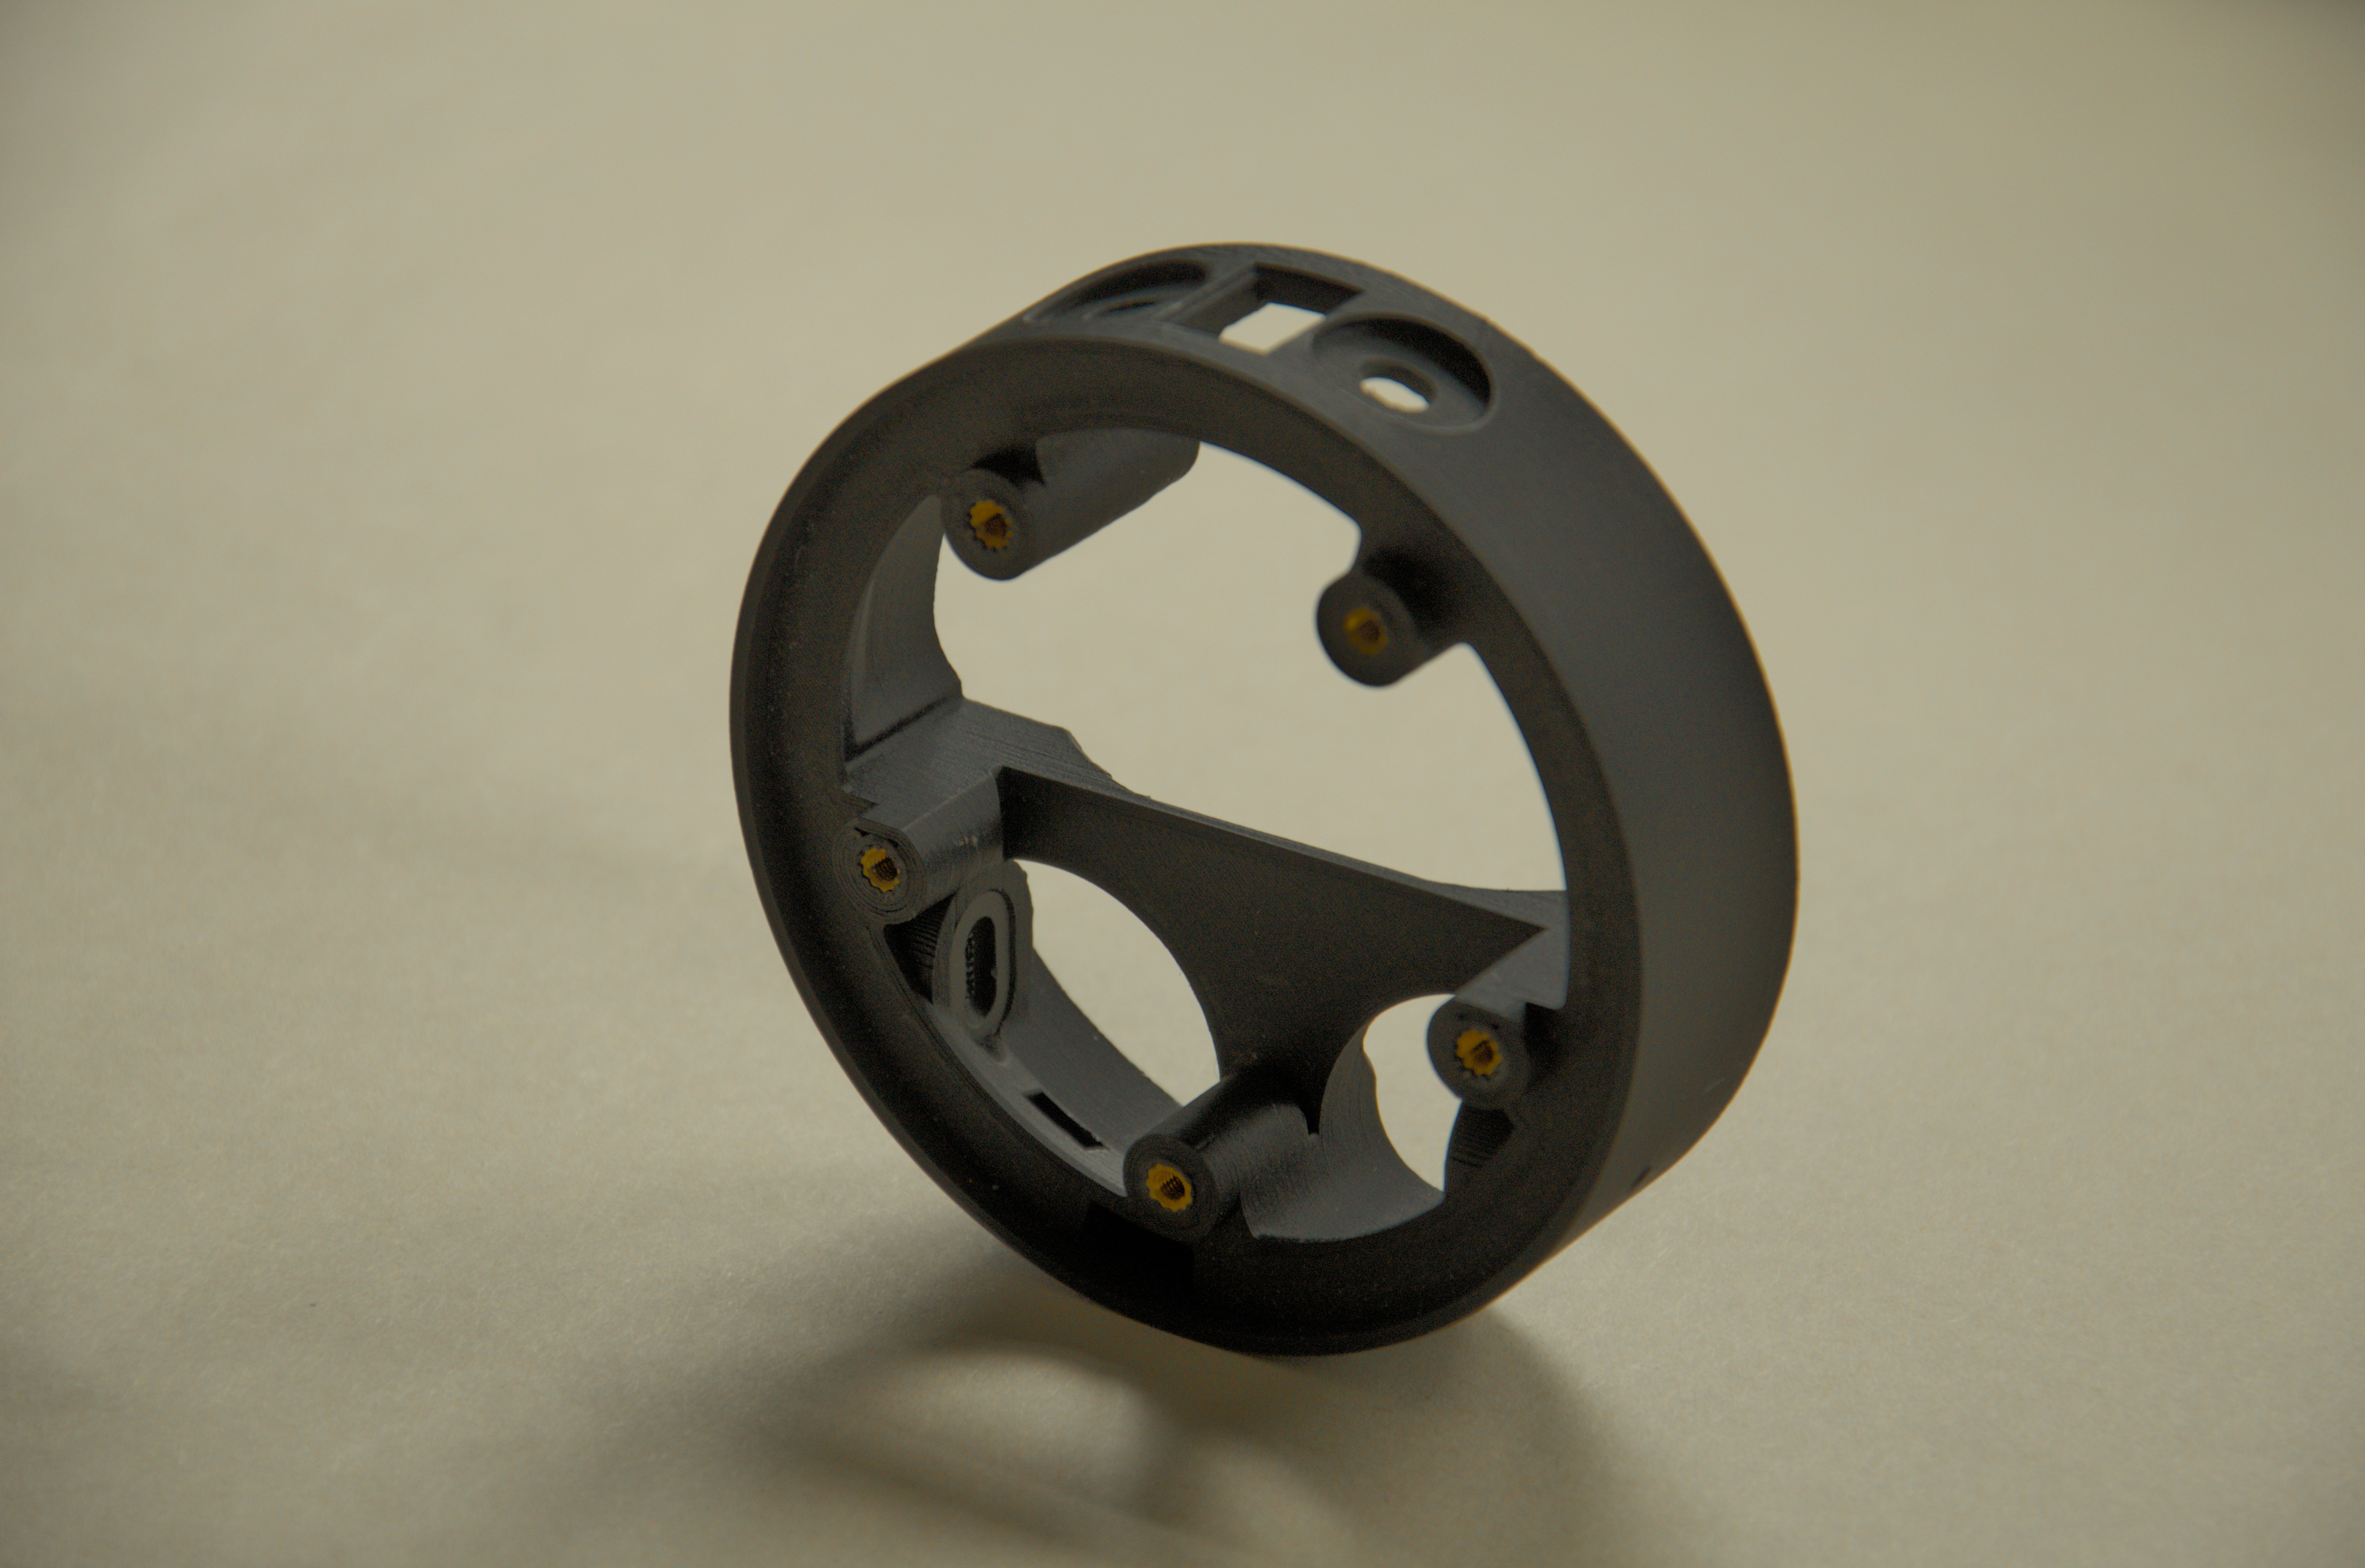
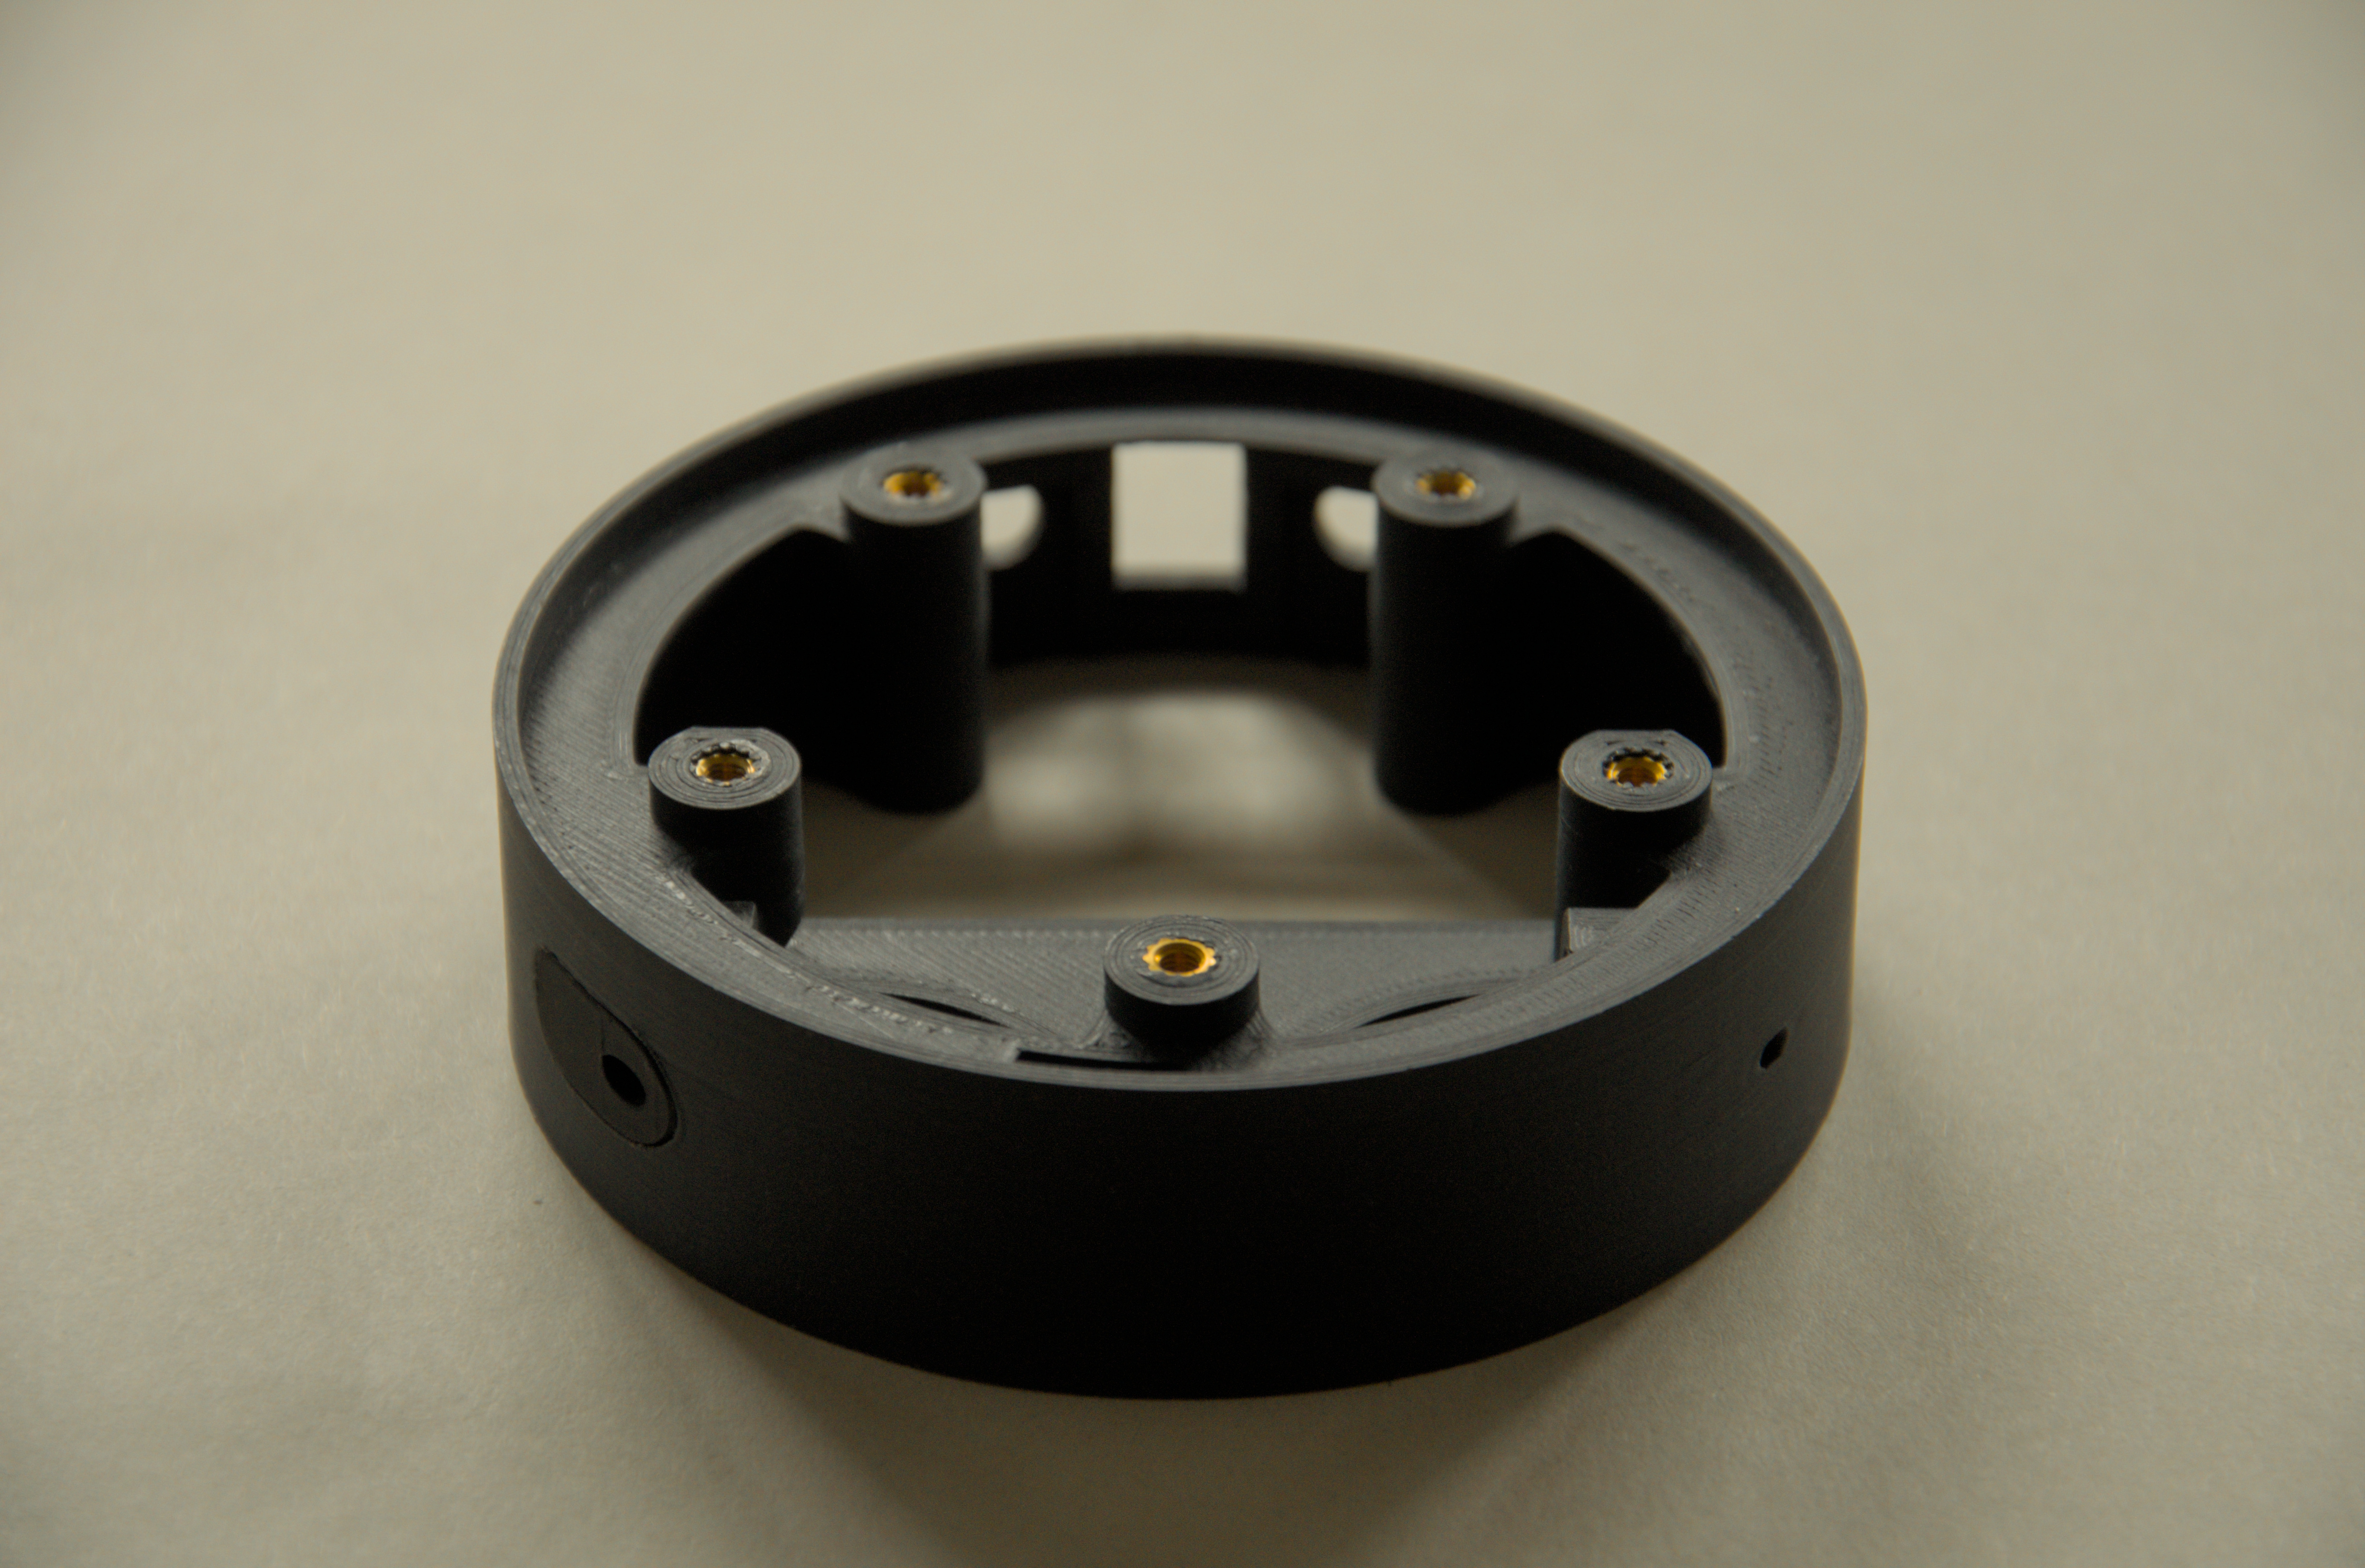
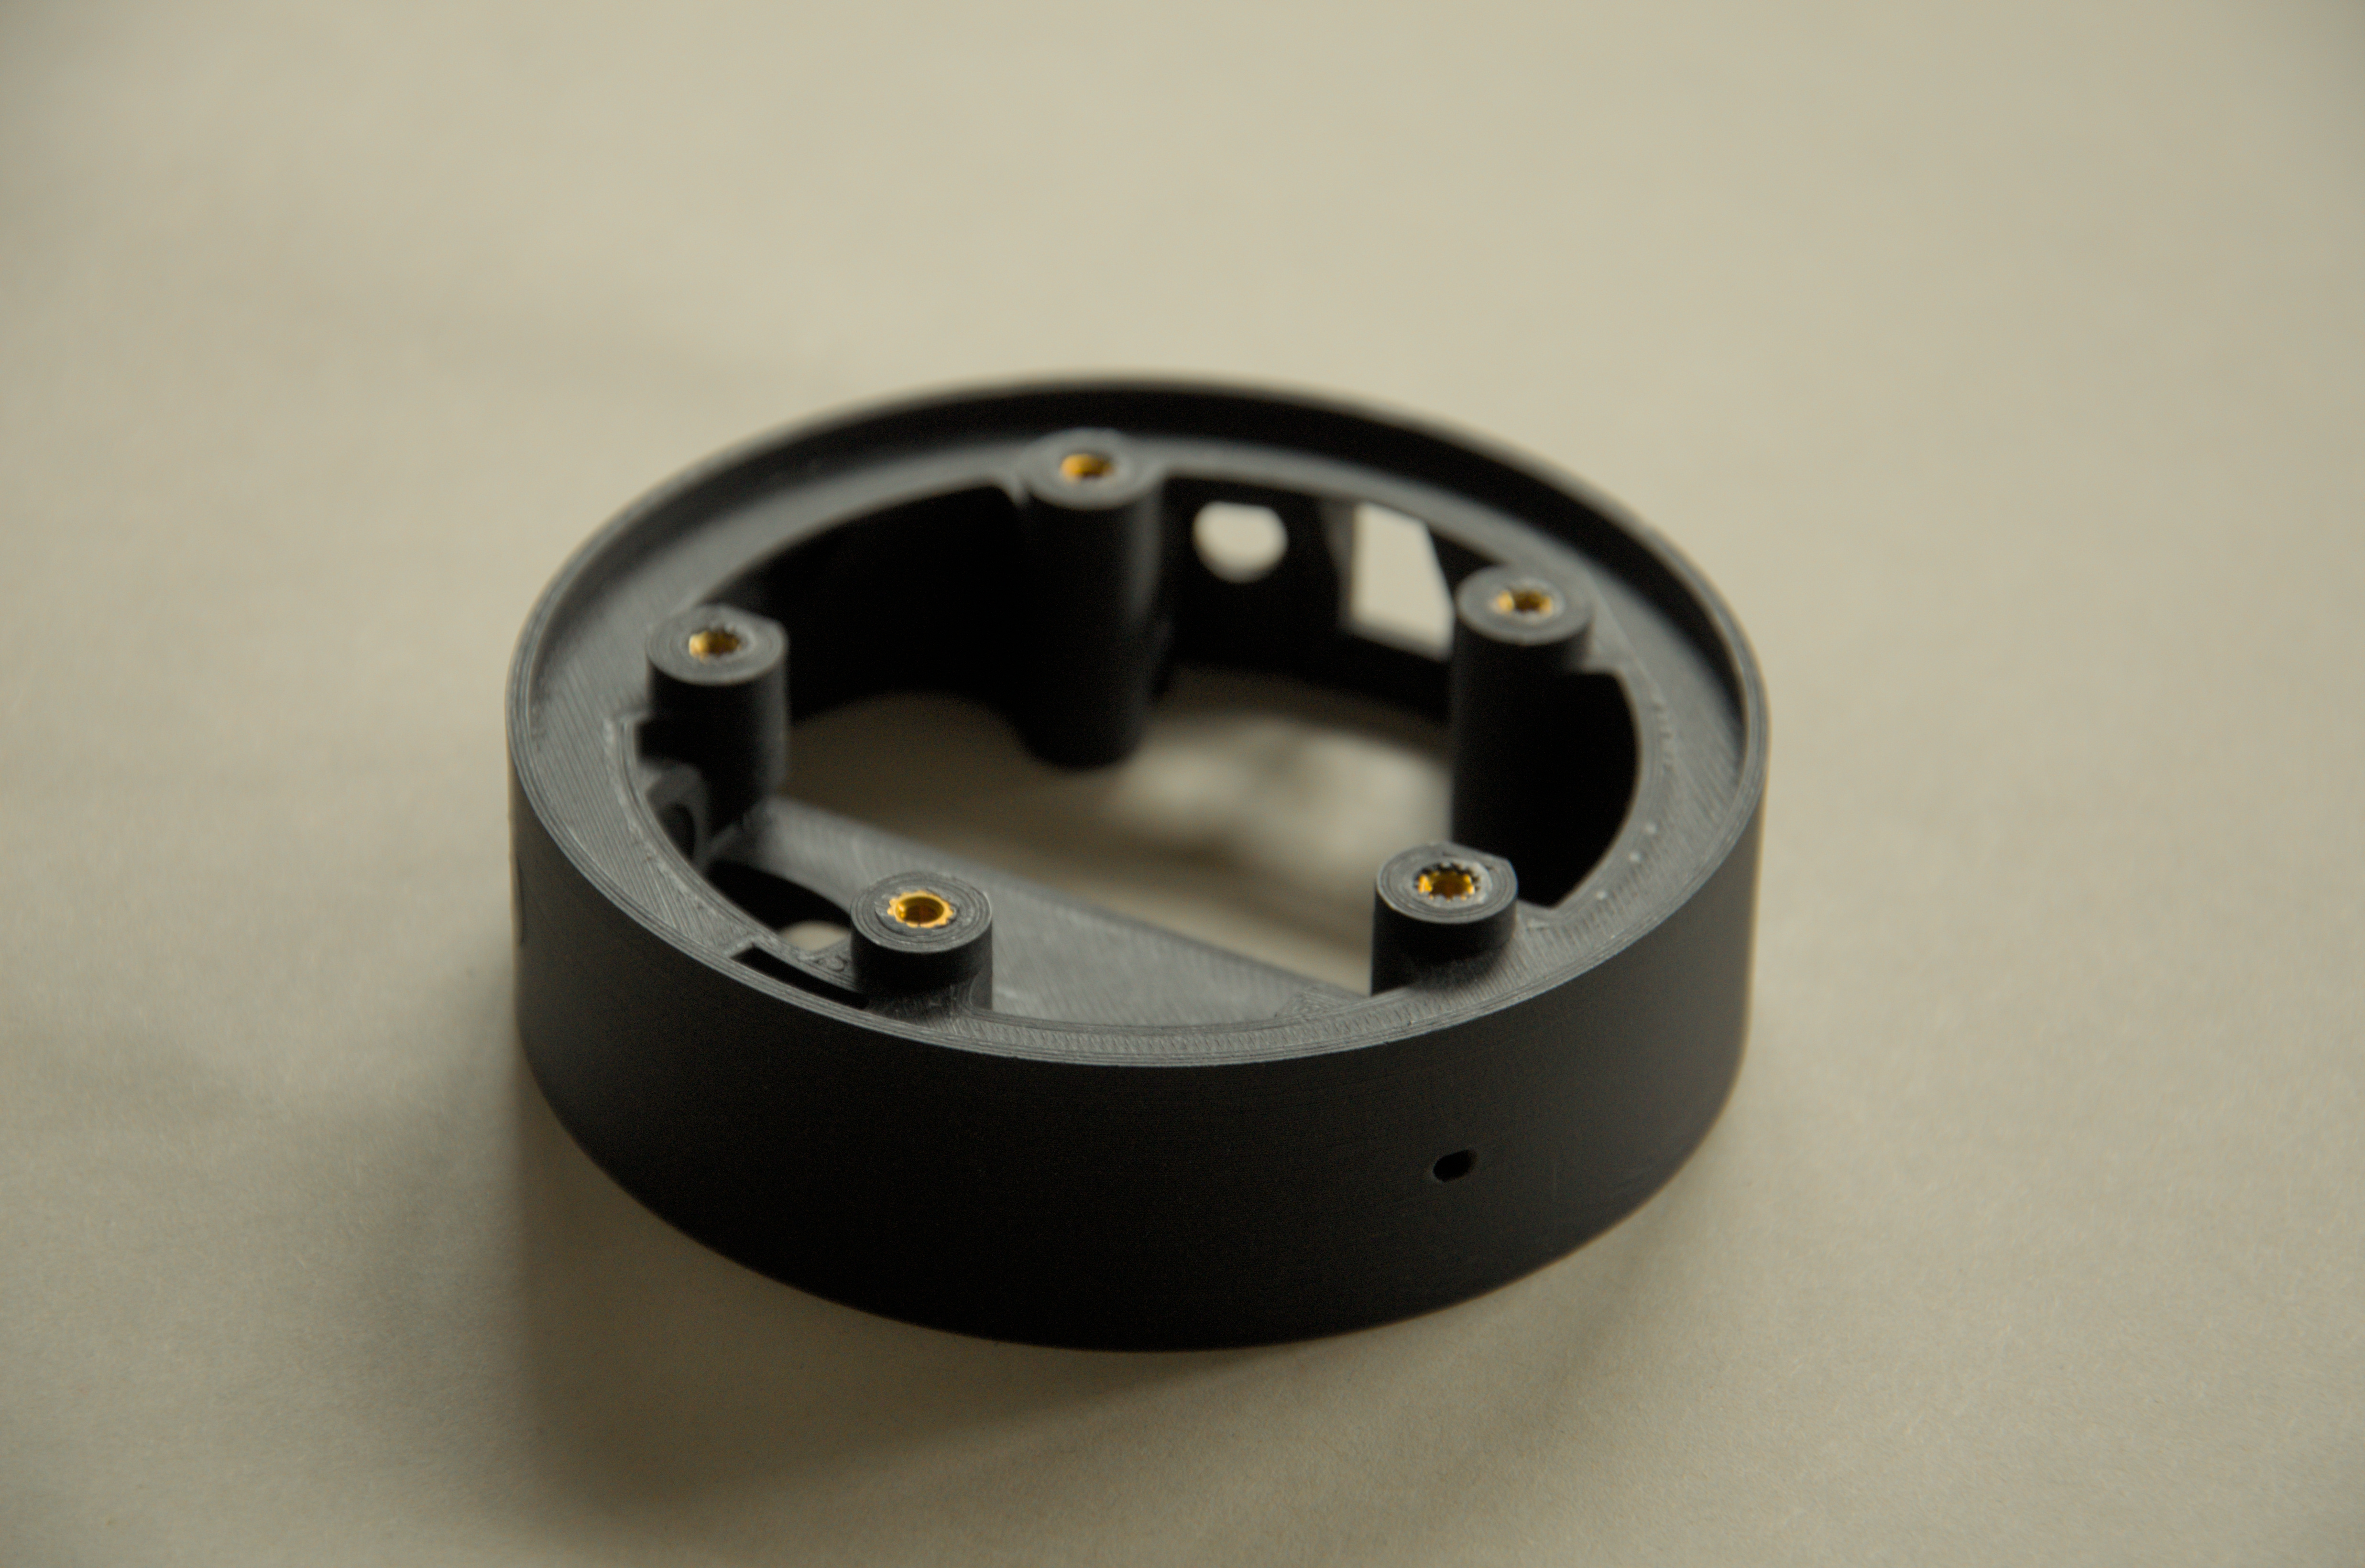
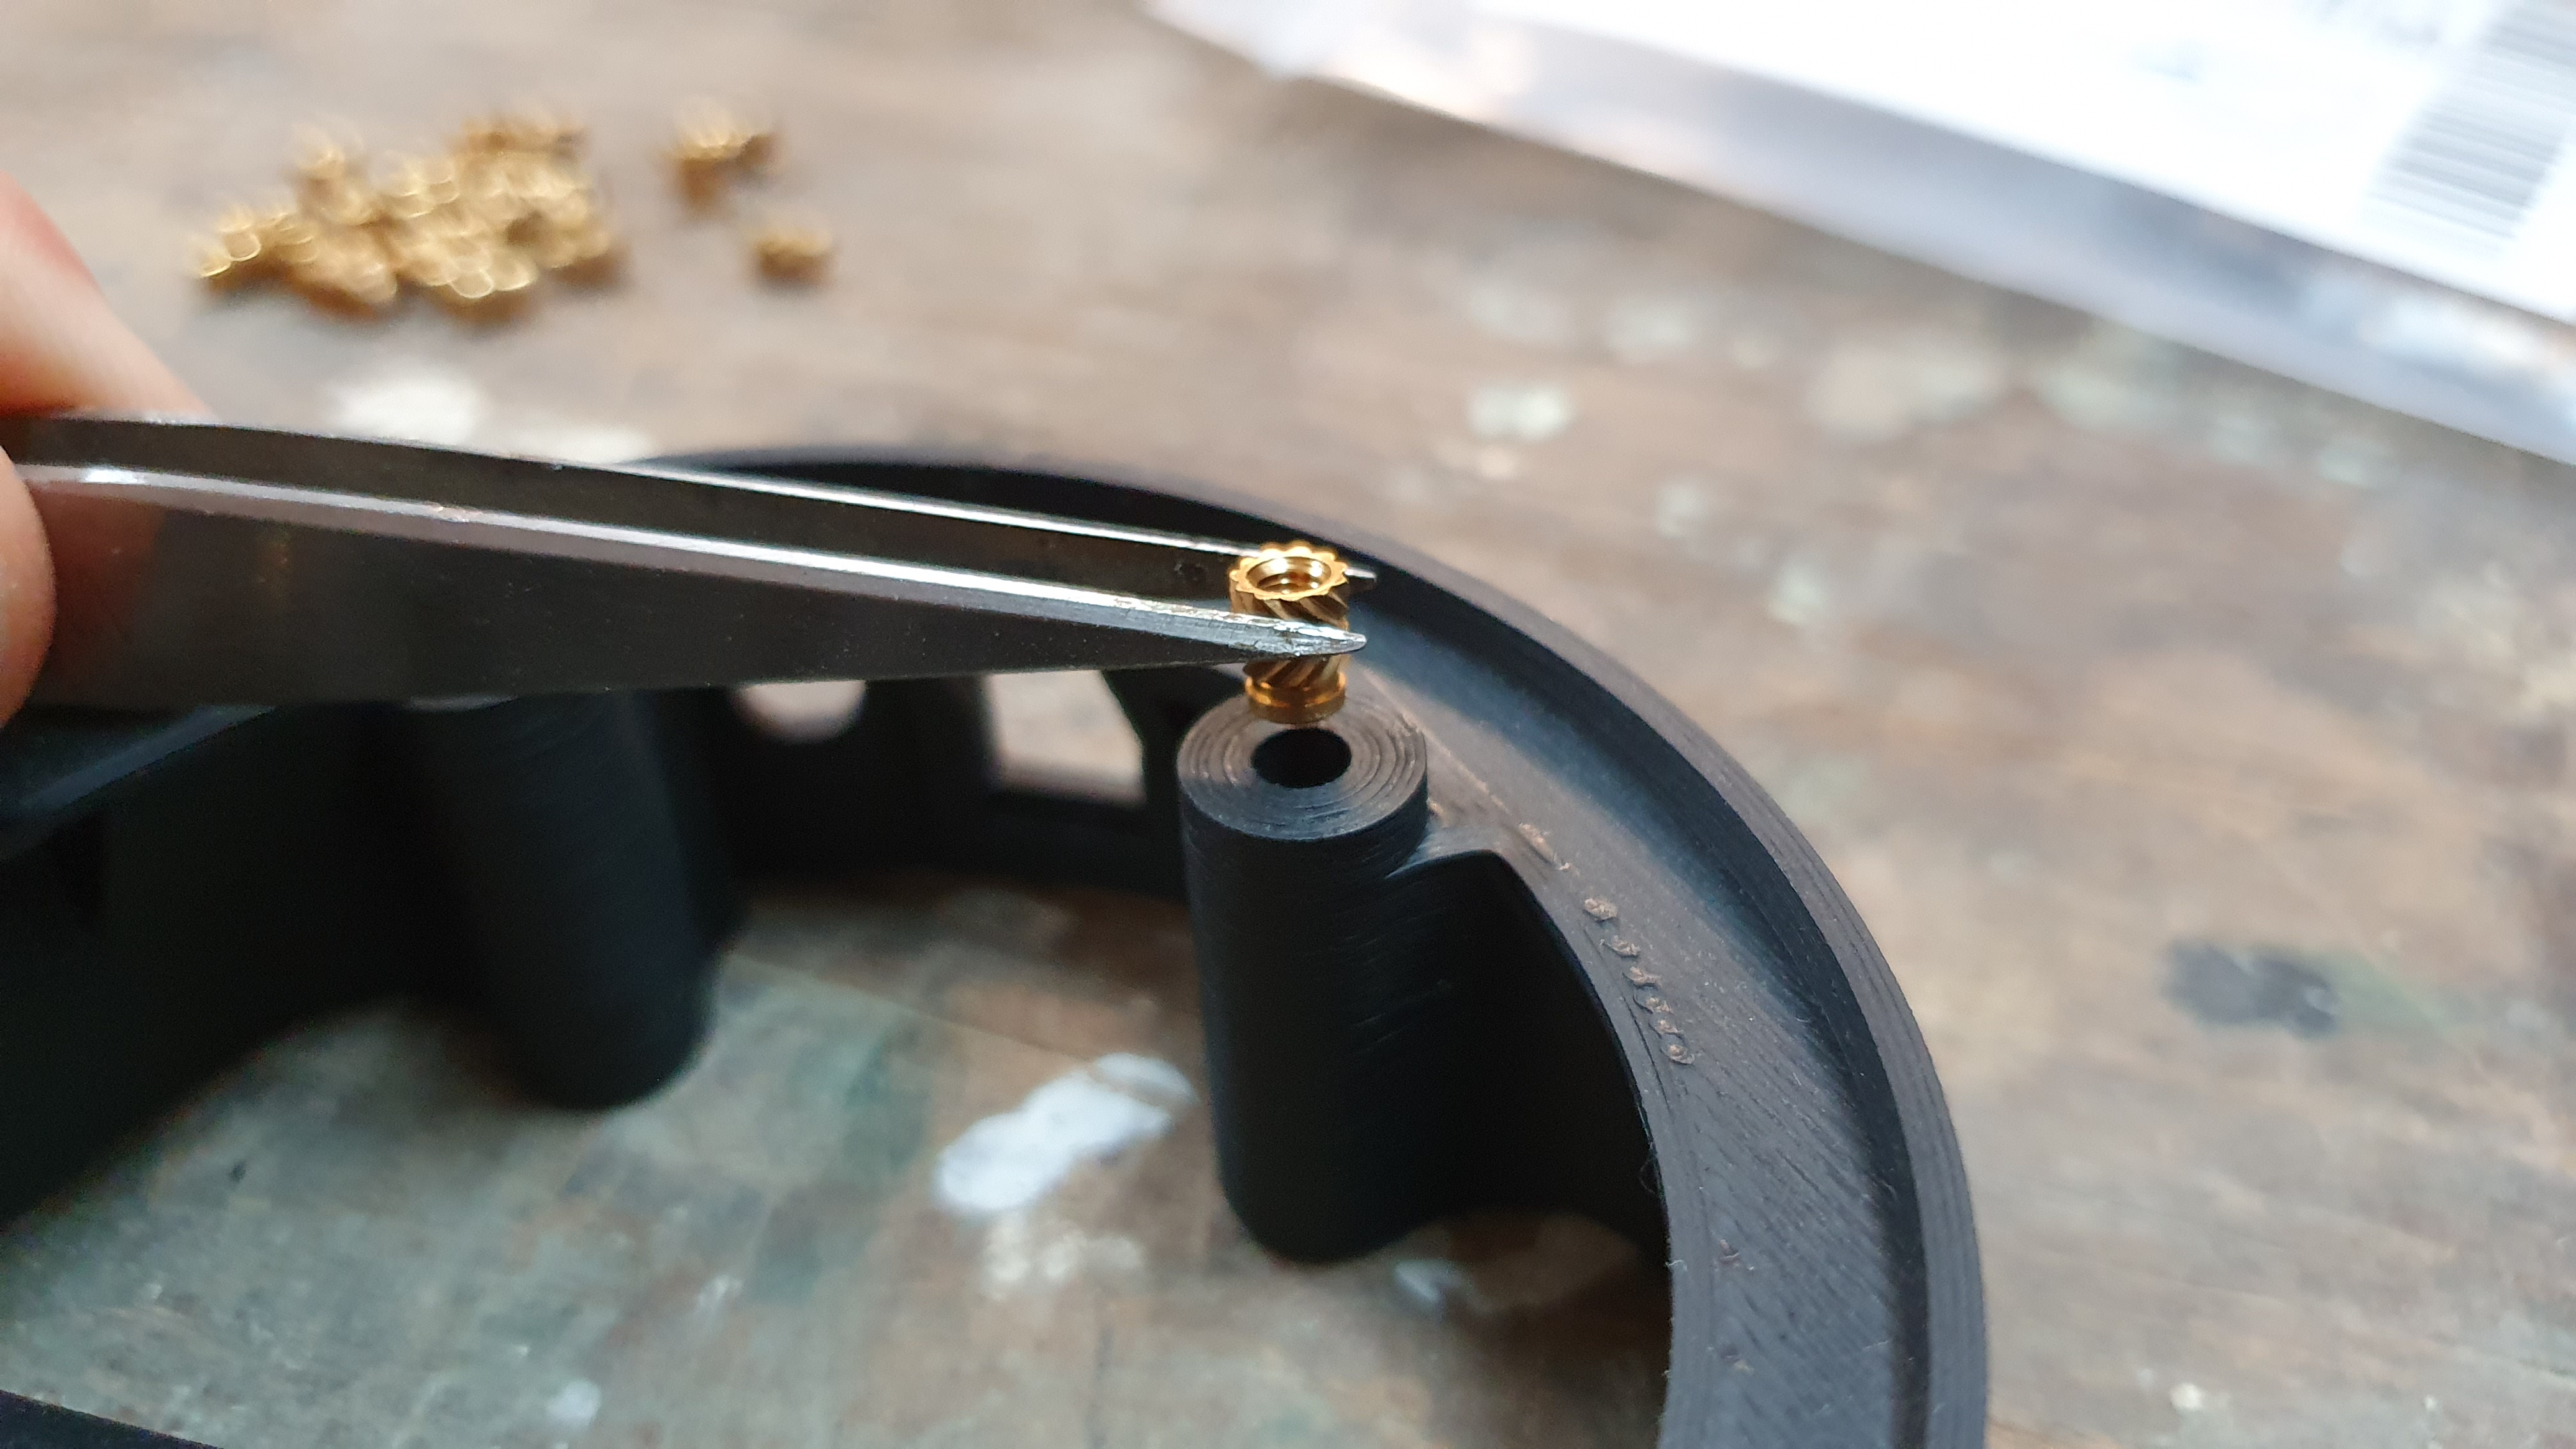
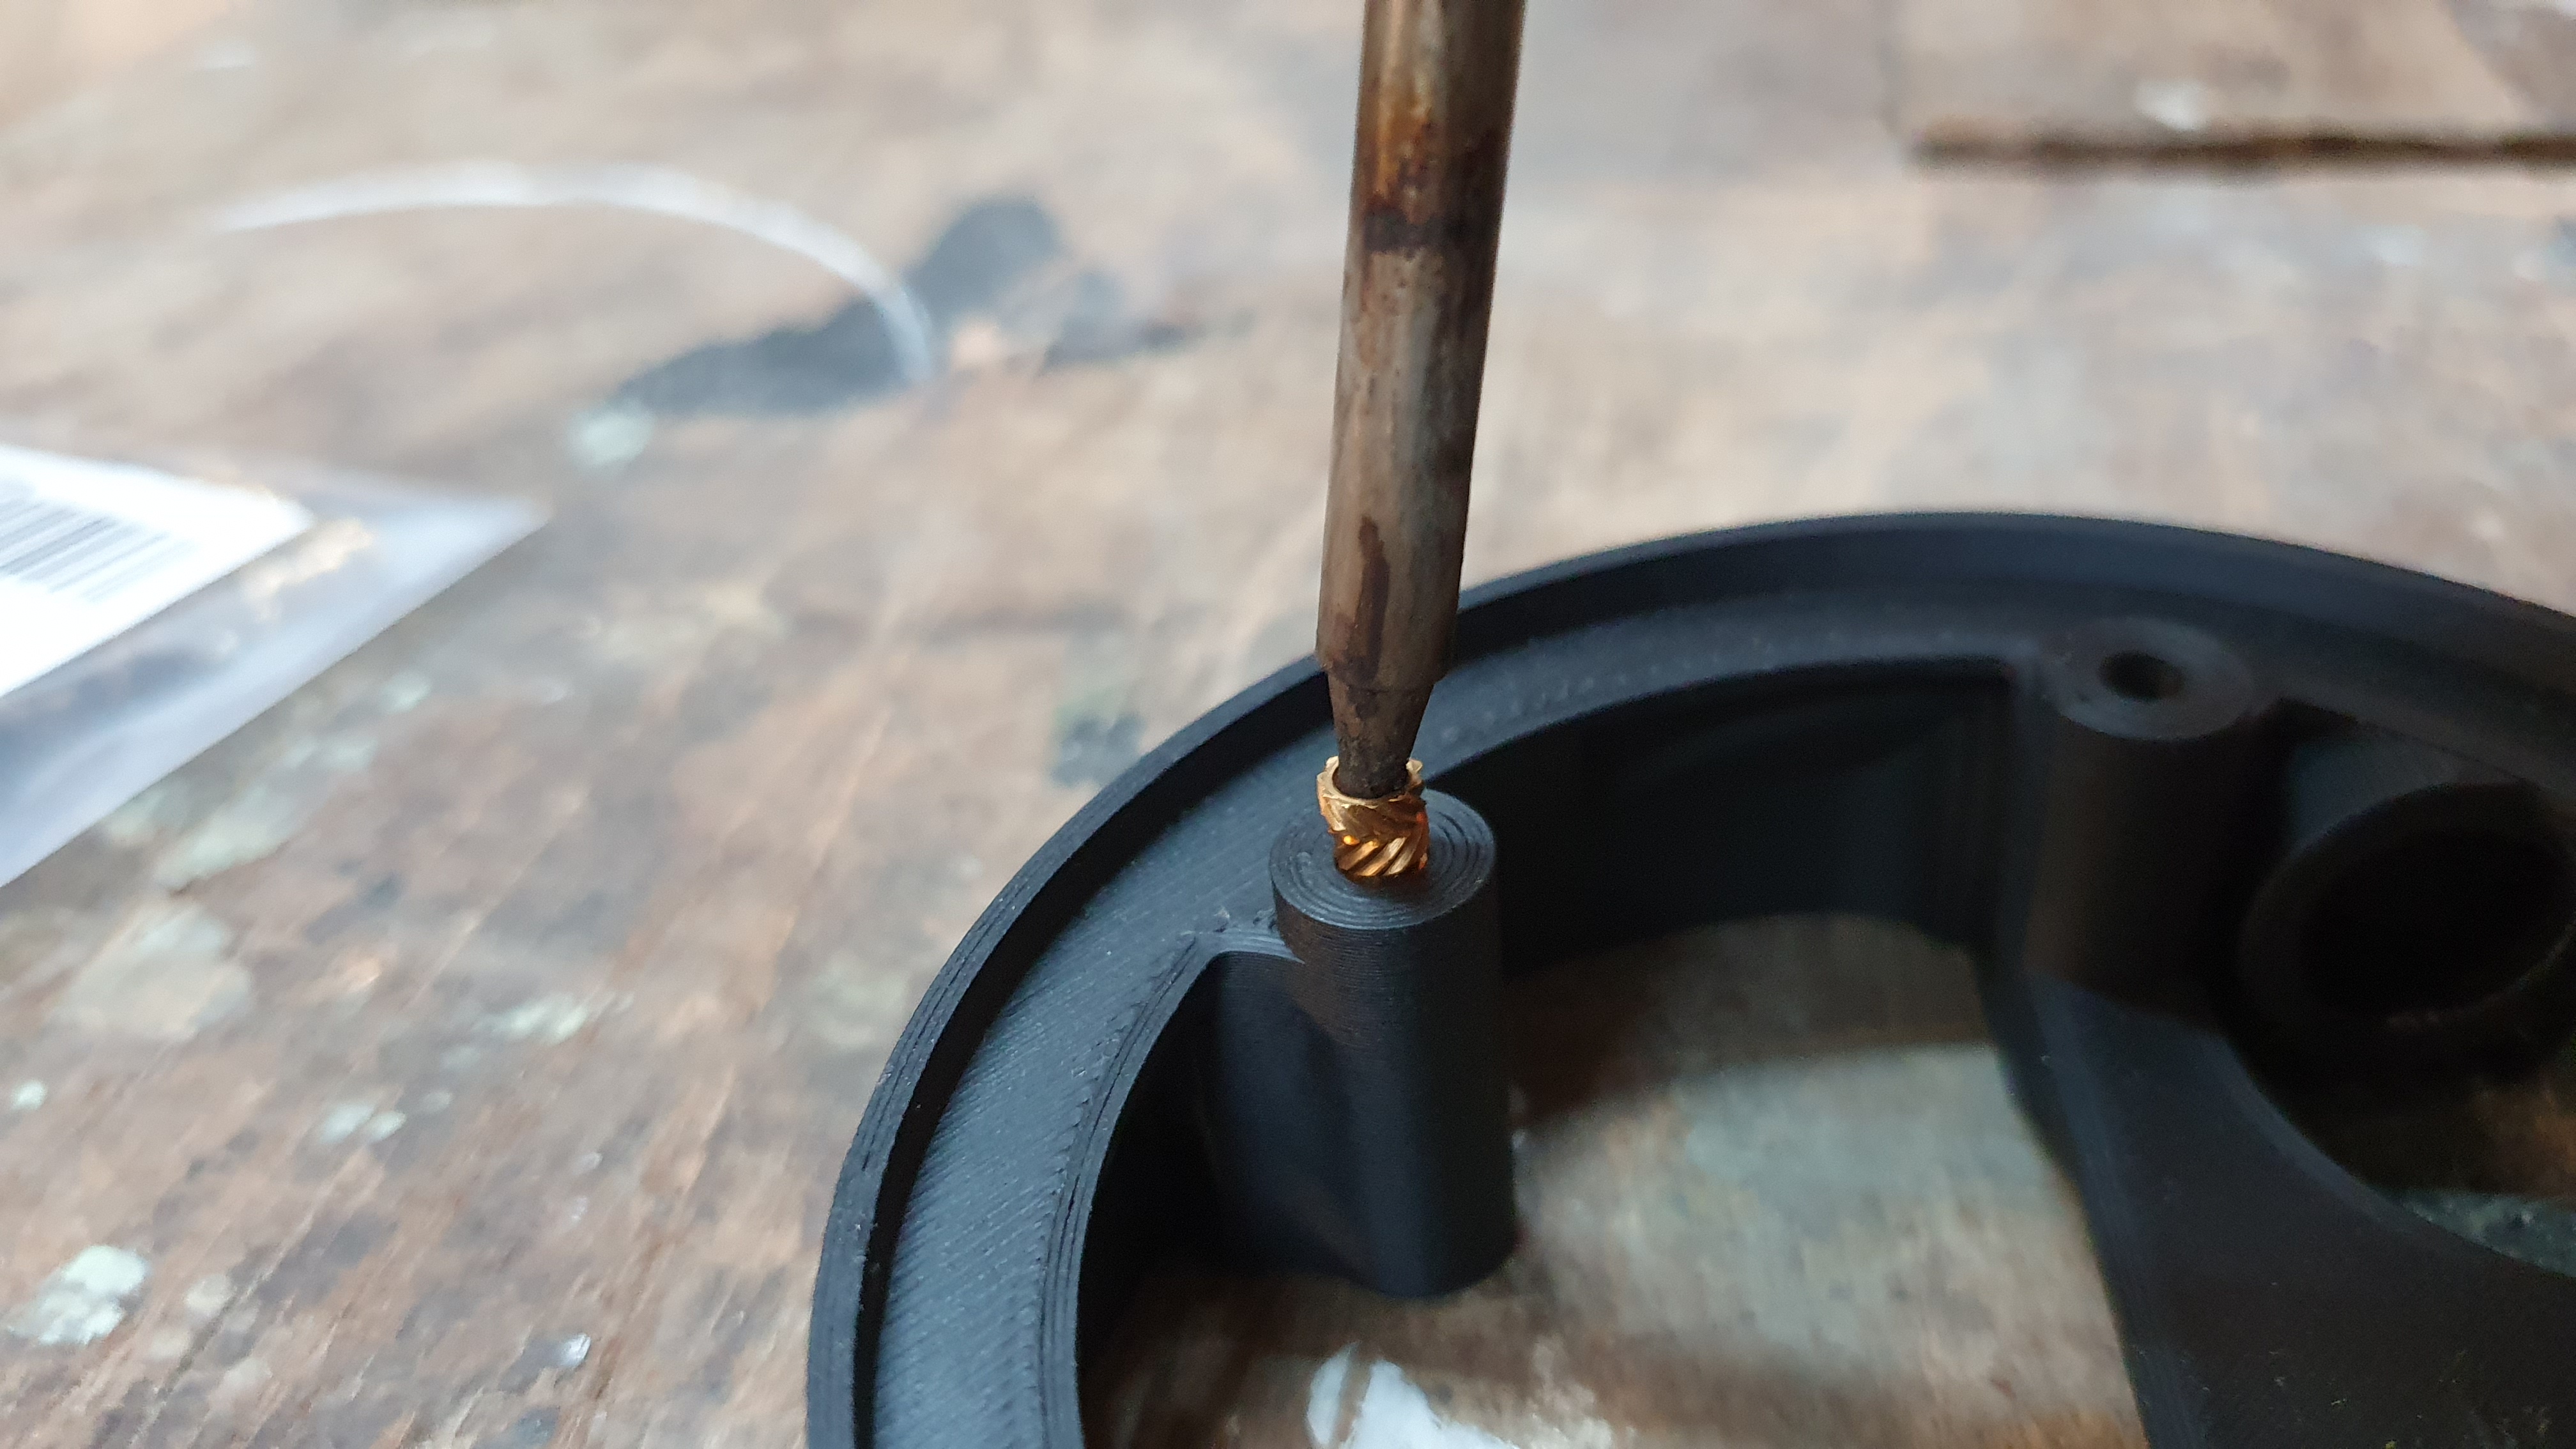
Adding the M3 inserts to mount the front and back cover.
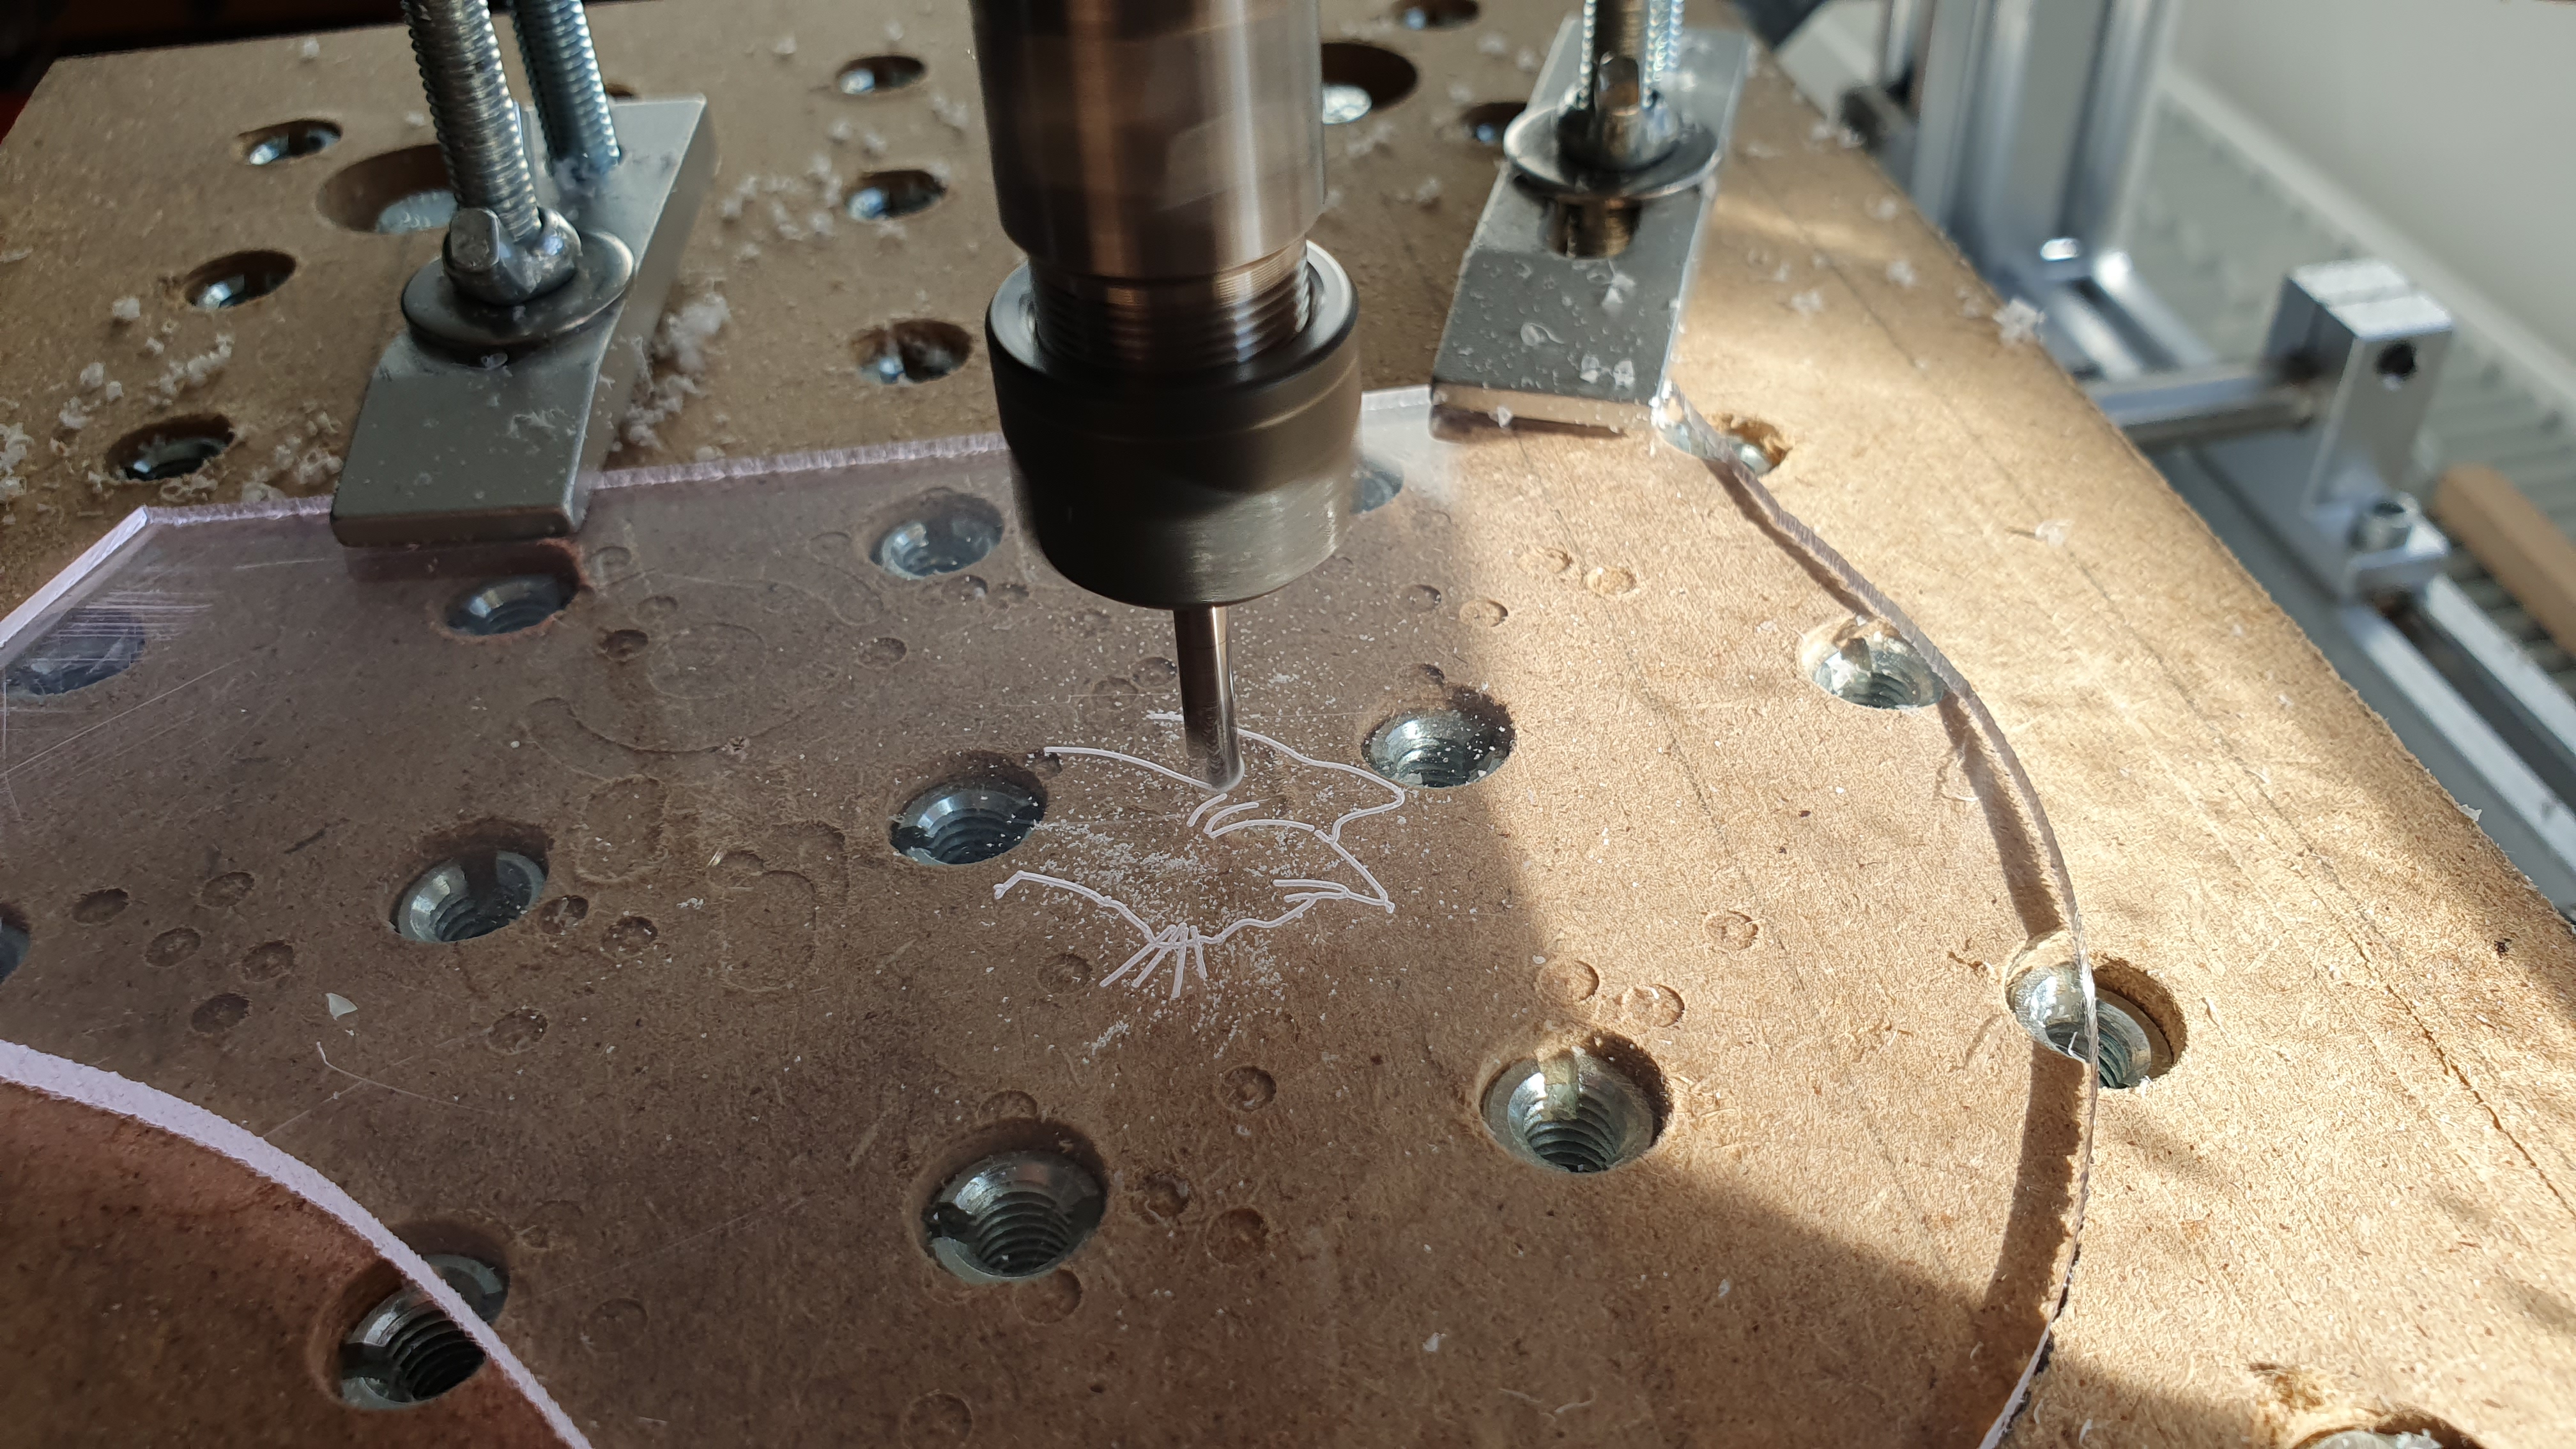
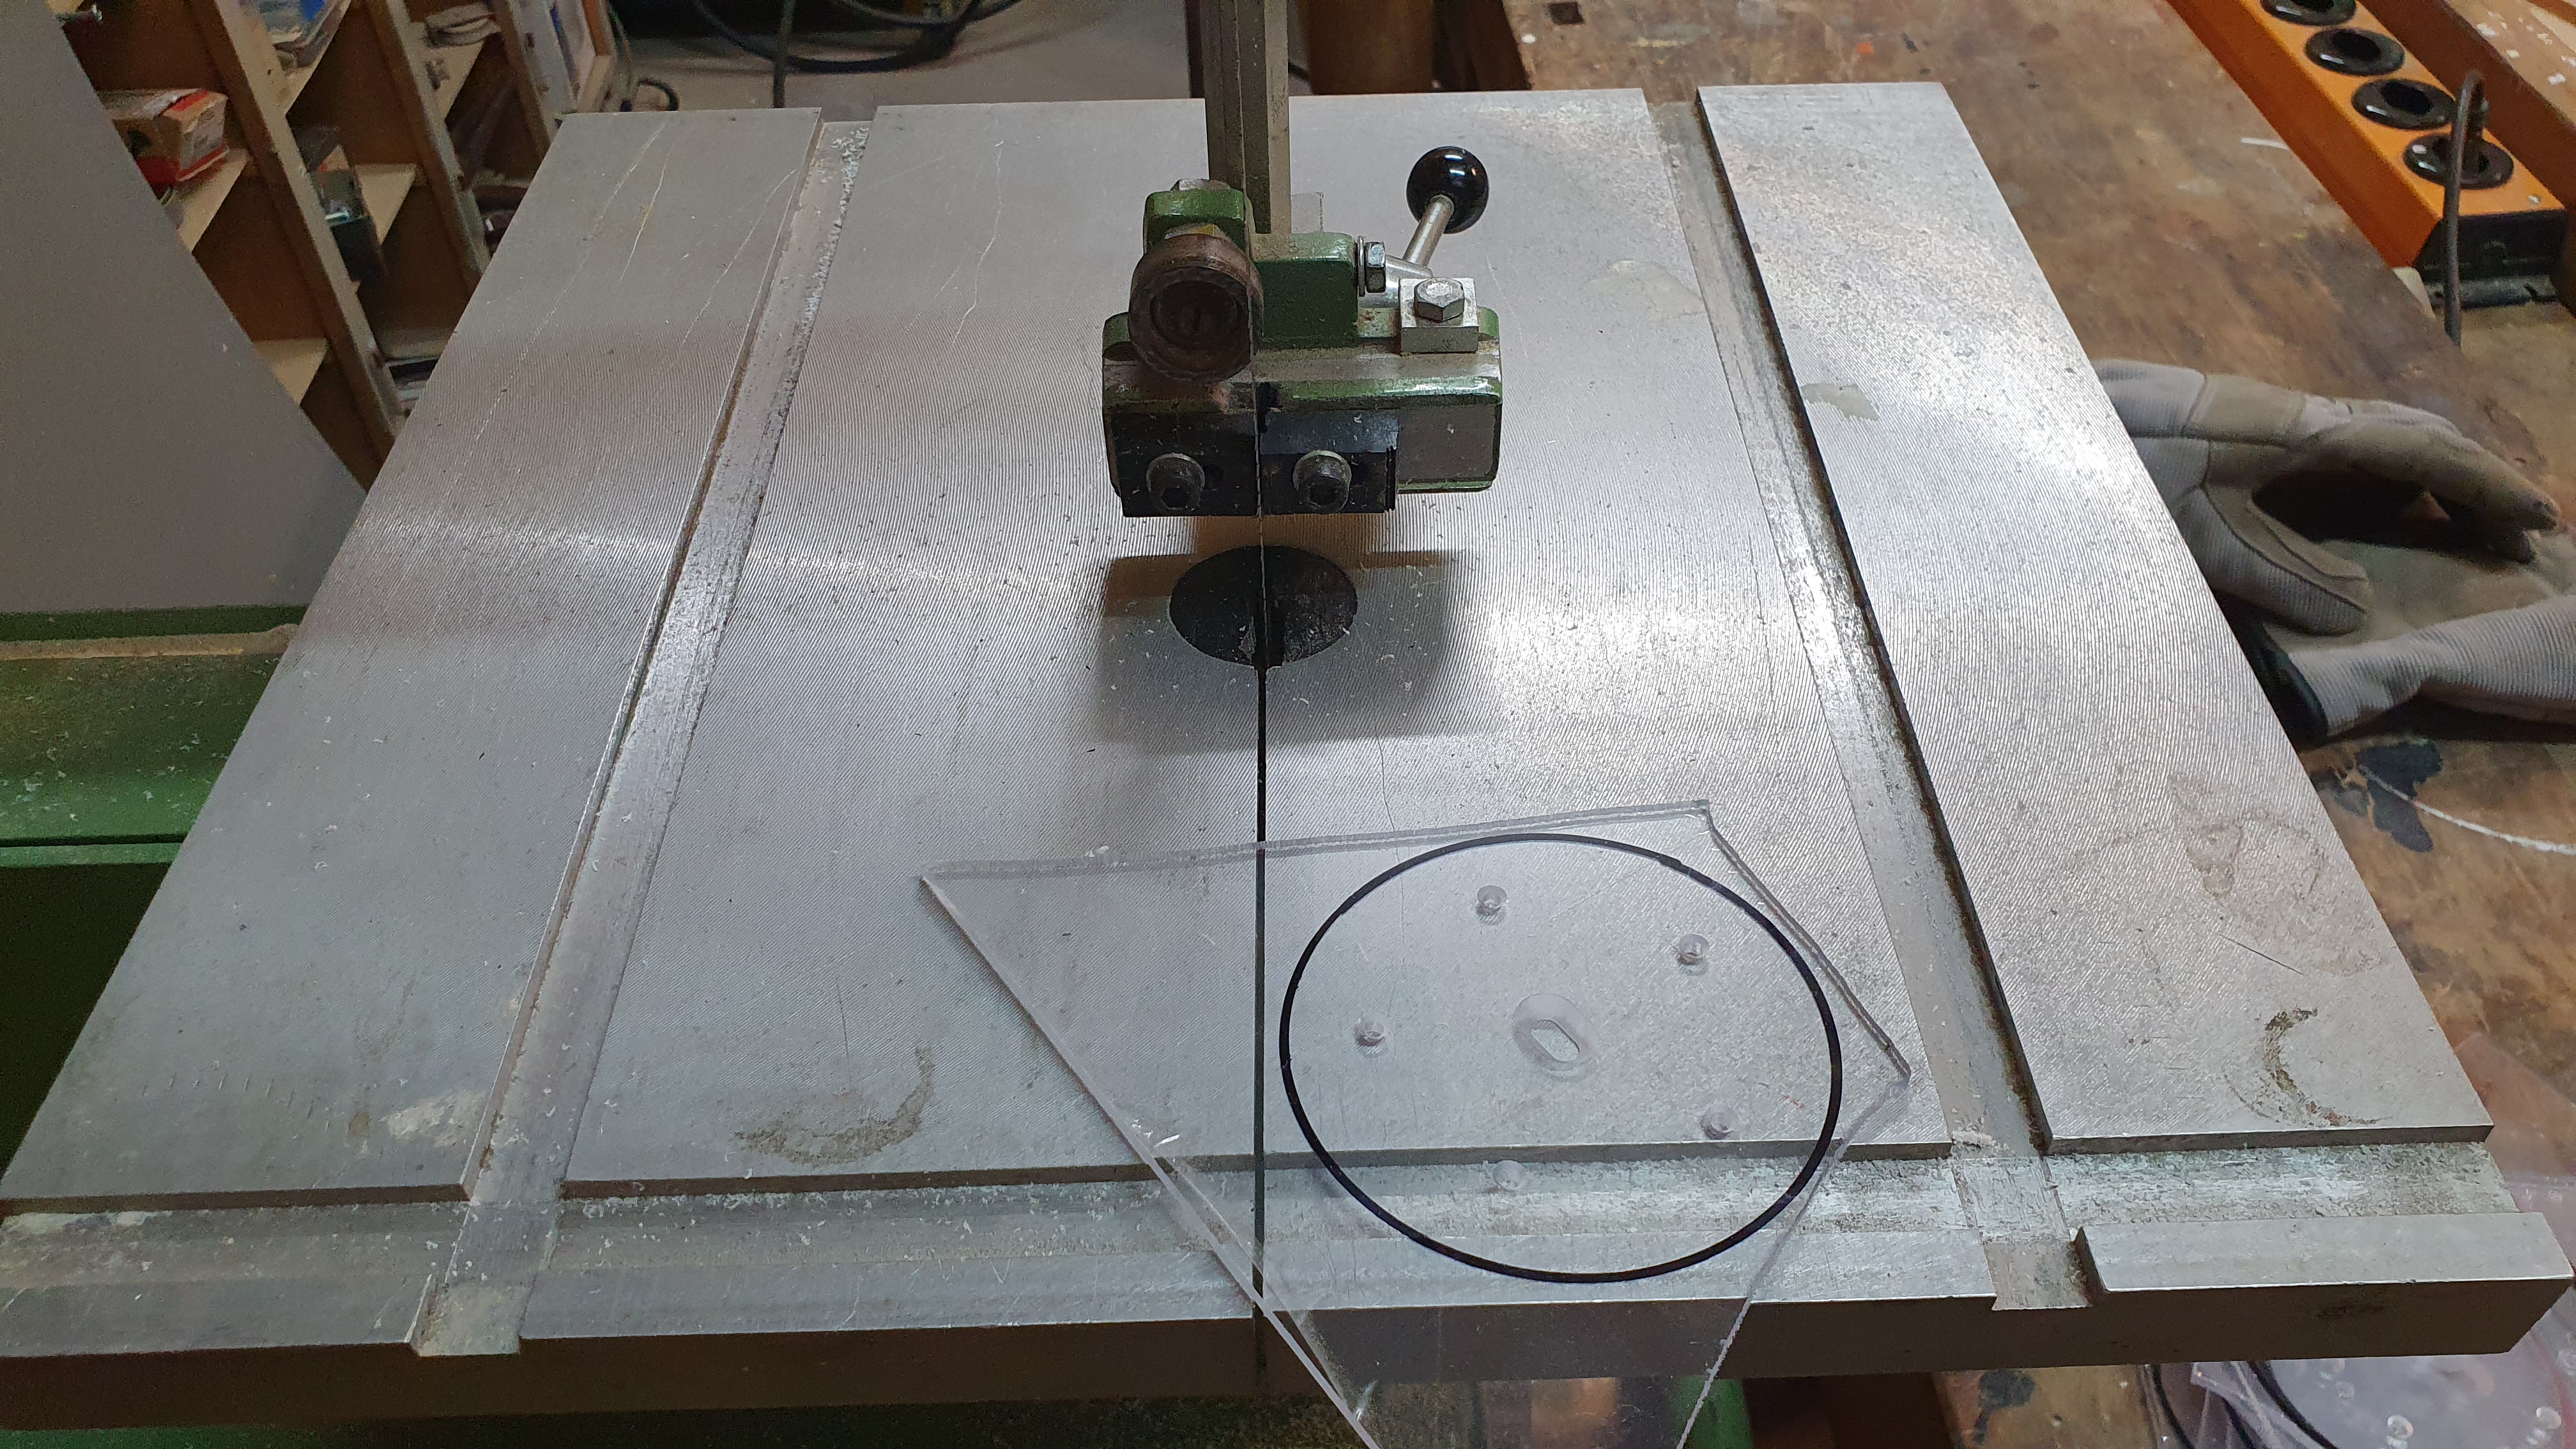
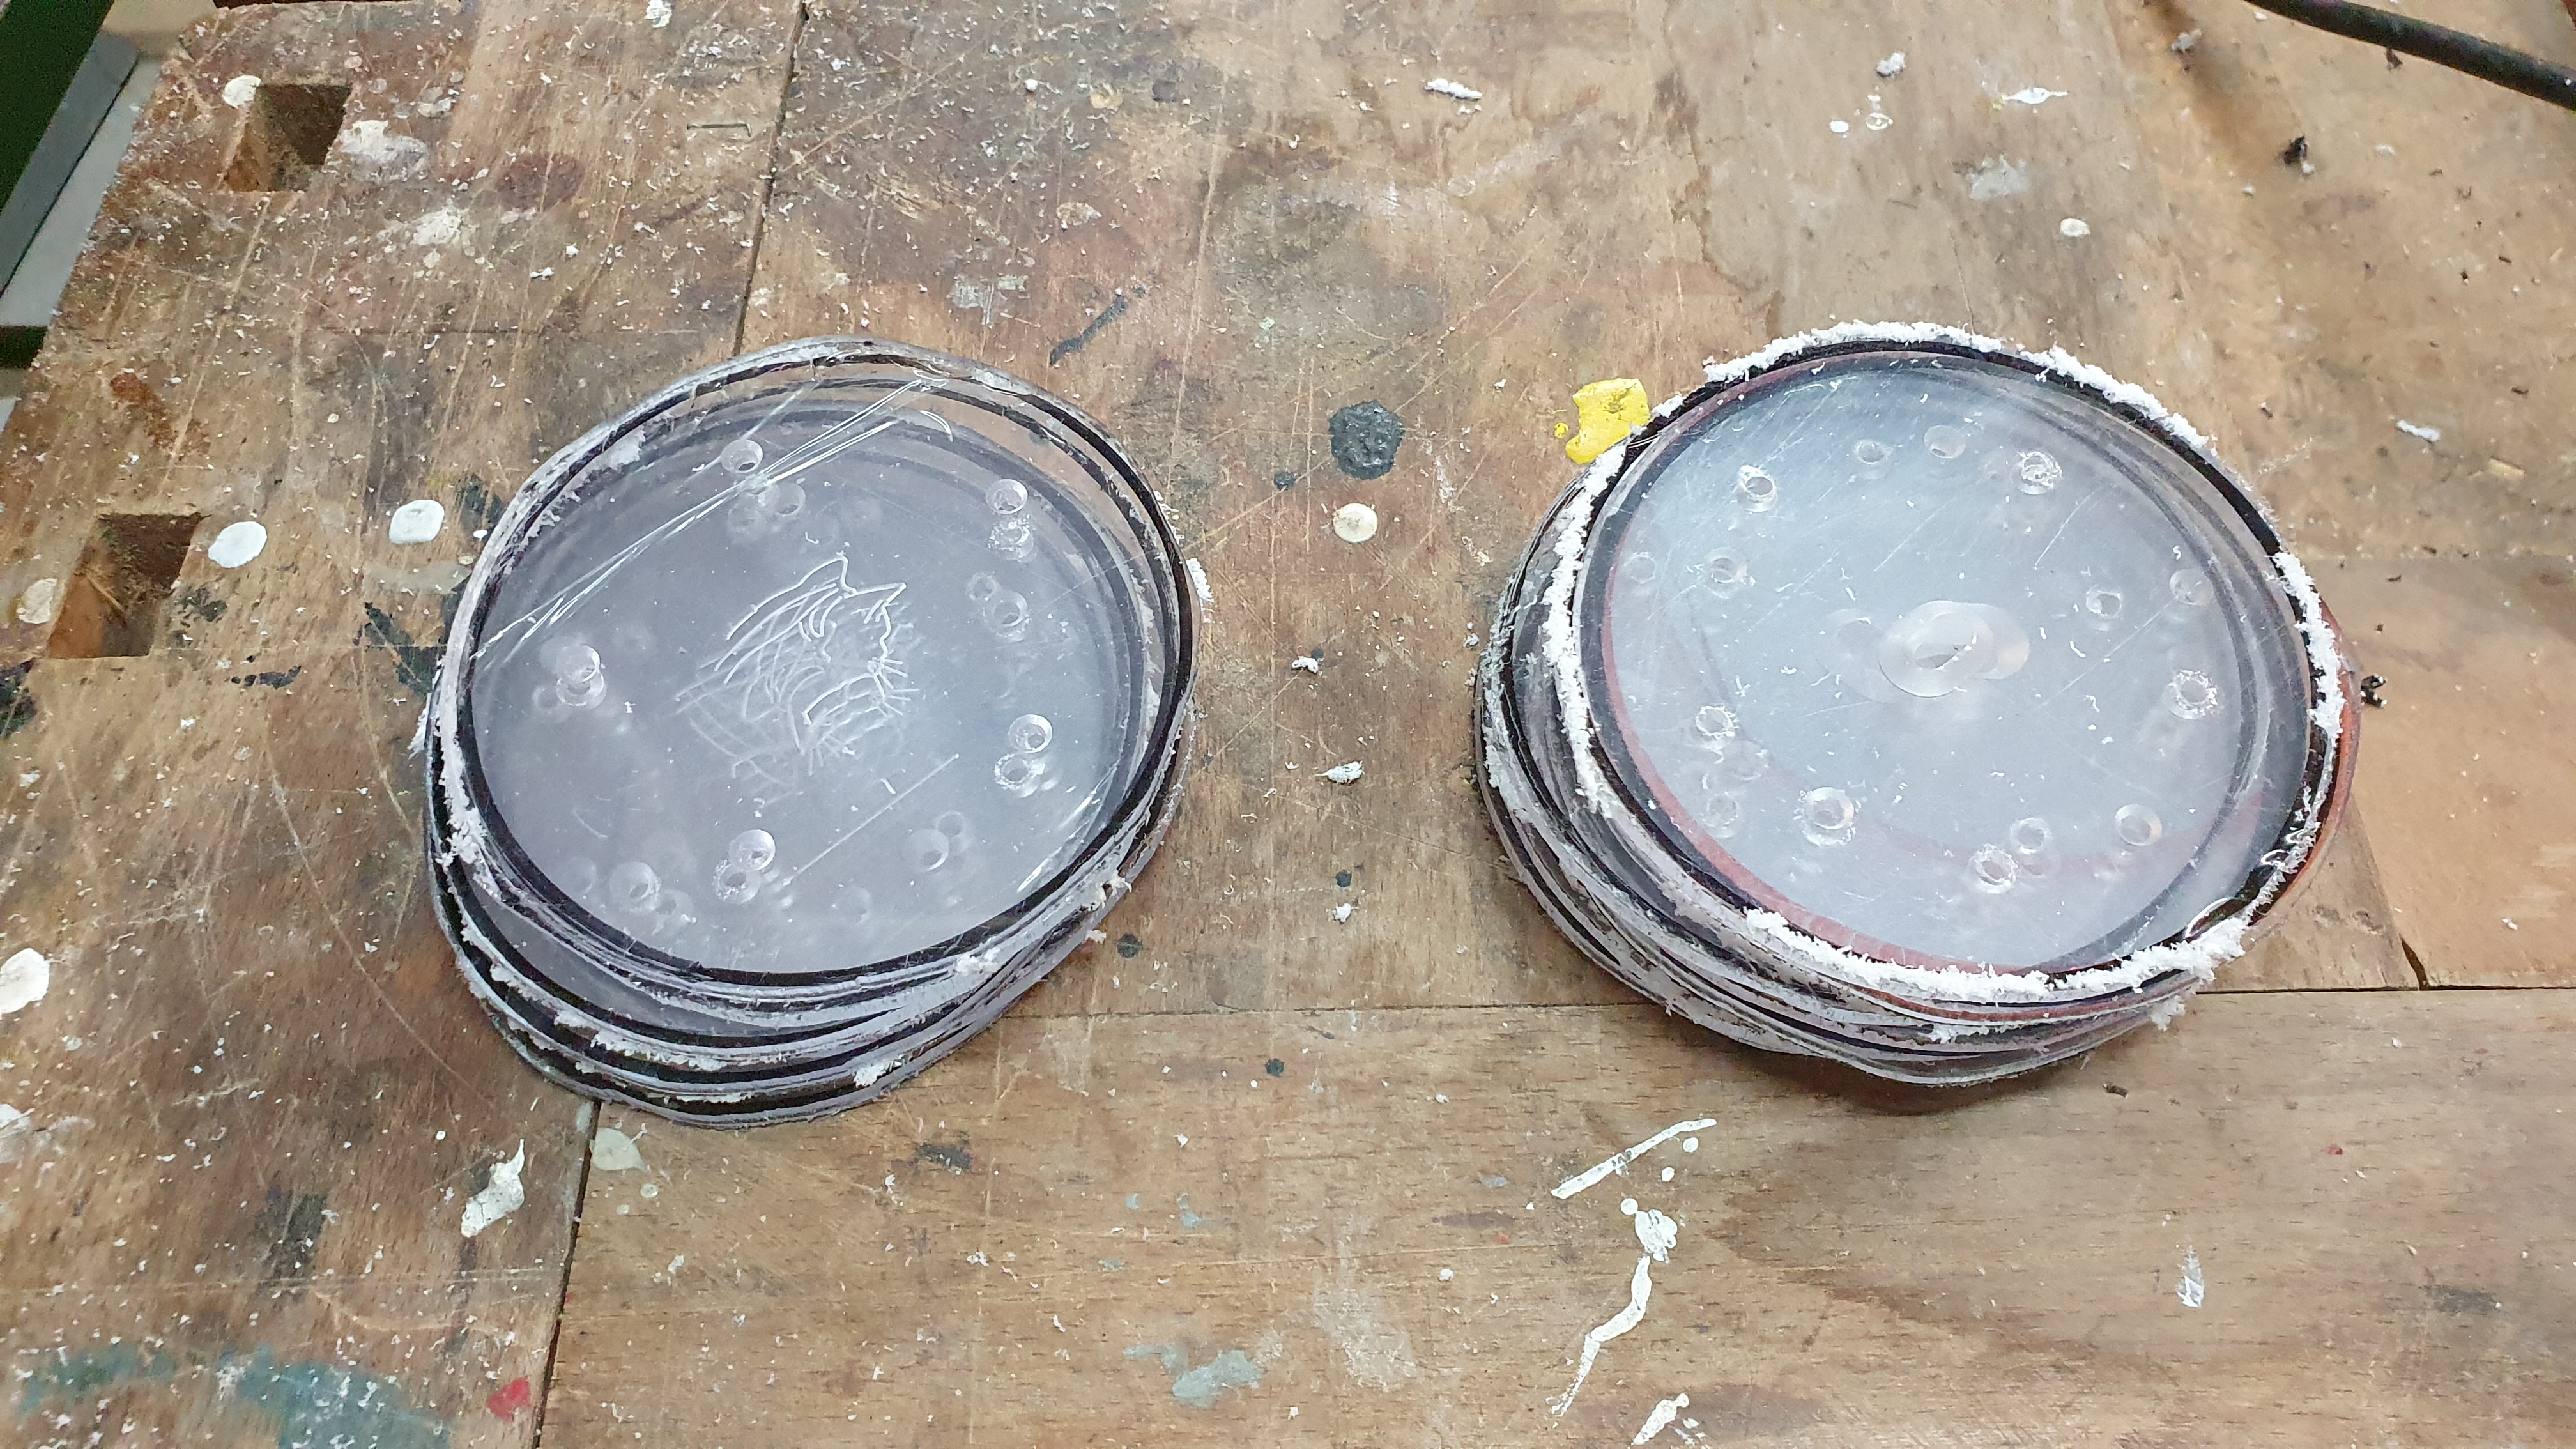
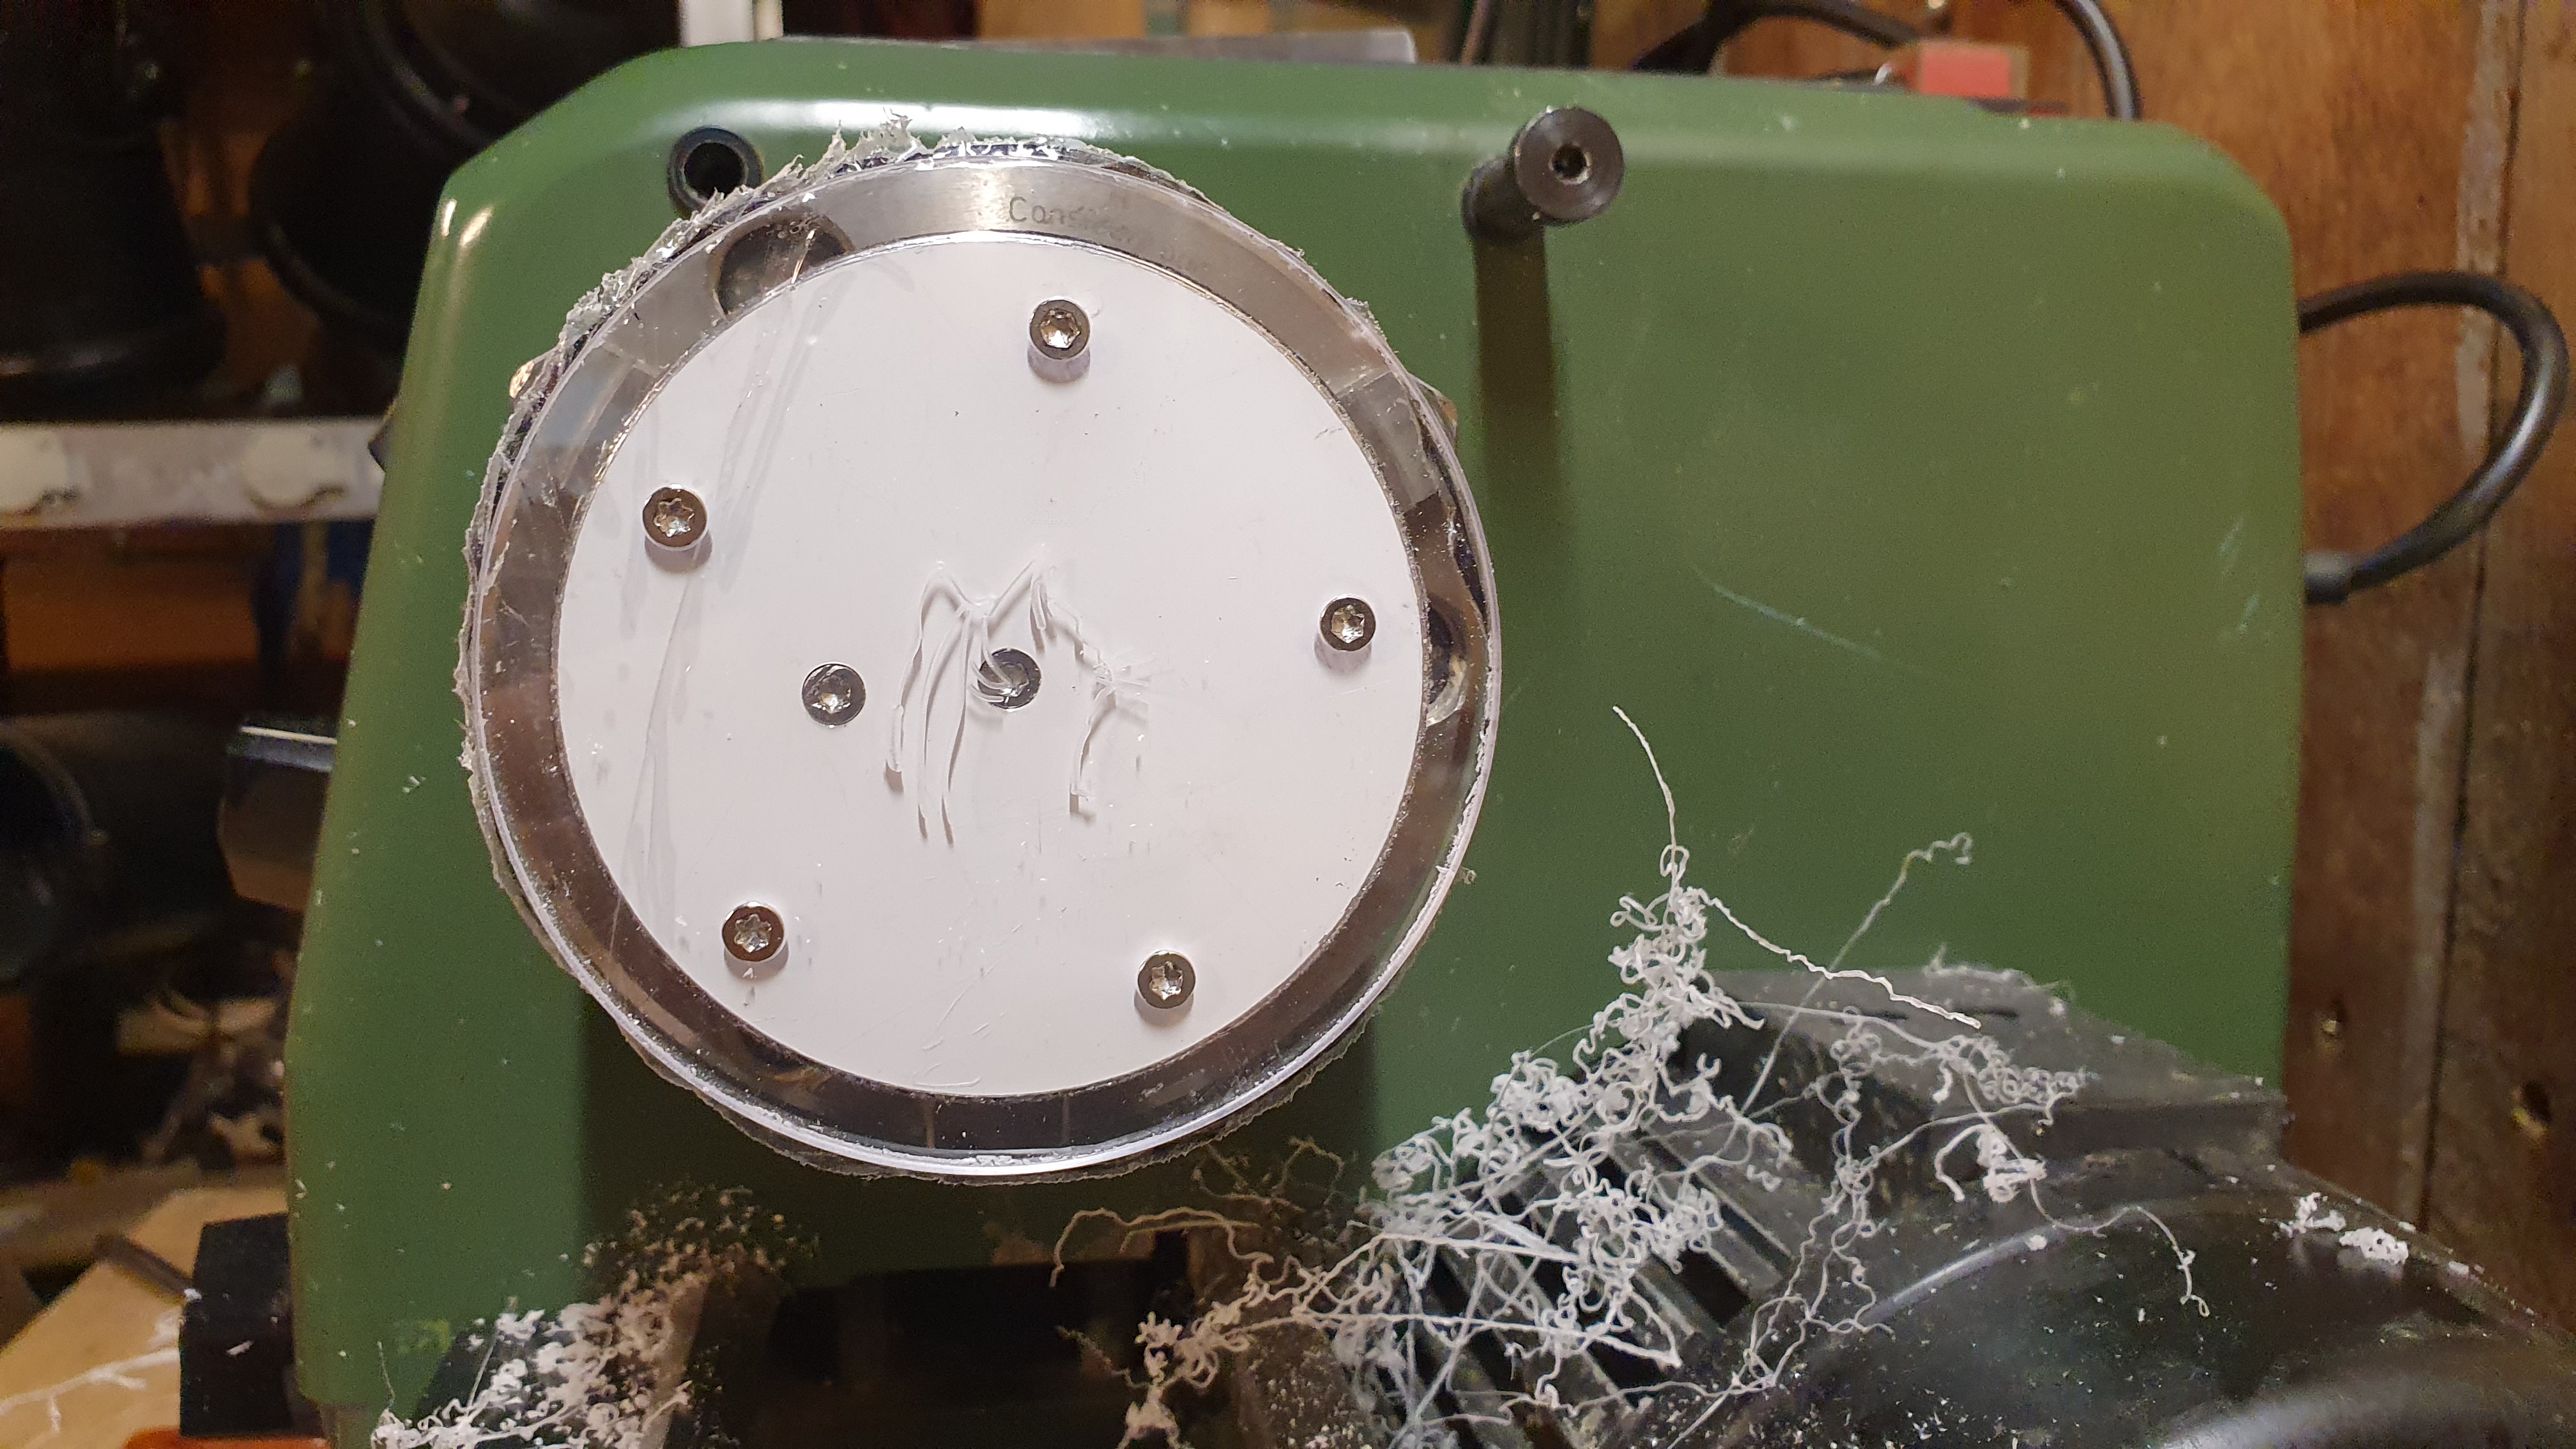
The front and back are made from an acrylic sheet that i first roughly cut out on a bandsaw. I then turned them to size on a lathe and added an engraving on my small CNC mill.
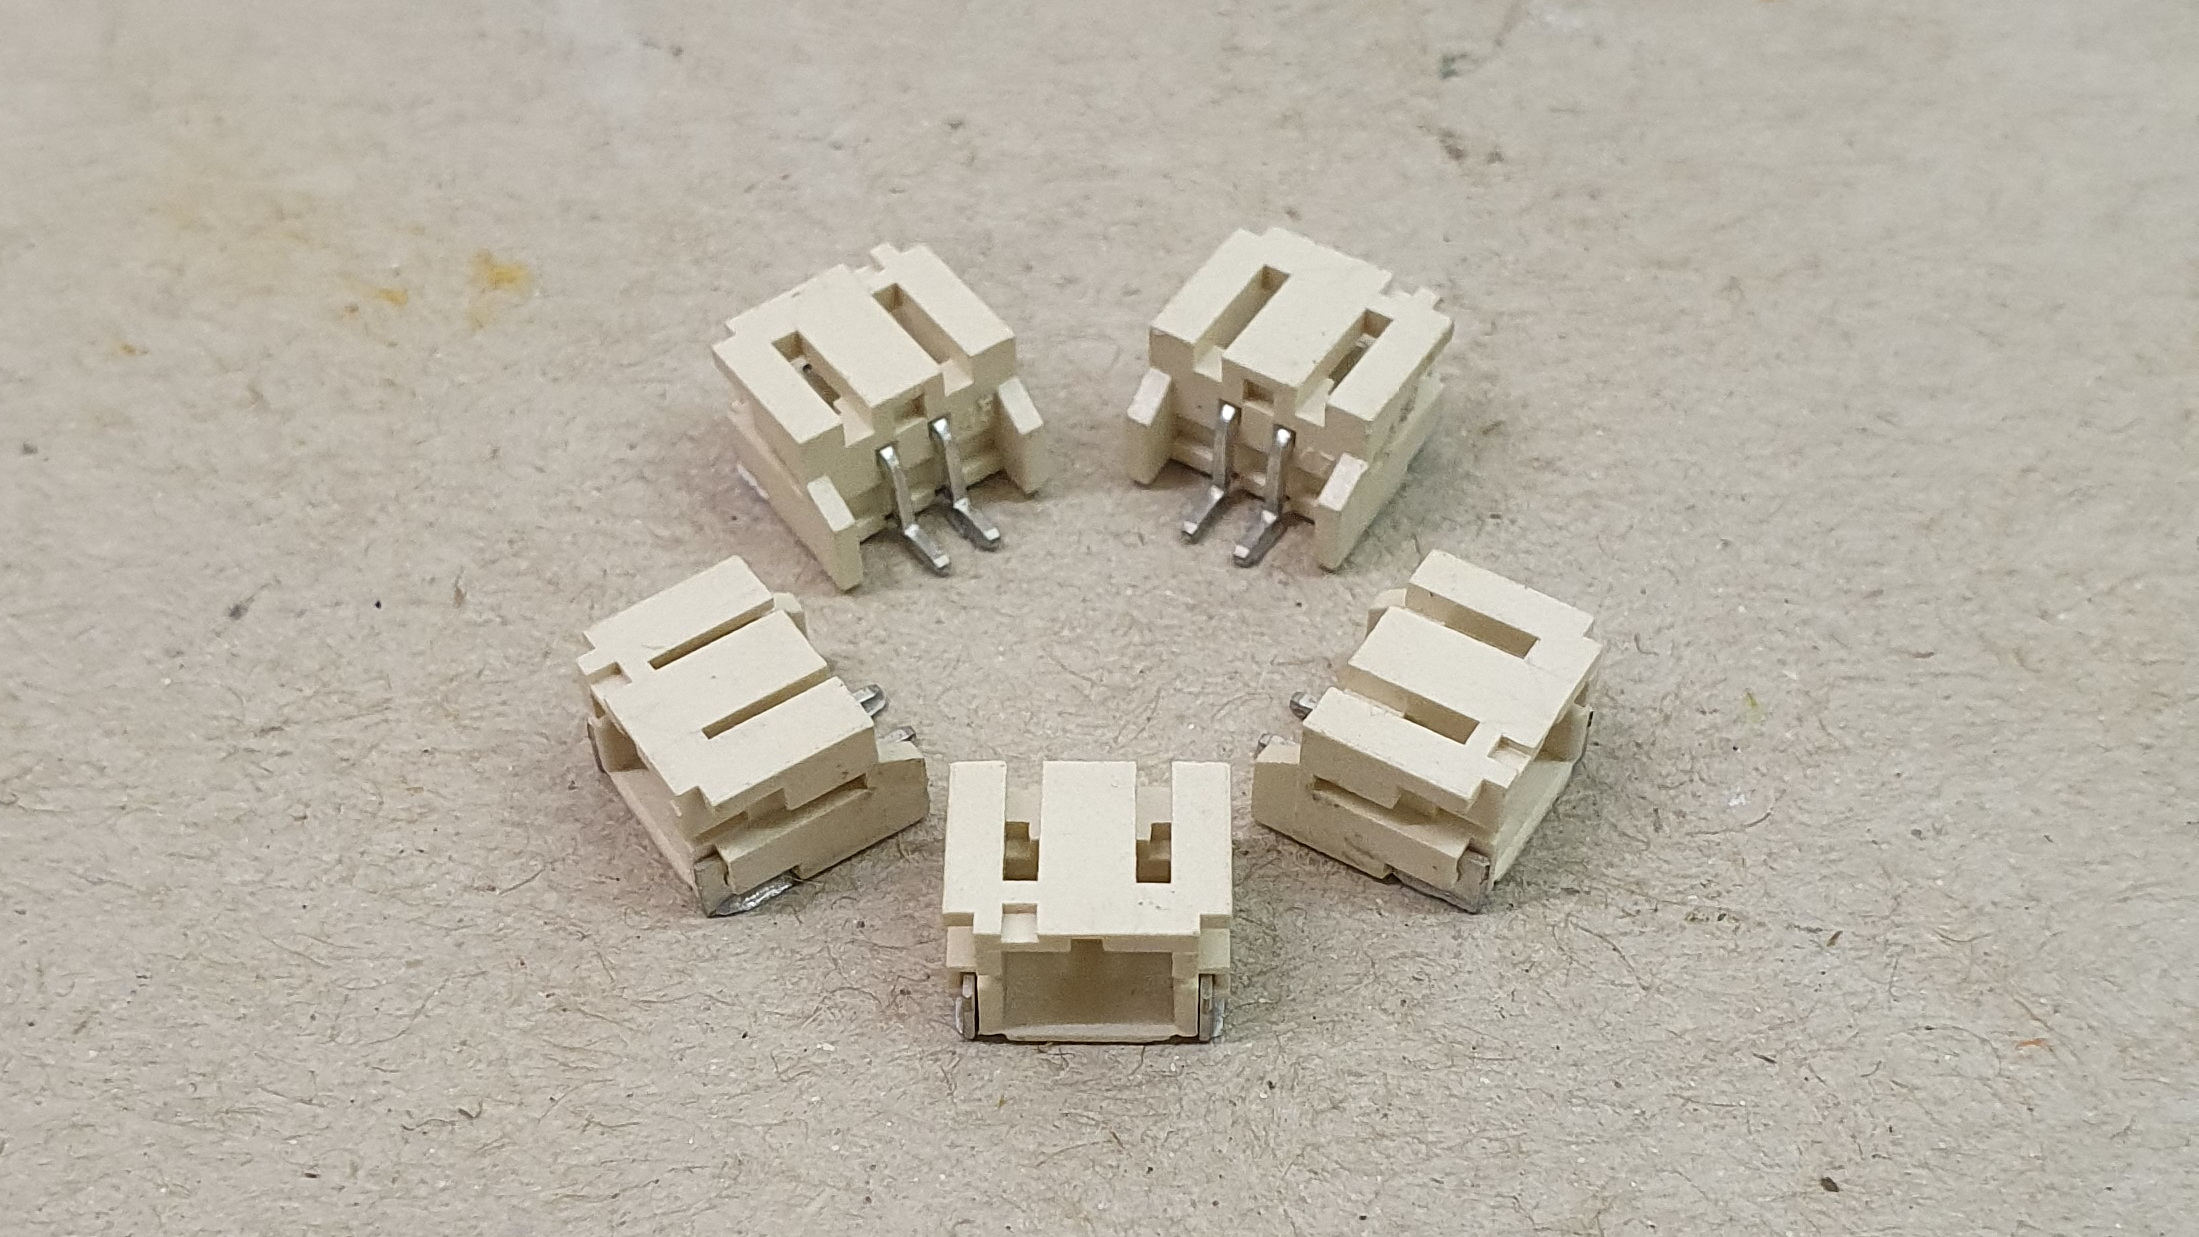
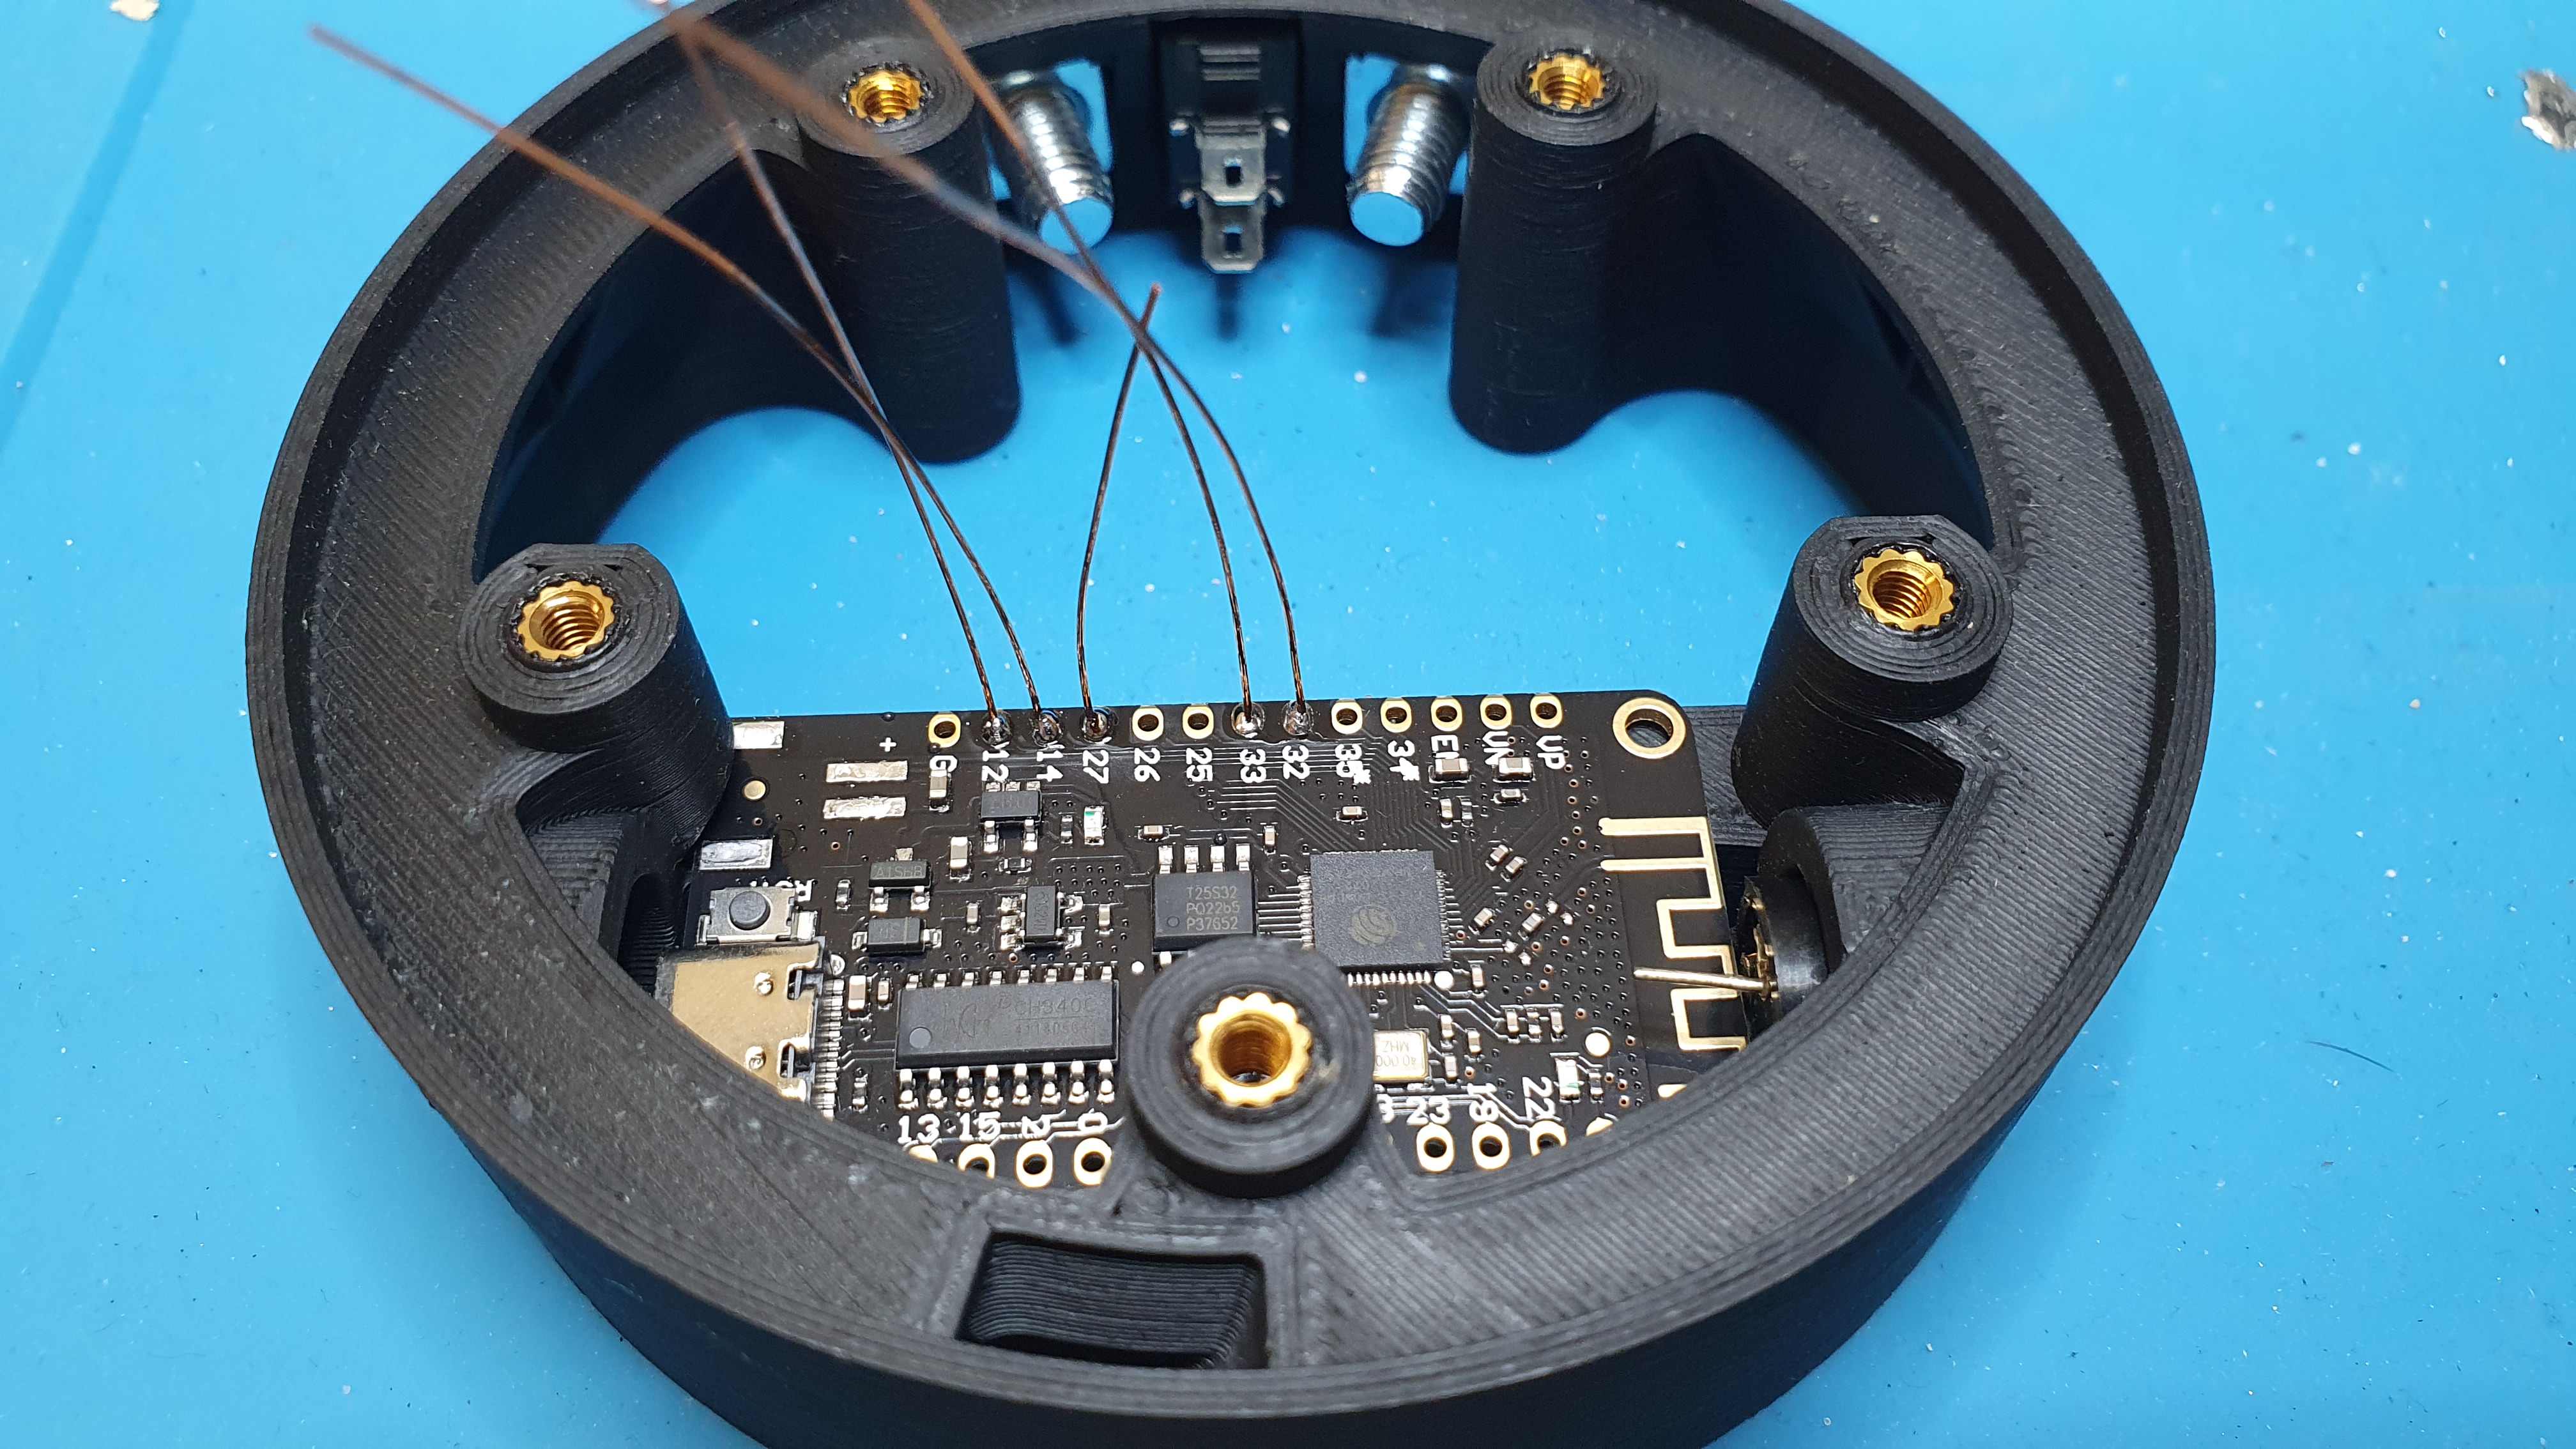
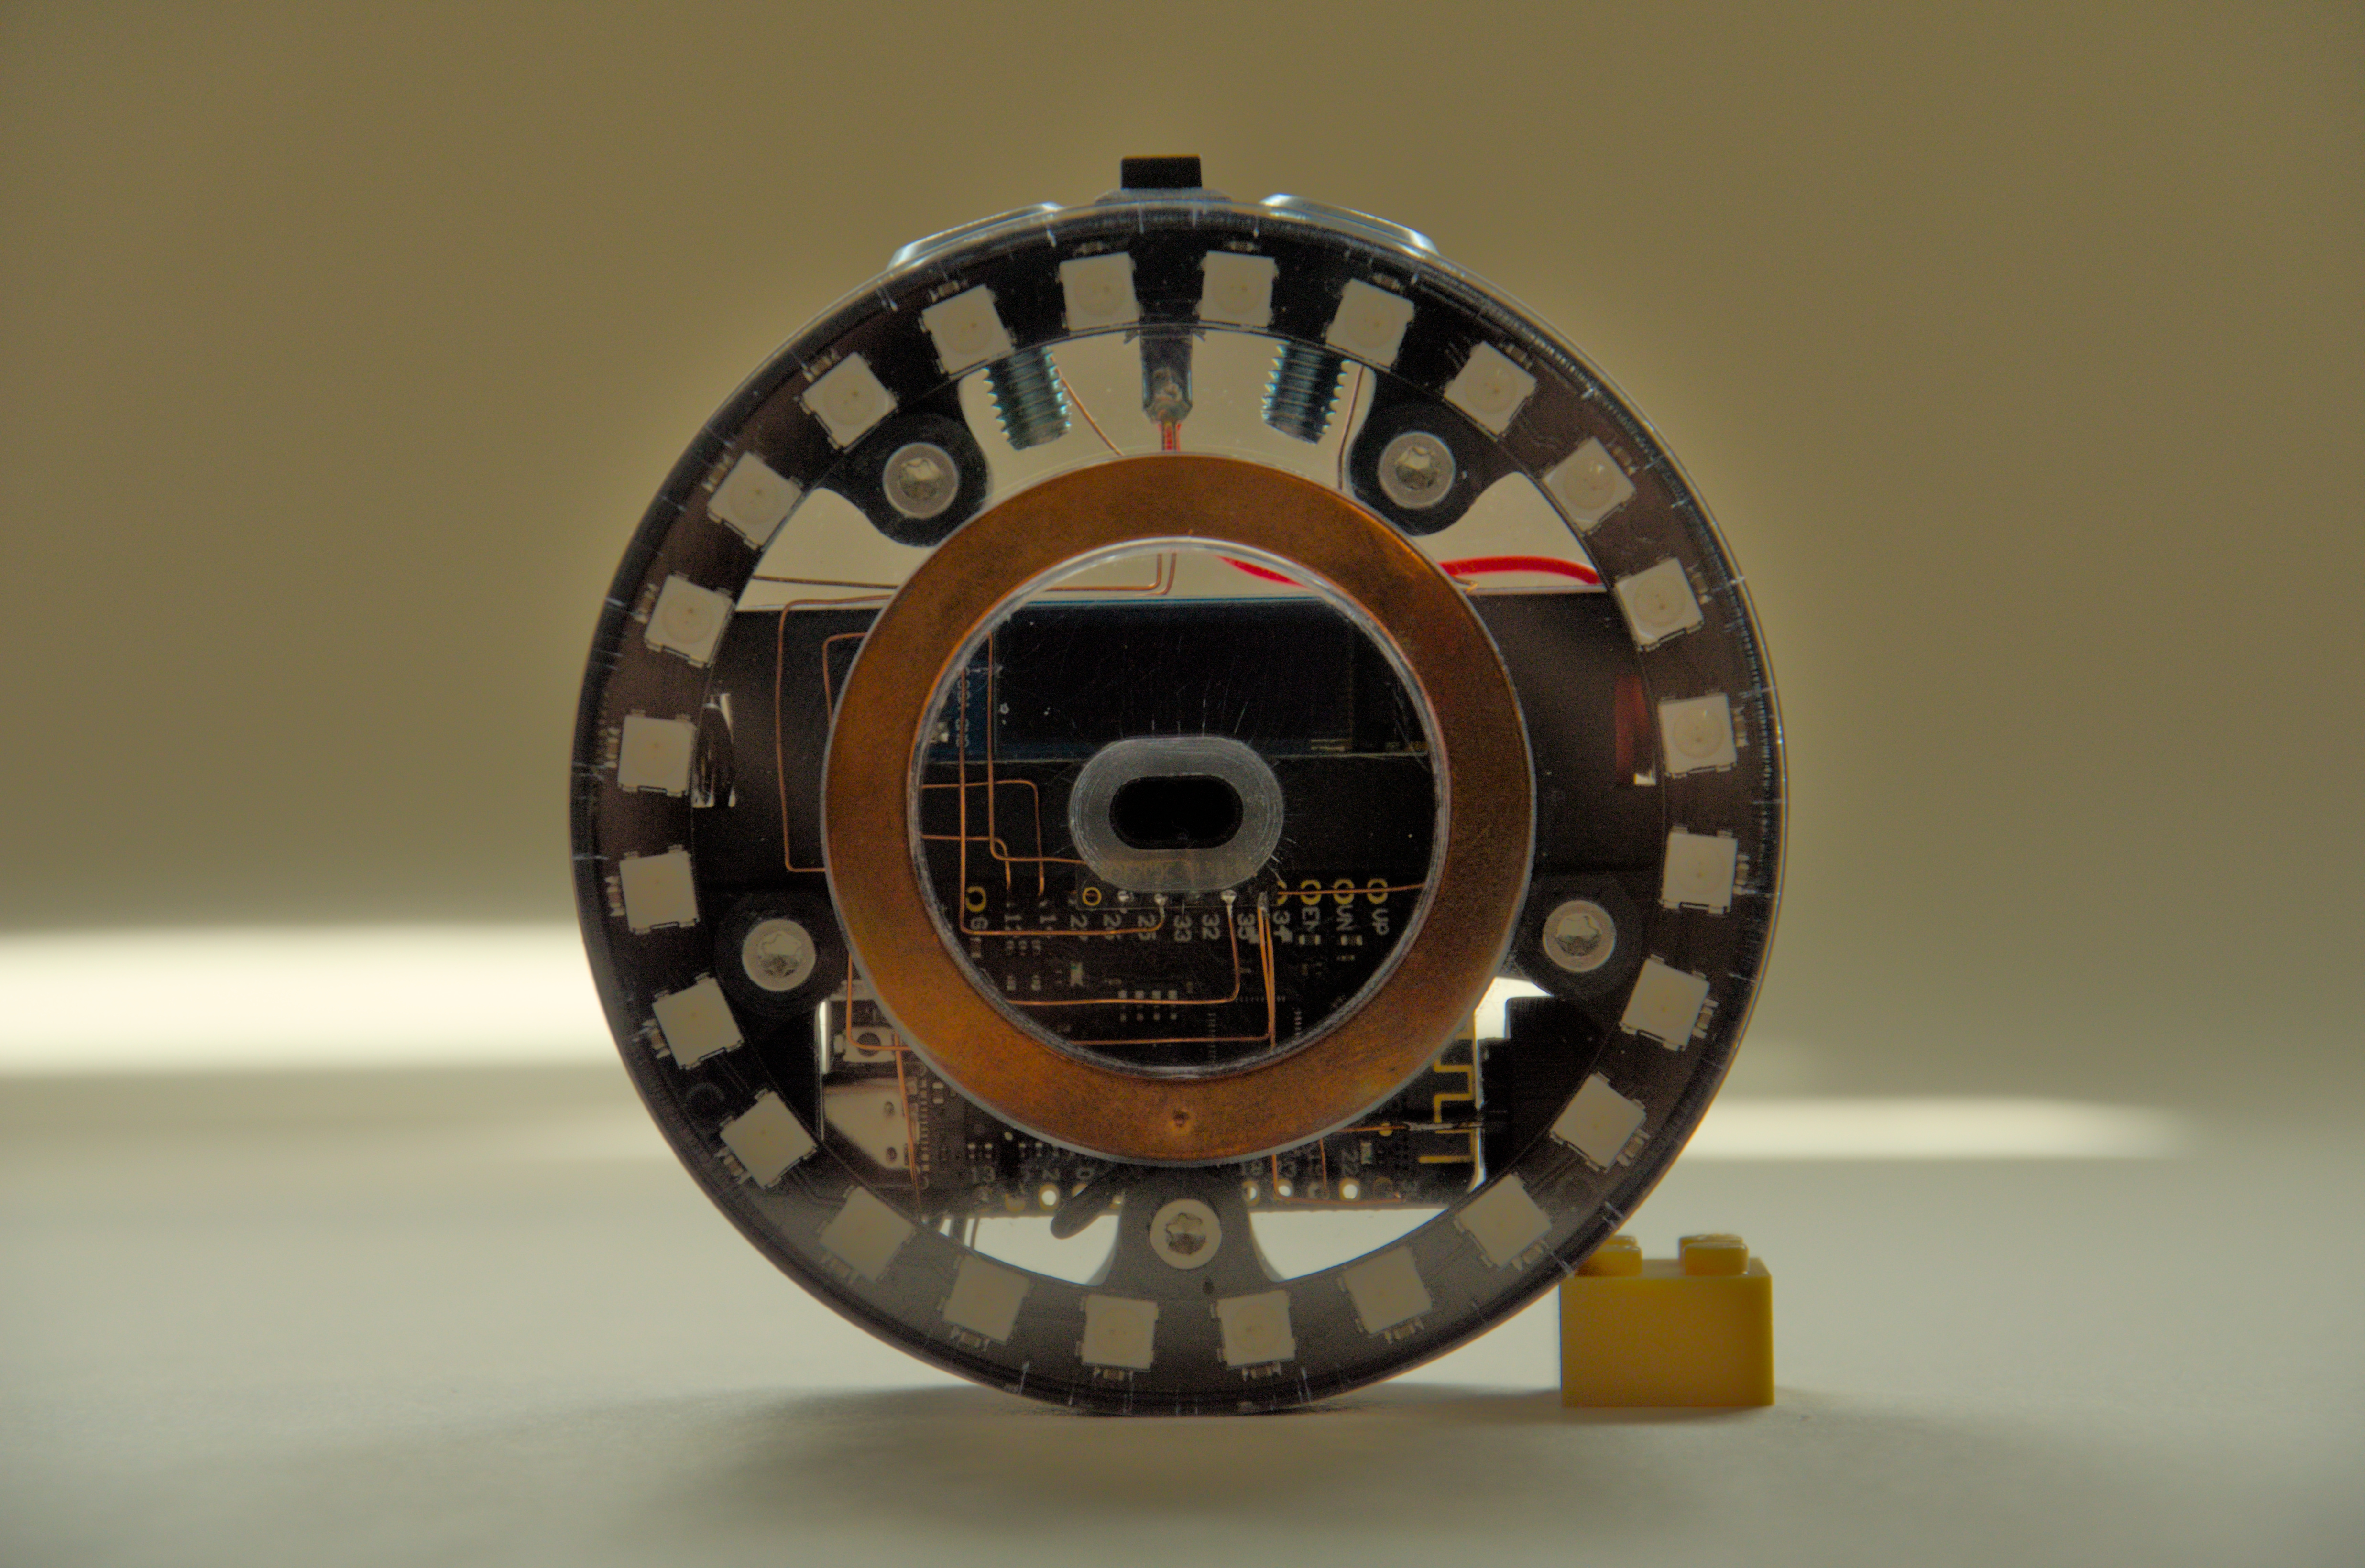
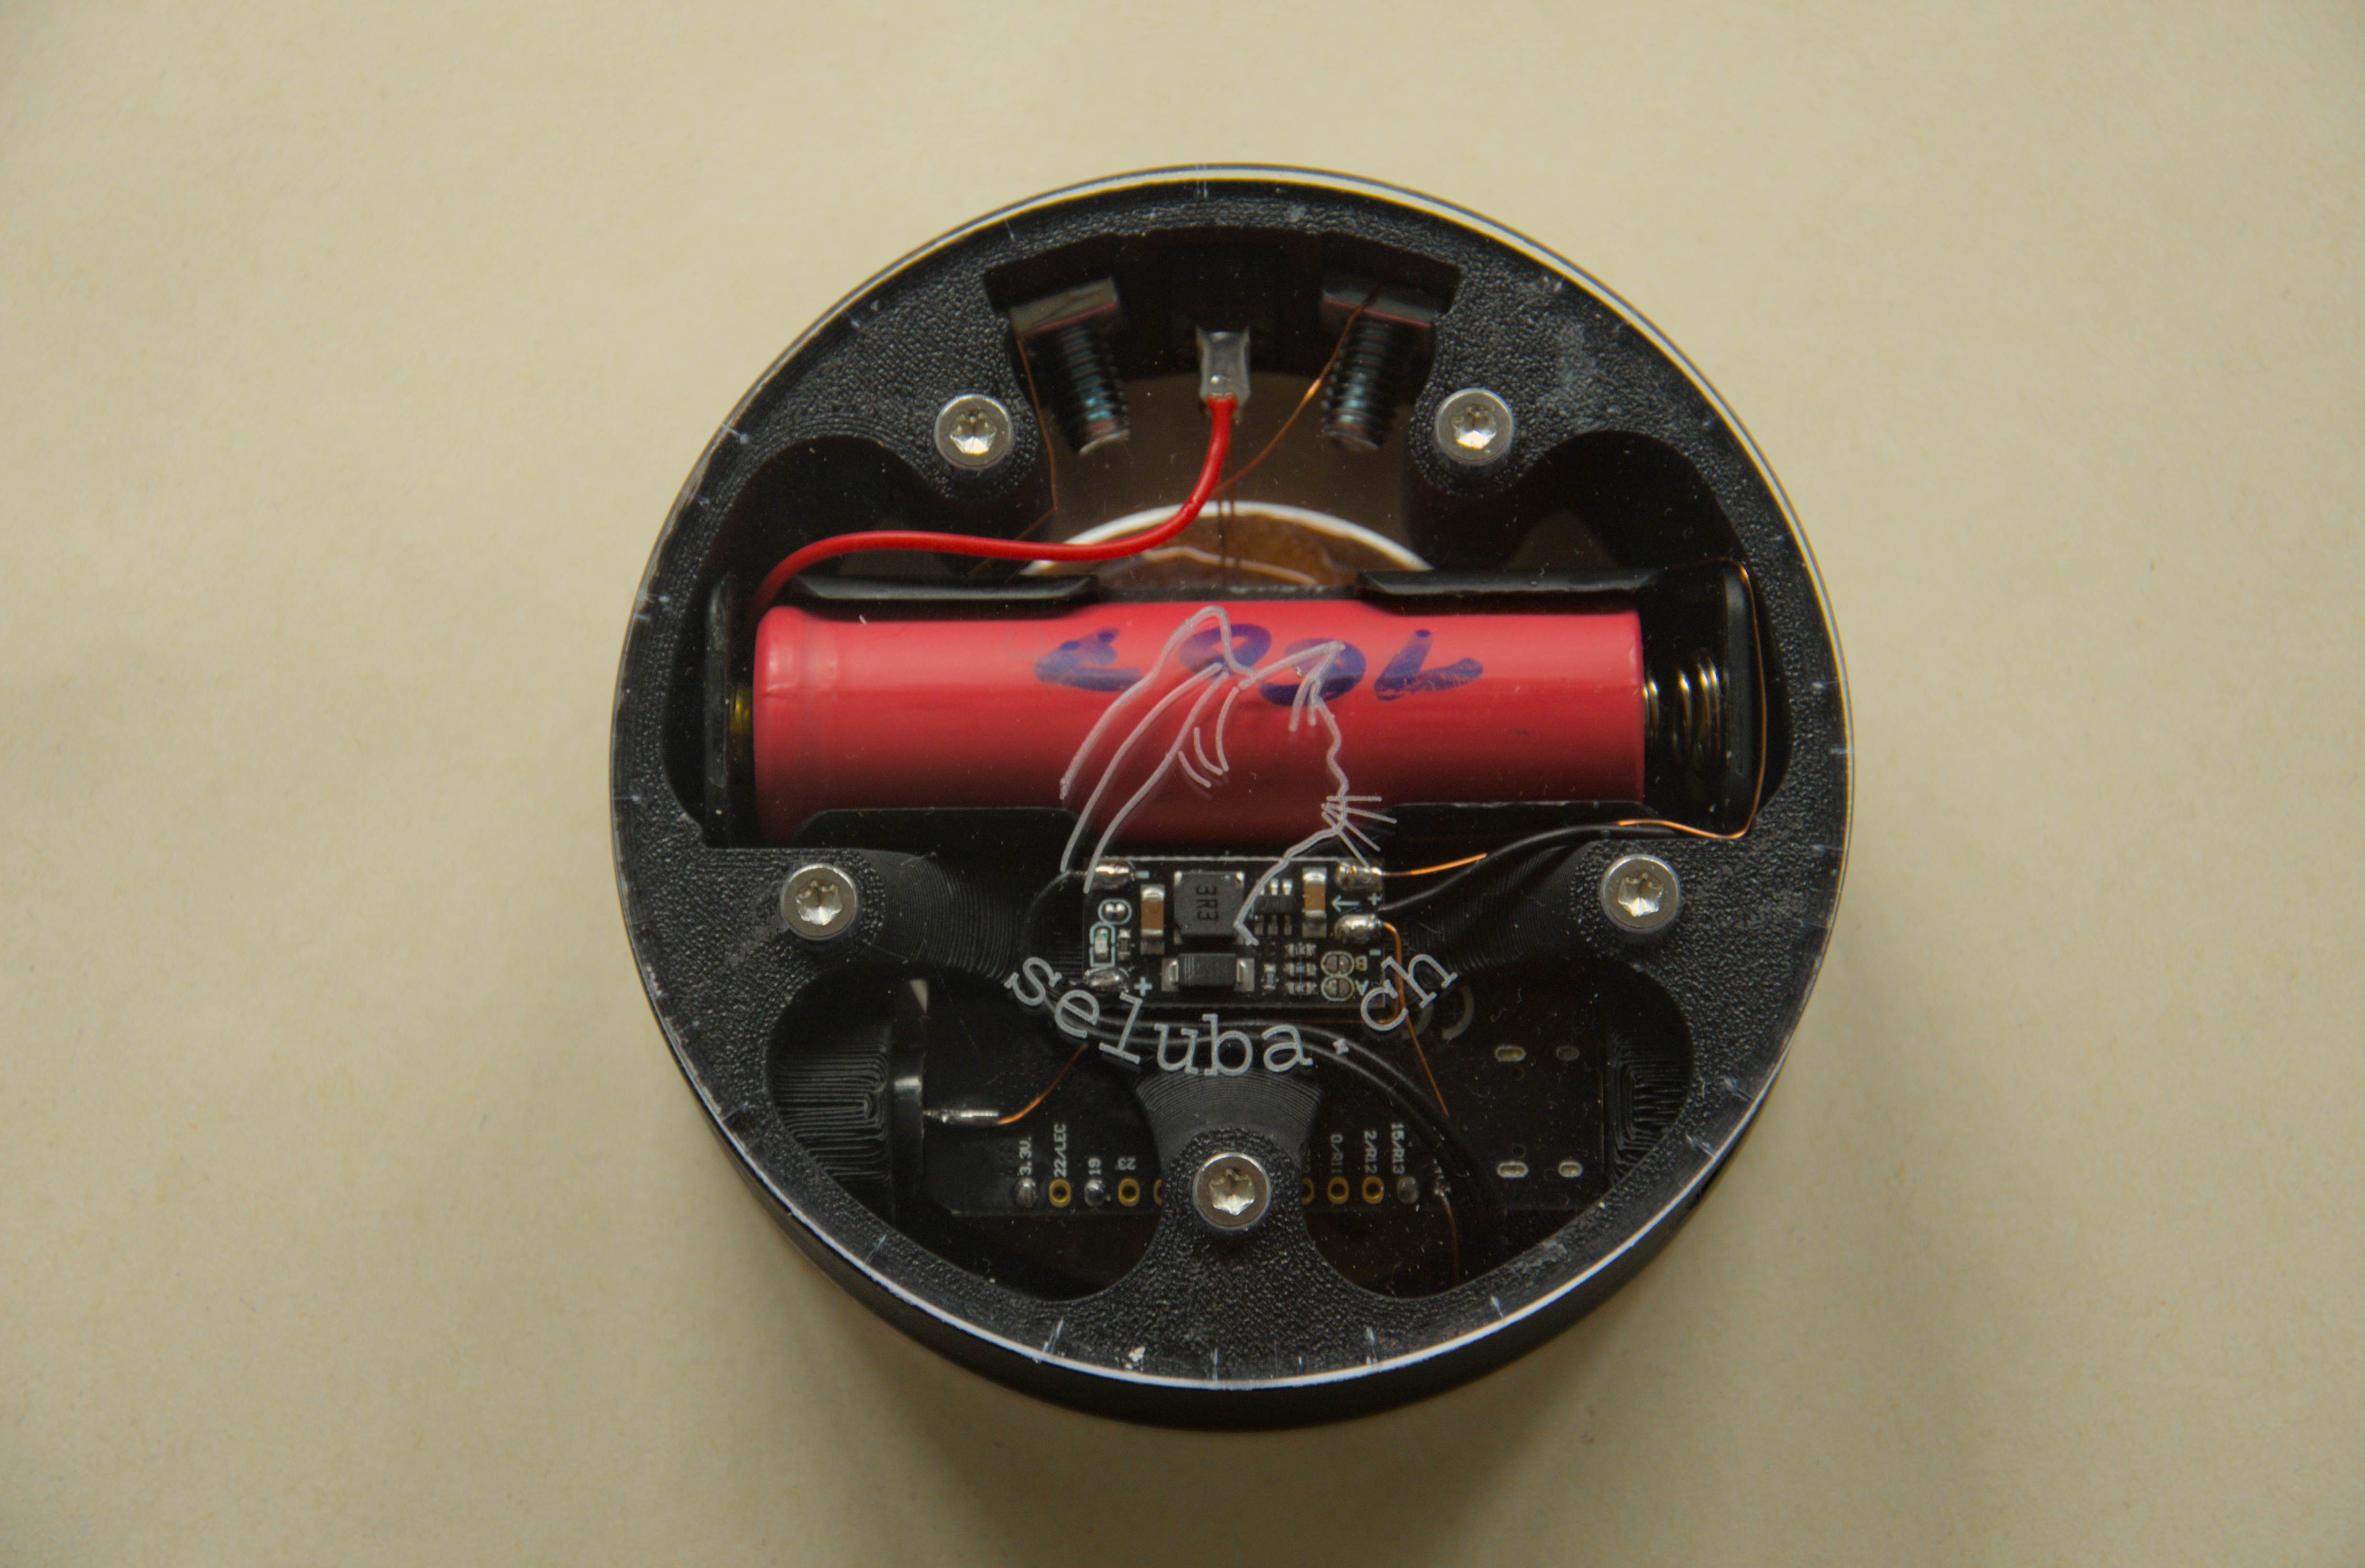
I removed the battery connector and wired up everything using pure copper wire. This is probably the worst choice from a usability perspective, but the result is very aesthetically pleasing.
Software
Because i lost track of the many half-baked software projects i created for this device over the years, i started by writing down the requirements. I then refined the requirements in a grill-me session with claude code. Finally, i let claude set up the project and generate the full firmware.
View Repository LumiInterface
I tried keeping the GUI simple, clean and self-explanatory. The left and right buttons are used to navigate the different menu items. A short center press enters the item. A long center press exits the item.

Games





There are five game modes for now, the names should be pretty self-explanatory. Besides the "Interval" game, which still is a bit buggy, they all seem to work quite well. The games can be played either on a single device or on multiple connected devices.
Webpage
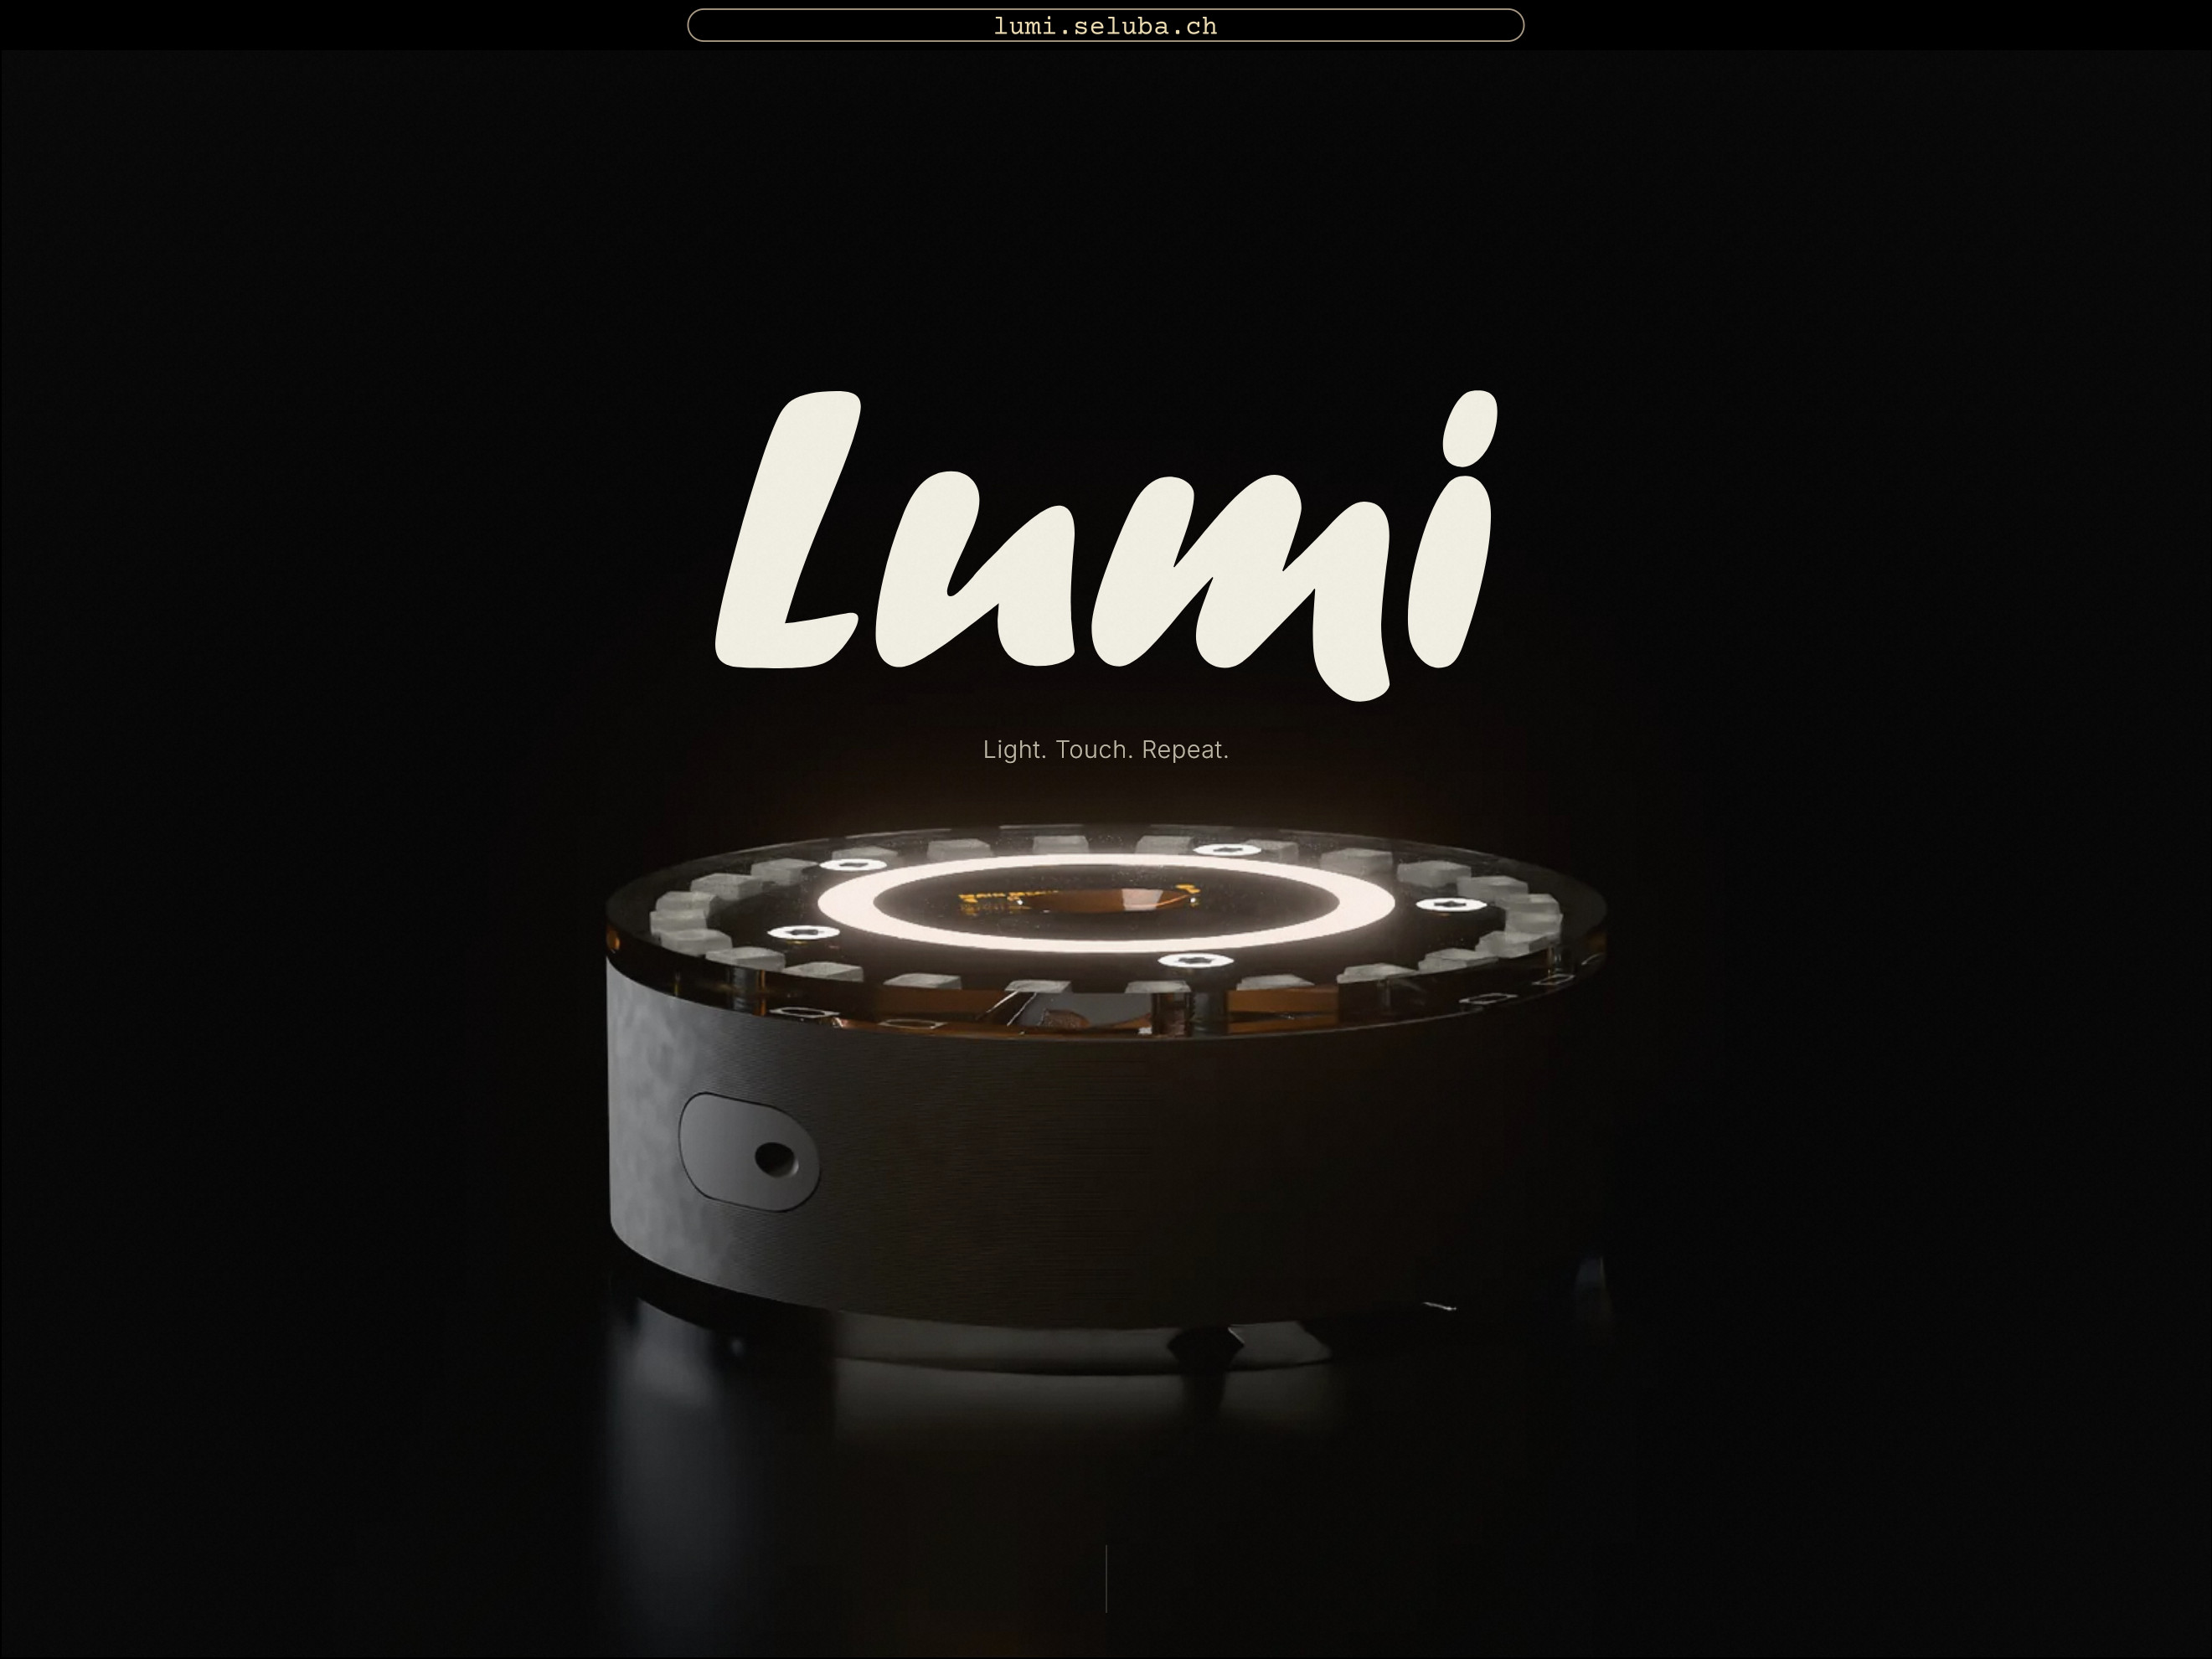
I also let claude create a website based on the color of my photographs. After some back and forth i'm quite happy with the result, but have a look for yourself: lumi.seluba.ch
Because i already had a full 3D model of the device, claude was able to import it into Blender and generate the 3D animations. The explosion and wireframe views were also generated this way.
Final thoughts
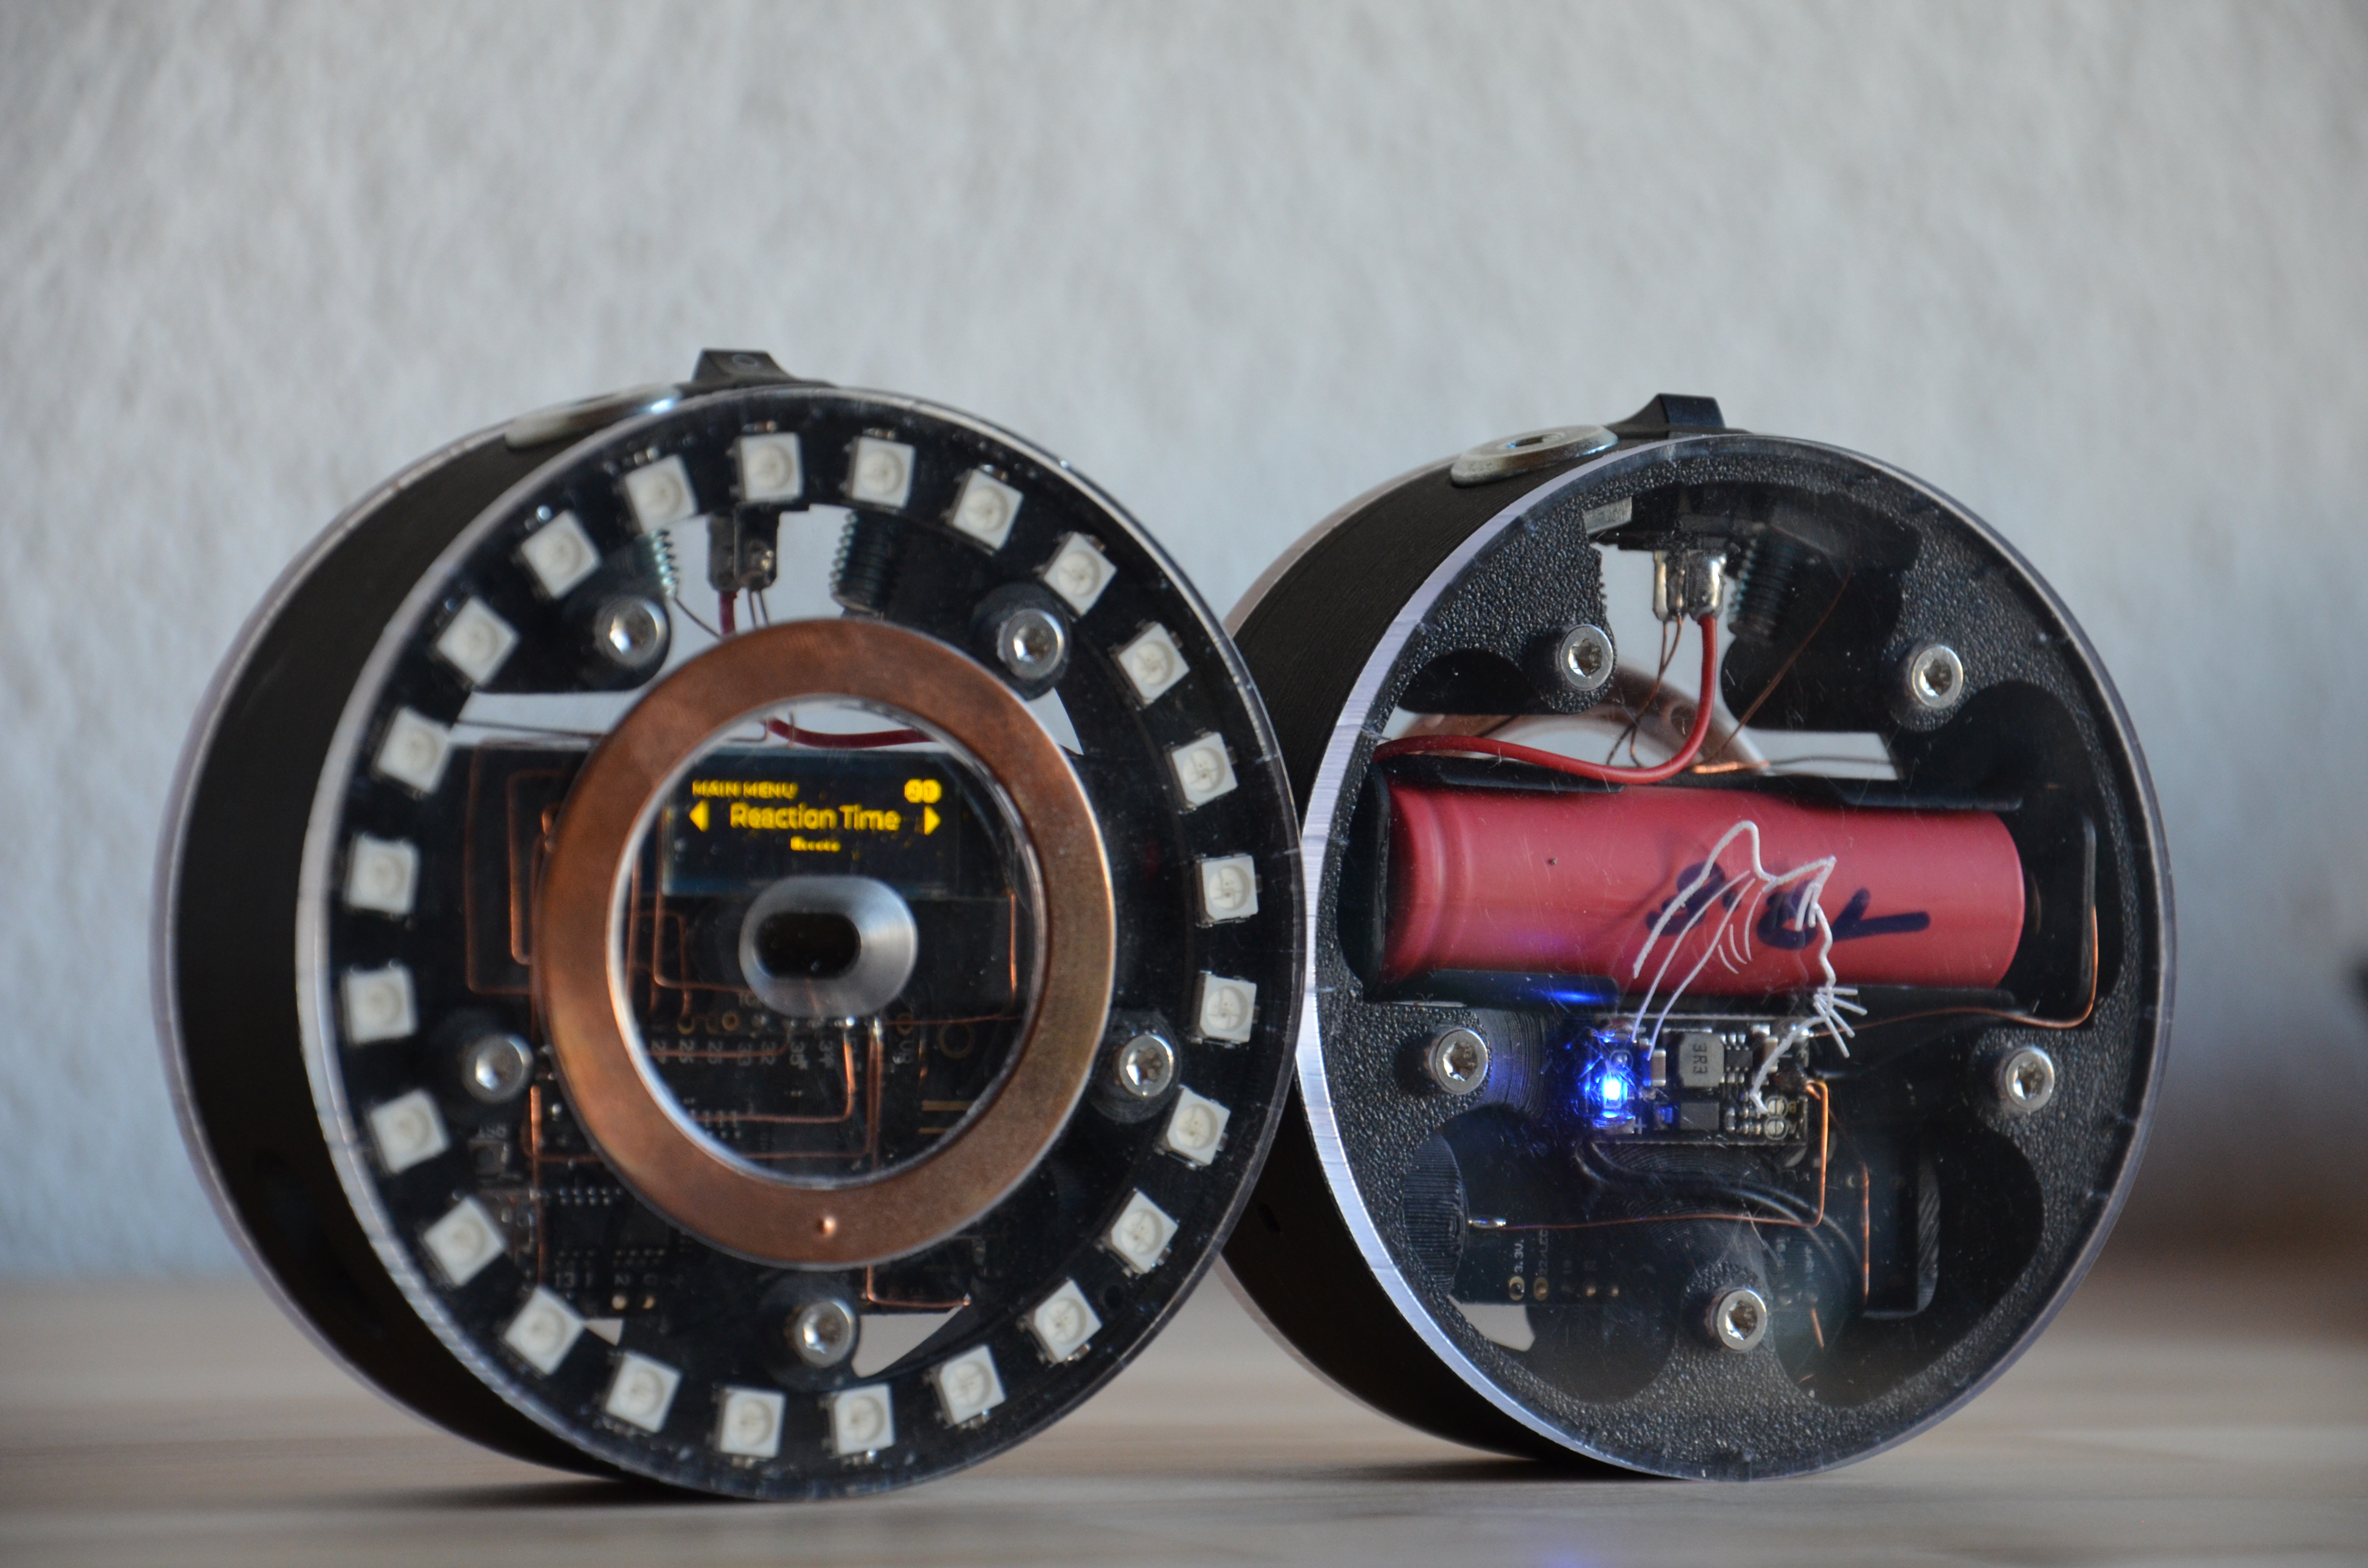
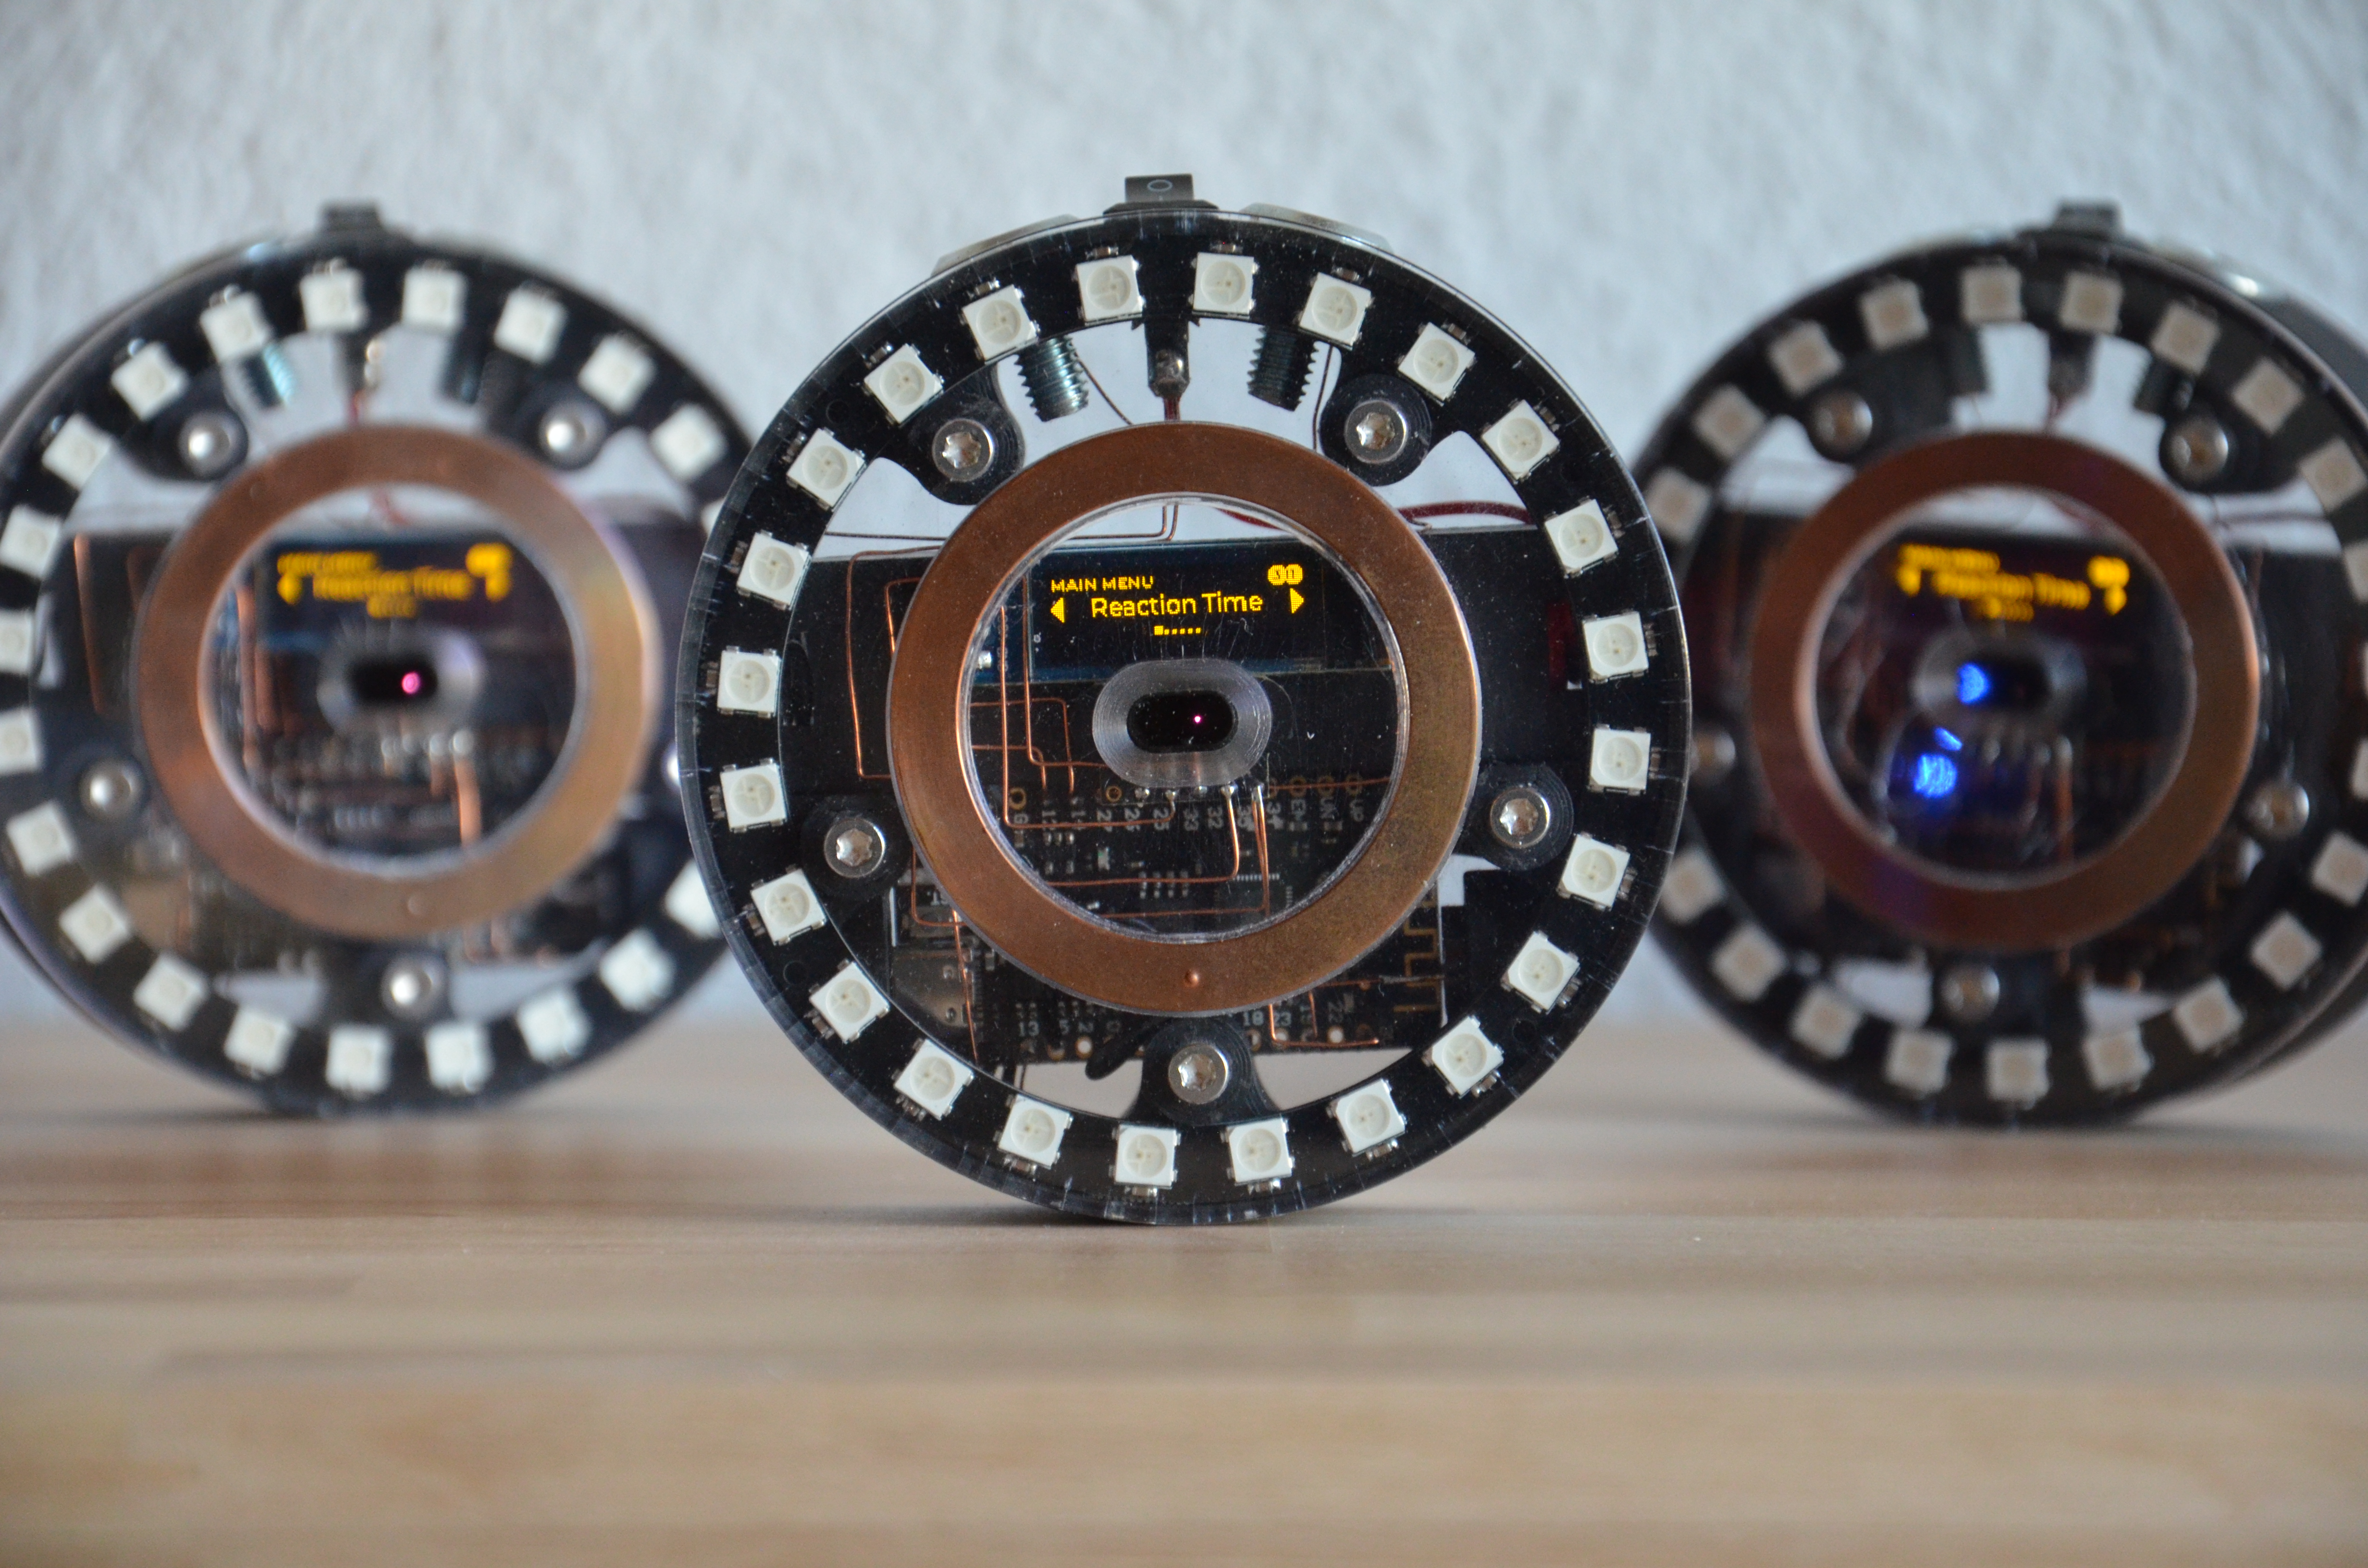
The missing piece, the software, made the device complete. I probably would have never finished the project if it wasn't for the help of our little artificial friend claude. While happy that it is finished, i don't feel the same proudness of completing a project as i have felt with other projects. I think having AI as a tool is great for rapid prototyping and whenever its output is not the main product / focus of the project. The initial code claude generated was okayish, but working on existing code is still a mixed bag in my experience. Nevertheless, seeing what claude can do with tools like Blender and Zola makes me want to learn these tools so i can get even better results exactly the way i want.